Tripp Lite PSC360610USBB Bedienungsanleitung
Tripp Lite
Anbaustein
PSC360610USBB
Lies die bedienungsanleitung für Tripp Lite PSC360610USBB (12 Seiten) kostenlos online; sie gehört zur Kategorie Anbaustein. Dieses Handbuch wurde von 6 Personen als hilfreich bewertet und erhielt im Schnitt 4.6 Sterne aus 3.5 Bewertungen. Hast du eine Frage zu Tripp Lite PSC360610USBB oder möchtest du andere Nutzer dieses Produkts befragen? Stelle eine Frage
Seite 1/12

Power Strips
1111 W. 35th Street, Chicago, IL 60609 USA • www.tripplite.com/support
Copyright © 2019 Tripp Lite. All rights reserved.
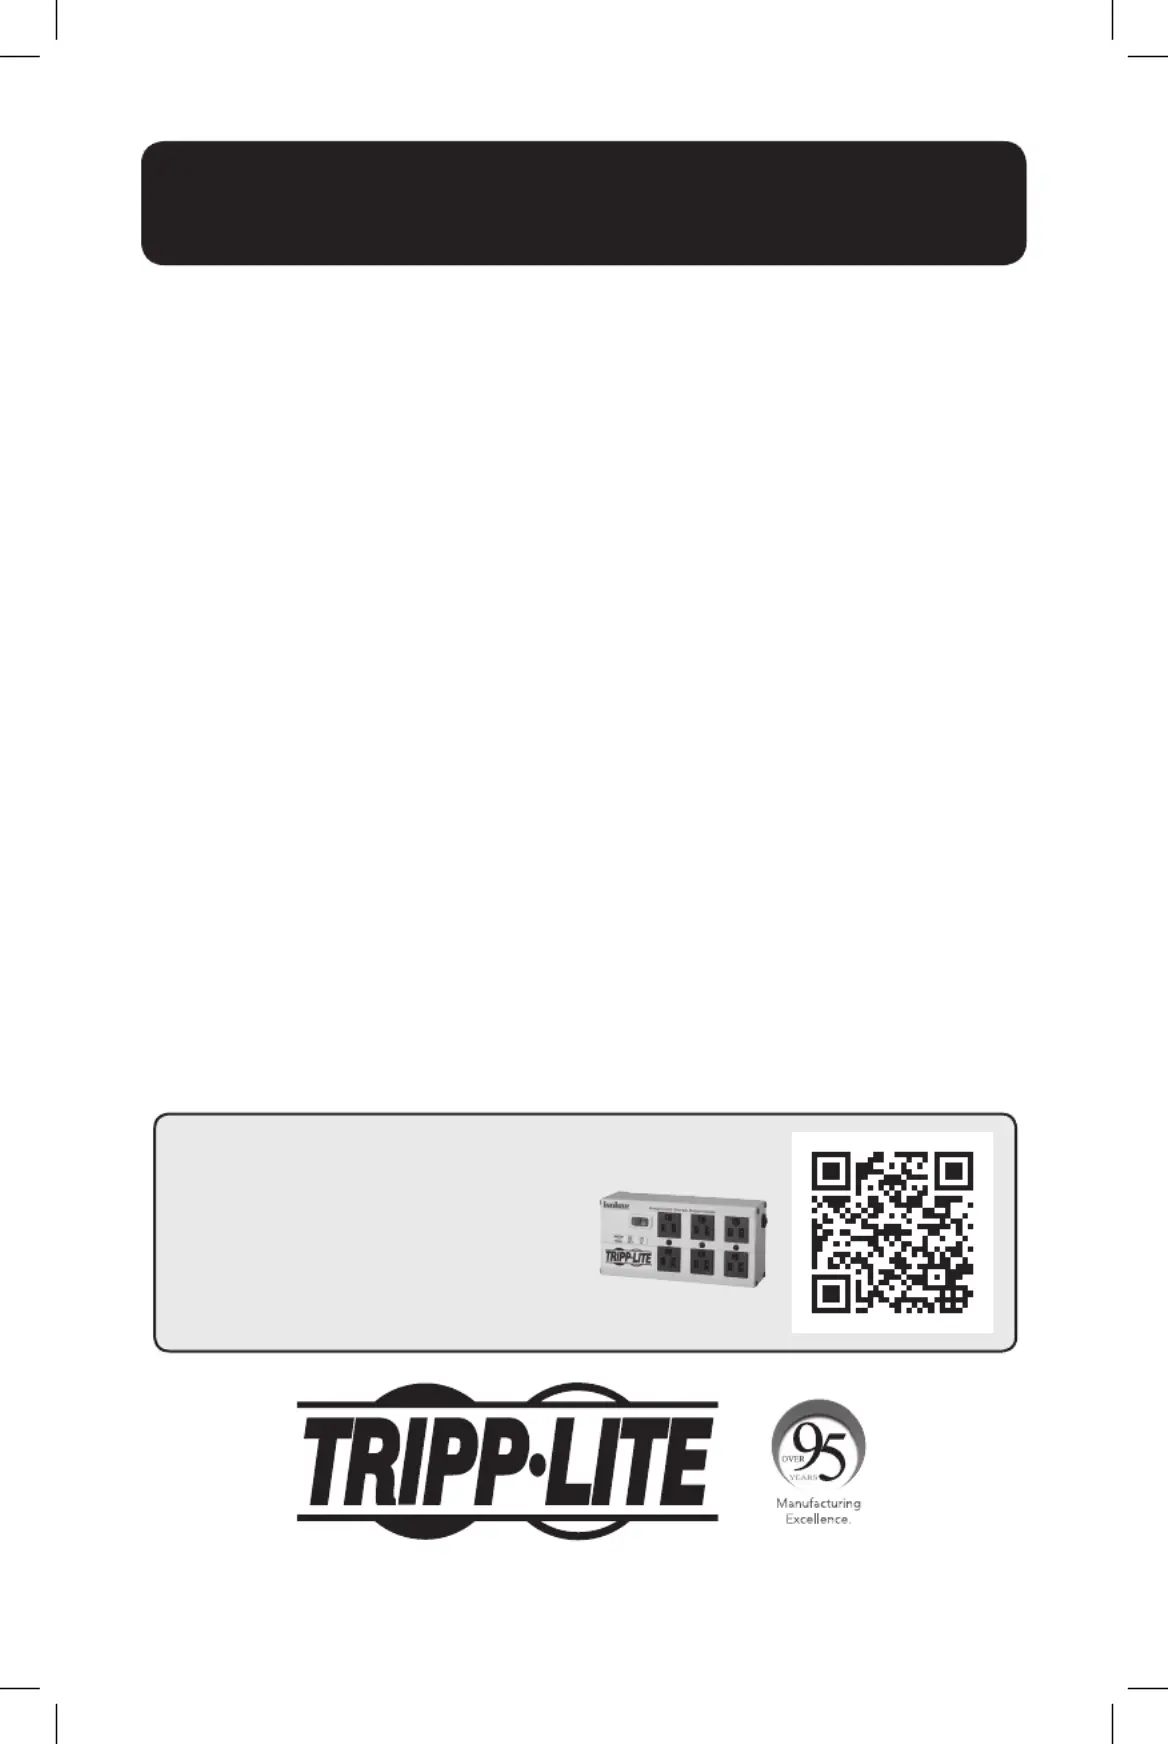
Owner’s Manual
Note: Power Strip models DO NOT provide your connected equipment
with surge or line-noise protection.
Important Safety Instructions 2
Clamp Mounting 2
Wall Mounting 3
Equipment Connection 3
Warranty and Product Registration 4
Español 5
Français 9
WARRANTY REGISTRATION
Register your product today and be
automatically entered to win an ISOBAR
surge protector in our monthly drawing!
www.tripplite.com/warranty
19-03-135-933971.indb 1 4/4/2019 11:02:35 AM

2
1
2
Important Safety Instructions
Clamp Mounting (Included with Select Models)
SAVE THESE INSTRUCTIONS
• DO NOT connect the power strip to an ungrounded outlet.
• DO NOT use the power strip with 2-wire extension cords or adapters.
• This power strip is designed for indoor use only. Install the power strip away from heat-emitting
appliances such as radiators or heat registers.
• Do not install where excessive moisture is present.
• Do not plug extension cords into the power strip.
• Never install electrical, telephone, network or coaxial wiring during a lightning storm.
• Do not drill into any part of the housing or open the housing for any reason. There are no
user-serviceable parts inside.
• Use of this equipment in life support applications where failure of this equipment can
reasonably be expected to cause the failure of the life support equipment or to significantly
affect its safety or effectiveness is not recommended.
Clamp mounts attach to a desk, tabletop, workbench or other solid, flat surface. Your Tripp Lite
Power Strip is compatible with the clamp mounts. For power strip models that do not include
clamp mounts, clamps can be purchased at www.tripplite.com.
1
To install the clamp, loosen the knob, then slide
the clamp firmly onto the edge of an appropriate
surface. Turn the knob to tighten and secure the
clamp to the surface. Repeat for any additional
clamps.
Note: If the mounting clip is loose, use a screwdriver to
tighten the screw.
2
Push the Power Strip into the clamp mount
clip(s) until it securely snaps into place.
19-03-135-933971.indb 2 4/4/2019 11:02:35 AM

3
Equipment Connection
Plug your equipment into the Power Strip’s AC receptacles. DO NOT plug in equipment that draws
more total amps than your Power Strip’s amperage rating (see label on Power Strip for amperage
rating), or you will trip the circuit breaker. If the circuit breaker trips, remove overload and depress
breaker to reset. Leave enough clearance at the end of the Power Strip to allow the circuit
breaker to operate normally.
Note: Select models with a power switch feature a protective switch cover. To access the switch, flip open the
attached cover.
Wall Mounting
All Power Strip models feature clips for horizontal or vertical mounting on a variety of surfaces.
1
Check Clip Type: Your Power Strip will contain
one of two types of mounting clips, depending
on the model.
2
Mark a straight horizontal or vertical line where
you want to mount the Power Strip. At each end
of the line, mark where the edges of the Power
Strip will be located. Place a mounting clip on
the mounting surface 1” in from these edges
and mark where the screws must be driven into
the wall. For strips longer than 48” (120 cm),
also mark a screw hole for a third mounting clip
midway between the other two.
3a
Clip-A Mounting: Drive #8 screws directly into
the mounting surface, leaving approximately
3 mm of space between the screw head and
the surface. Snap the mounting clips onto the
Power Strip
3a1
, then hang the Power Strip
on the screws by the keyhole slots on its
mounting clips
3a2
.
3b
Clip-B Mounting: Pre-drill holes in the mounting
surface, if necessary. Drive screws through
the centers of the mounting clips and into the
mounting surface
3b1
. Place the Power Strip
inside one edge of the mounting clips,
then snap the Power Strip into place
3b2
.
2
3b1
3b23b2
3a1
3a2
Clip-A Clip-B
19-03-135-933971.indb 3 4/4/2019 11:02:36 AM
Produktspezifikationen
Marke: | Tripp Lite |
Kategorie: | Anbaustein |
Modell: | PSC360610USBB |
Breite: | 38.1 mm |
Tiefe: | 41.7 mm |
Gewicht: | 1360 g |
Produktfarbe: | Schwarz |
Höhe: | 914.4 mm |
Material: | Aluminium |
Stecker: | NEMA 1–15P |
AC Eingangsfrequenz: | 50 - 60 Hz |
Verpackungsbreite: | 104.1 mm |
Verpackungstiefe: | 1016 mm |
Verpackungshöhe: | 55.9 mm |
Paketgewicht: | 1860 g |
Zertifizierung: | UL1363, cUL |
Ursprungsland: | China |
Kabellänge: | 3.05 m |
LED-Anzeigen: | Ja |
Ein-/Ausschalter: | Ja |
Anzahl Produkte pro Versandkarton: | 10 Stück(e) |
Gewicht Versandkarton: | 19320 g |
Länge des Versandkartons: | 1033.8 mm |
Breite des Versandkartons: | 241.3 mm |
Höhe des Versandkartons: | 315 mm |
Anzahl enthaltener Produkte: | 1 Stück(e) |
Nachhaltigkeitszertifikate: | RoHS |
Hauptkarton GTIN (EAN/UPC): | 10037332238815 |
Anzahl der AC-Ausgänge: | 15 AC-Ausgänge |
AC-Steckertypen: | NEMA 5–15R |
Nominale Eingang Spannung: | 120 V |
Spitzenstrom: | 1800 W |
Nominale Stromabgabe: | 9.3 A |
Anstieg der Energiemenge: | - J |
Brauchst du Hilfe?
Wenn Sie Hilfe mit Tripp Lite PSC360610USBB benötigen, stellen Sie unten eine Frage und andere Benutzer werden Ihnen antworten
Bedienungsanleitung Anbaustein Tripp Lite
2 September 2025
2 September 2025
1 September 2025
1 September 2025
1 September 2025
1 September 2025
1 September 2025
1 September 2025
1 September 2025
1 September 2025
Bedienungsanleitung Anbaustein
- Arendo
- ART
- Panduit
- Hama
- Vivanco
- Middle Atlantic
- Raritan
- Adam Hall
- Essentiel B
- Kindermann
- APC
- Oehlbach
- Brennenstuhl
- REV
- Legrand
Neueste Bedienungsanleitung für -Kategorien-
3 September 2025
3 September 2025
3 September 2025
3 September 2025
3 September 2025
2 September 2025
2 September 2025
2 September 2025
2 September 2025
2 September 2025