Adj Mega Bar UV100 Bedienungsanleitung
Adj Nicht kategorisiert Mega Bar UV100
Lies die bedienungsanleitung für Adj Mega Bar UV100 (7 Seiten) kostenlos online; sie gehört zur Kategorie Nicht kategorisiert. Dieses Handbuch wurde von 7 Personen als hilfreich bewertet und erhielt im Schnitt 4.1 Sterne aus 7 Bewertungen. Hast du eine Frage zu Adj Mega Bar UV100 oder möchtest du andere Nutzer dieses Produkts befragen? Stelle eine Frage
Seite 1/7
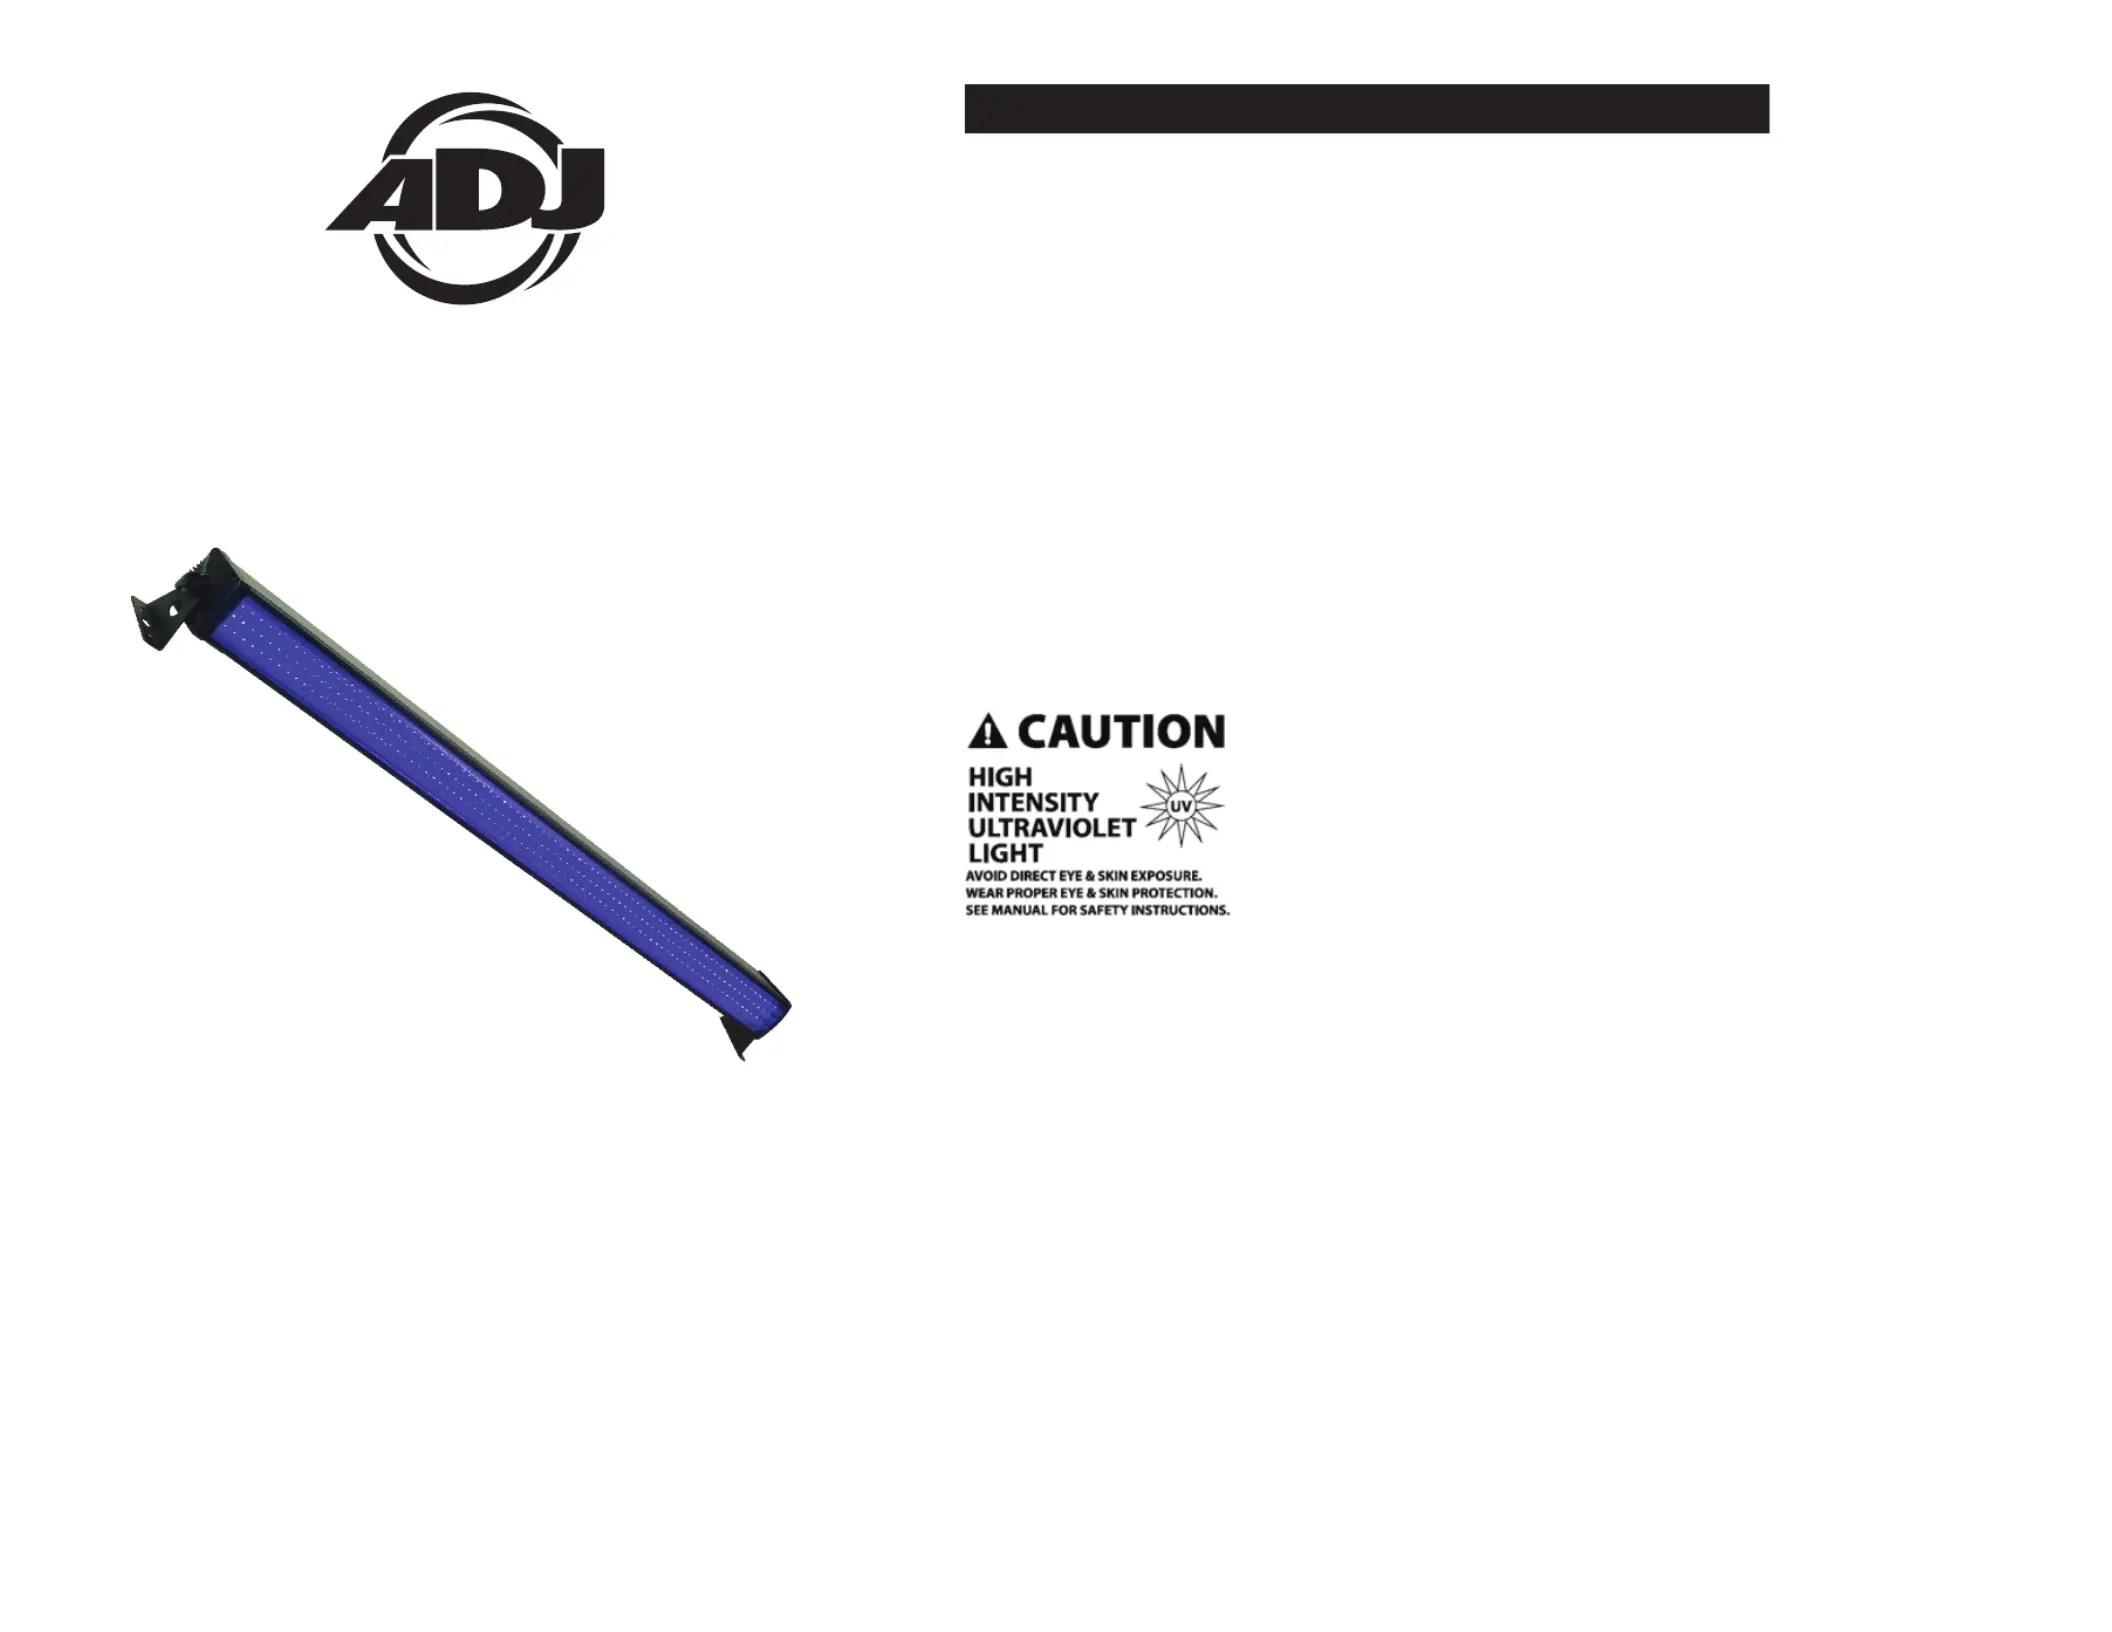
Mega UV nBar100™ Introduioct
©American DJ® - www.americandj.com - Mega Bar UV100™ Instruction Manual Page 2
Rev. 04/19
Unpacking: Thank you for purchasing the Mega Bar UV100™ by
American DJ
®. Every Mega Bar UV100™ has been thoroughly tested
and has been shipped in perfect operating condition. Carefully check
the shipping carton for damage that may have occurred during ship-
ping. If the carton appears to be damaged, carefully inspect your -fix
ture for any damage and be sure all accsories necessary to operate es
the unit has arrived intact. In the case damage has been found or parts
are missing, please contact our toll free customer support number for
further instructions. Do not return this unit to your dealer without first
contacting customer support.
Introduction: The Mega Bar UV100™ is part of American DJ’s con-
tinuing pursuit for creating high quality affordable intelligent res. fixtu
The Mega Bar UV100™ is a DMX intelligent LED UV wash. This wash
can be used in a stand alone mode or connected in a Master/Slave
configuration.The unit can also be controlled via DMX controller. This
wash has four operating modes: Sound Active mode, Auto mode, Pro-
gram mode, and DMX control mode.
User Instructions
MEGA BAR UV100
RISK GROUP 3 - RISK OF EXPOSURE TO
ULTRAVIOLET (UV) RADIATION!
FIXTURE EMITS HIGH INTENSITY WAVELENGTH OF
ULTRAVIOLET LIGHT
WEAR PROPER EYE AND SKIN PROTECTION.
AVOID PROLONGED PERIODS OF EXPOSURE.
AVOID WEARING WHITE COLOR CLOTHING AND/OR
USING (UV) PAINTS ON SKIN.
AVOID DIRECT EYE AND/OR SKIN EXPOSURE AT
DISTANCES SHORTER THAN 11 feet (3.3m).
DO NOT OPERATE FIXTURE WITH DAMAGED/MISSING EXTERNAL COVER
PROTECTIVE LENS.
DO NOT LOOK DIRECTLY INTO THE (UV) LIGHT AND/OR VIEW (UV) LIGHT
DIRECTLY WITH OPTICAL INSTRUMENTS THAT MAY CONCENTRATE THE
LIGHT/RADIATION OUTPUT.
INDIVIDUALS SUFFERING FROM A RANGE OF EYE CONDITIONS, SUNLIGHT
EXPOSURE DISORDERS, OR INDIVIDUALS USING PHOTOSENSITIVE
MEDICATION, MAY RECEIVE DISCOMFORT IF EXPOSED TO THE ULTRAVIOLET
(UV) LIGHT EMITTED FROM THIS FIXTURE.
Energy Saving Matters (EuP 2009/125/EC)
Saving electric energy is a key to help protecting the environment. Please turn
off all electrical products when they are not in use. To avoid power
consumption in idle mode, disconnect all electrical equipment from power
when not in use. Thank you!
Produktspezifikationen
| Marke: | Adj |
| Kategorie: | Nicht kategorisiert |
| Modell: | Mega Bar UV100 |
| Produkttyp: | Disco-Strahler |
| Eingebautes Display: | Ja |
| Ursprungsland: | Vereinigte Staaten |
| Lampentyp: | LED |
| Wandmontage: | Ja |
| Für die Nutzung im Innenbereich geeignet: | Ja |
Brauchst du Hilfe?
Wenn Sie Hilfe mit Adj Mega Bar UV100 benötigen, stellen Sie unten eine Frage und andere Benutzer werden Ihnen antworten
Bedienungsanleitung Nicht kategorisiert Adj

28 Februar 2026
30 Dezember 2026
15 Oktober 2025
15 Oktober 2025
15 Oktober 2025
15 Oktober 2025
15 Oktober 2025
15 Oktober 2025
15 Oktober 2025
15 Oktober 2025
Bedienungsanleitung Nicht kategorisiert
Neueste Bedienungsanleitung für -Kategorien-
3 April 2026
3 April 2026
3 April 2026
3 April 2026
3 April 2026
3 April 2026
3 April 2026
3 April 2026
3 April 2026
3 April 2026