Adj Profile Panel RGB Bedienungsanleitung
Adj Lichteffektmaschine Profile Panel RGB
Lies die bedienungsanleitung für Adj Profile Panel RGB (10 Seiten) kostenlos online; sie gehört zur Kategorie Lichteffektmaschine. Dieses Handbuch wurde von 16 Personen als hilfreich bewertet und erhielt im Schnitt 4.9 Sterne aus 6 Bewertungen. Hast du eine Frage zu Adj Profile Panel RGB oder möchtest du andere Nutzer dieses Produkts befragen? Stelle eine Frage
Seite 1/10
User Instructions
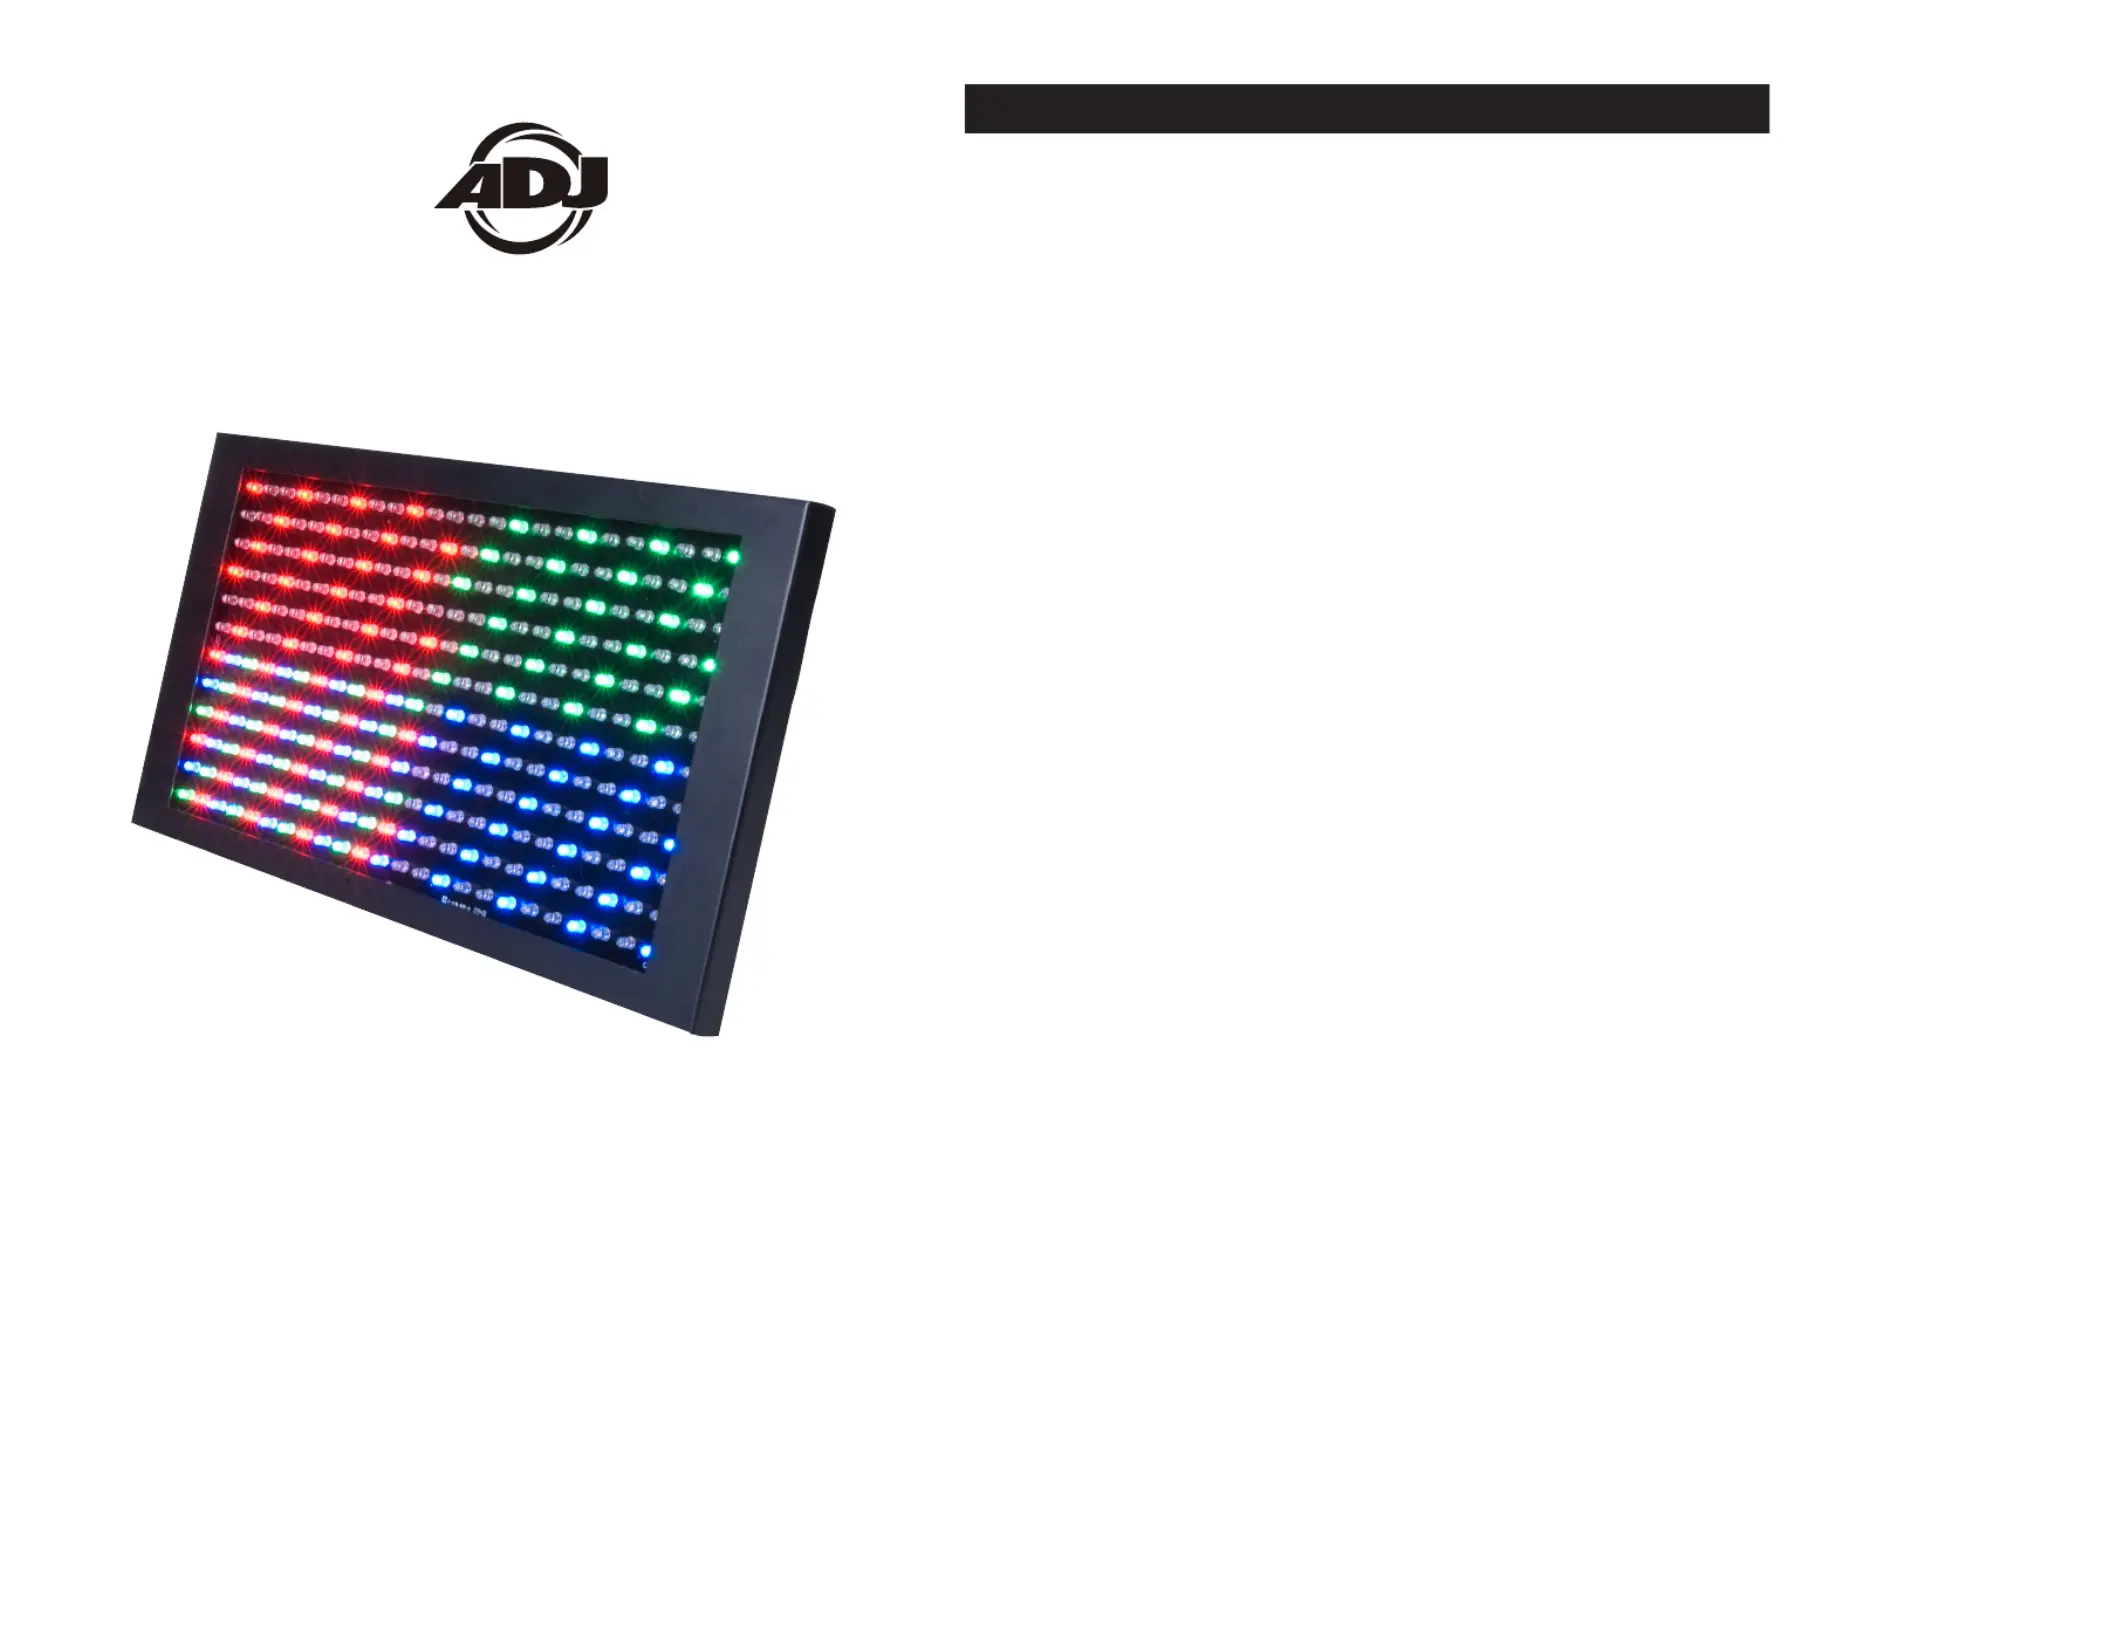
Profile Panel RGB™ Introduction
©®American DJ - www.americandj.com - Prole Panel RGB™ User Manual Page 2
Rev. 12/10
Unpacking: Thank you for purchasing the Prole Panel RGB™ by
American DJ. Every Prole Panel RGB™ has been thoroughly tested ®
and has been shipped in perfect operating condition. Carefully check
the shipping carton for damage that may have occurred during ship-
ping. If the carton appears to be damaged, carefully inspect your x-
ture for any damage and be sure all accessories necessary to operate
the unit has arrived intact. In the case damage has been found or parts
are missing, please contact our toll free customer support number for
further instructions. Do not return this unit to your dealer without rst
contacting customer support.
Introduction: The Profile Panel RGB™ is part of American DJ’s con-
tinuing pursuit for creating high quality affordable intelligent fixtures.
The Profile Panel RGB™ is a DMX intelligent LED stage panel/wash.
This wash can be used in a stand alone mode or connected in a Master/
Slave conguration. The unit can also be controlled via DMX controller.
This wash has four operating modes: Sound Active mode, Program
mode, RGB mode, and DMX control mode.
Customer Support:American DJ provides a toll free customer sup-®
port line, to provide set up help and to answer any question should you
encounter problems during your set up or initial operation. You may
also visit us on the web at www.americandj.com for any comments or
suggestions. Service Hours are Monday through Friday 9:00 a.m. to
4:30 p.m. Pacic Standard Time.
Voice: (800) 322-6337
Fax: (323) 582-2941
E-mail: [email protected]
To purchase parts online visit http://parts.americandj.com
Warning!To prevent or reduce the risk of electrical shock or re, do
not expose this unit to rain or moisture.
Caution!There are no user serviceable parts inside this unit. Do not
attempt any repairs yourself, doing so will void your manufactures war-
ranty. In the unlikely event your unit may require service please contact
American DJ.®
PLEASE recycle the shipping carton when ever possible.
ProfilePanel RGB
Produktspezifikationen
| Marke: | Adj |
| Kategorie: | Lichteffektmaschine |
| Modell: | Profile Panel RGB |
| Display-Typ: | LED |
| Breite: | 240 mm |
| Tiefe: | 425 mm |
| Gewicht: | 2900 g |
| Produkttyp: | Disco-Strahler |
| Produktfarbe: | Schwarz |
| Steuerung: | Tasten |
| Höhe: | 51.5 mm |
| Energiequelle: | AC |
| Eingebautes Display: | Ja |
| Stromverbrauch (Standardbetrieb): | 37 W |
| Anzahl: | 1 |
| Lampentyp: | LED |
| Eingangsspannung: | 100 - 240 V |
| Für die Nutzung im Innenbereich geeignet: | Ja |
| Anzahl Lampe(n): | 288 Lampen |
| Leuchtmittellebensdauer (in Std.): | 100000 h |
| Lichtfarbe: | Blue, Green, Red |
| Beleuchtungsarten: | DMX, Sound activated |
| Beleuchtungssteuerungsprotokolle: | DMX |
| Strahlungswinkel: | 40 ° |
| XLR-Eingang: | Ja |
| Eingangsfrequenz: | 47 - 63 Hz |
| Kugeldurchmesser: | - " |
| Dimmbereich: | 0 - 100 % |
Brauchst du Hilfe?
Wenn Sie Hilfe mit Adj Profile Panel RGB benötigen, stellen Sie unten eine Frage und andere Benutzer werden Ihnen antworten
Bedienungsanleitung Lichteffektmaschine Adj

9 September 2025
9 September 2025
9 September 2025
9 September 2025
6 September 2025
21 Juli 2025
20 Juli 2025
20 Juli 2025
20 Juli 2025
20 Juli 2025
Bedienungsanleitung Lichteffektmaschine
Neueste Bedienungsanleitung für -Kategorien-
30 März 2026
17 März 2026
16 März 2026
16 März 2026
13 März 2026
10 März 2026
8 März 2026
20 Februar 2026
20 Februar 2026
19 Februar 2026