Adj Ultra Bar 6 Bedienungsanleitung
Adj Nicht kategorisiert Ultra Bar 6
Lies die bedienungsanleitung für Adj Ultra Bar 6 (398 Seiten) kostenlos online; sie gehört zur Kategorie Nicht kategorisiert. Dieses Handbuch wurde von 11 Personen als hilfreich bewertet und erhielt im Schnitt 4.3 Sterne aus 7 Bewertungen. Hast du eine Frage zu Adj Ultra Bar 6 oder möchtest du andere Nutzer dieses Produkts befragen? Stelle eine Frage
Seite 1/398
User Instructions
Rev. 10/14
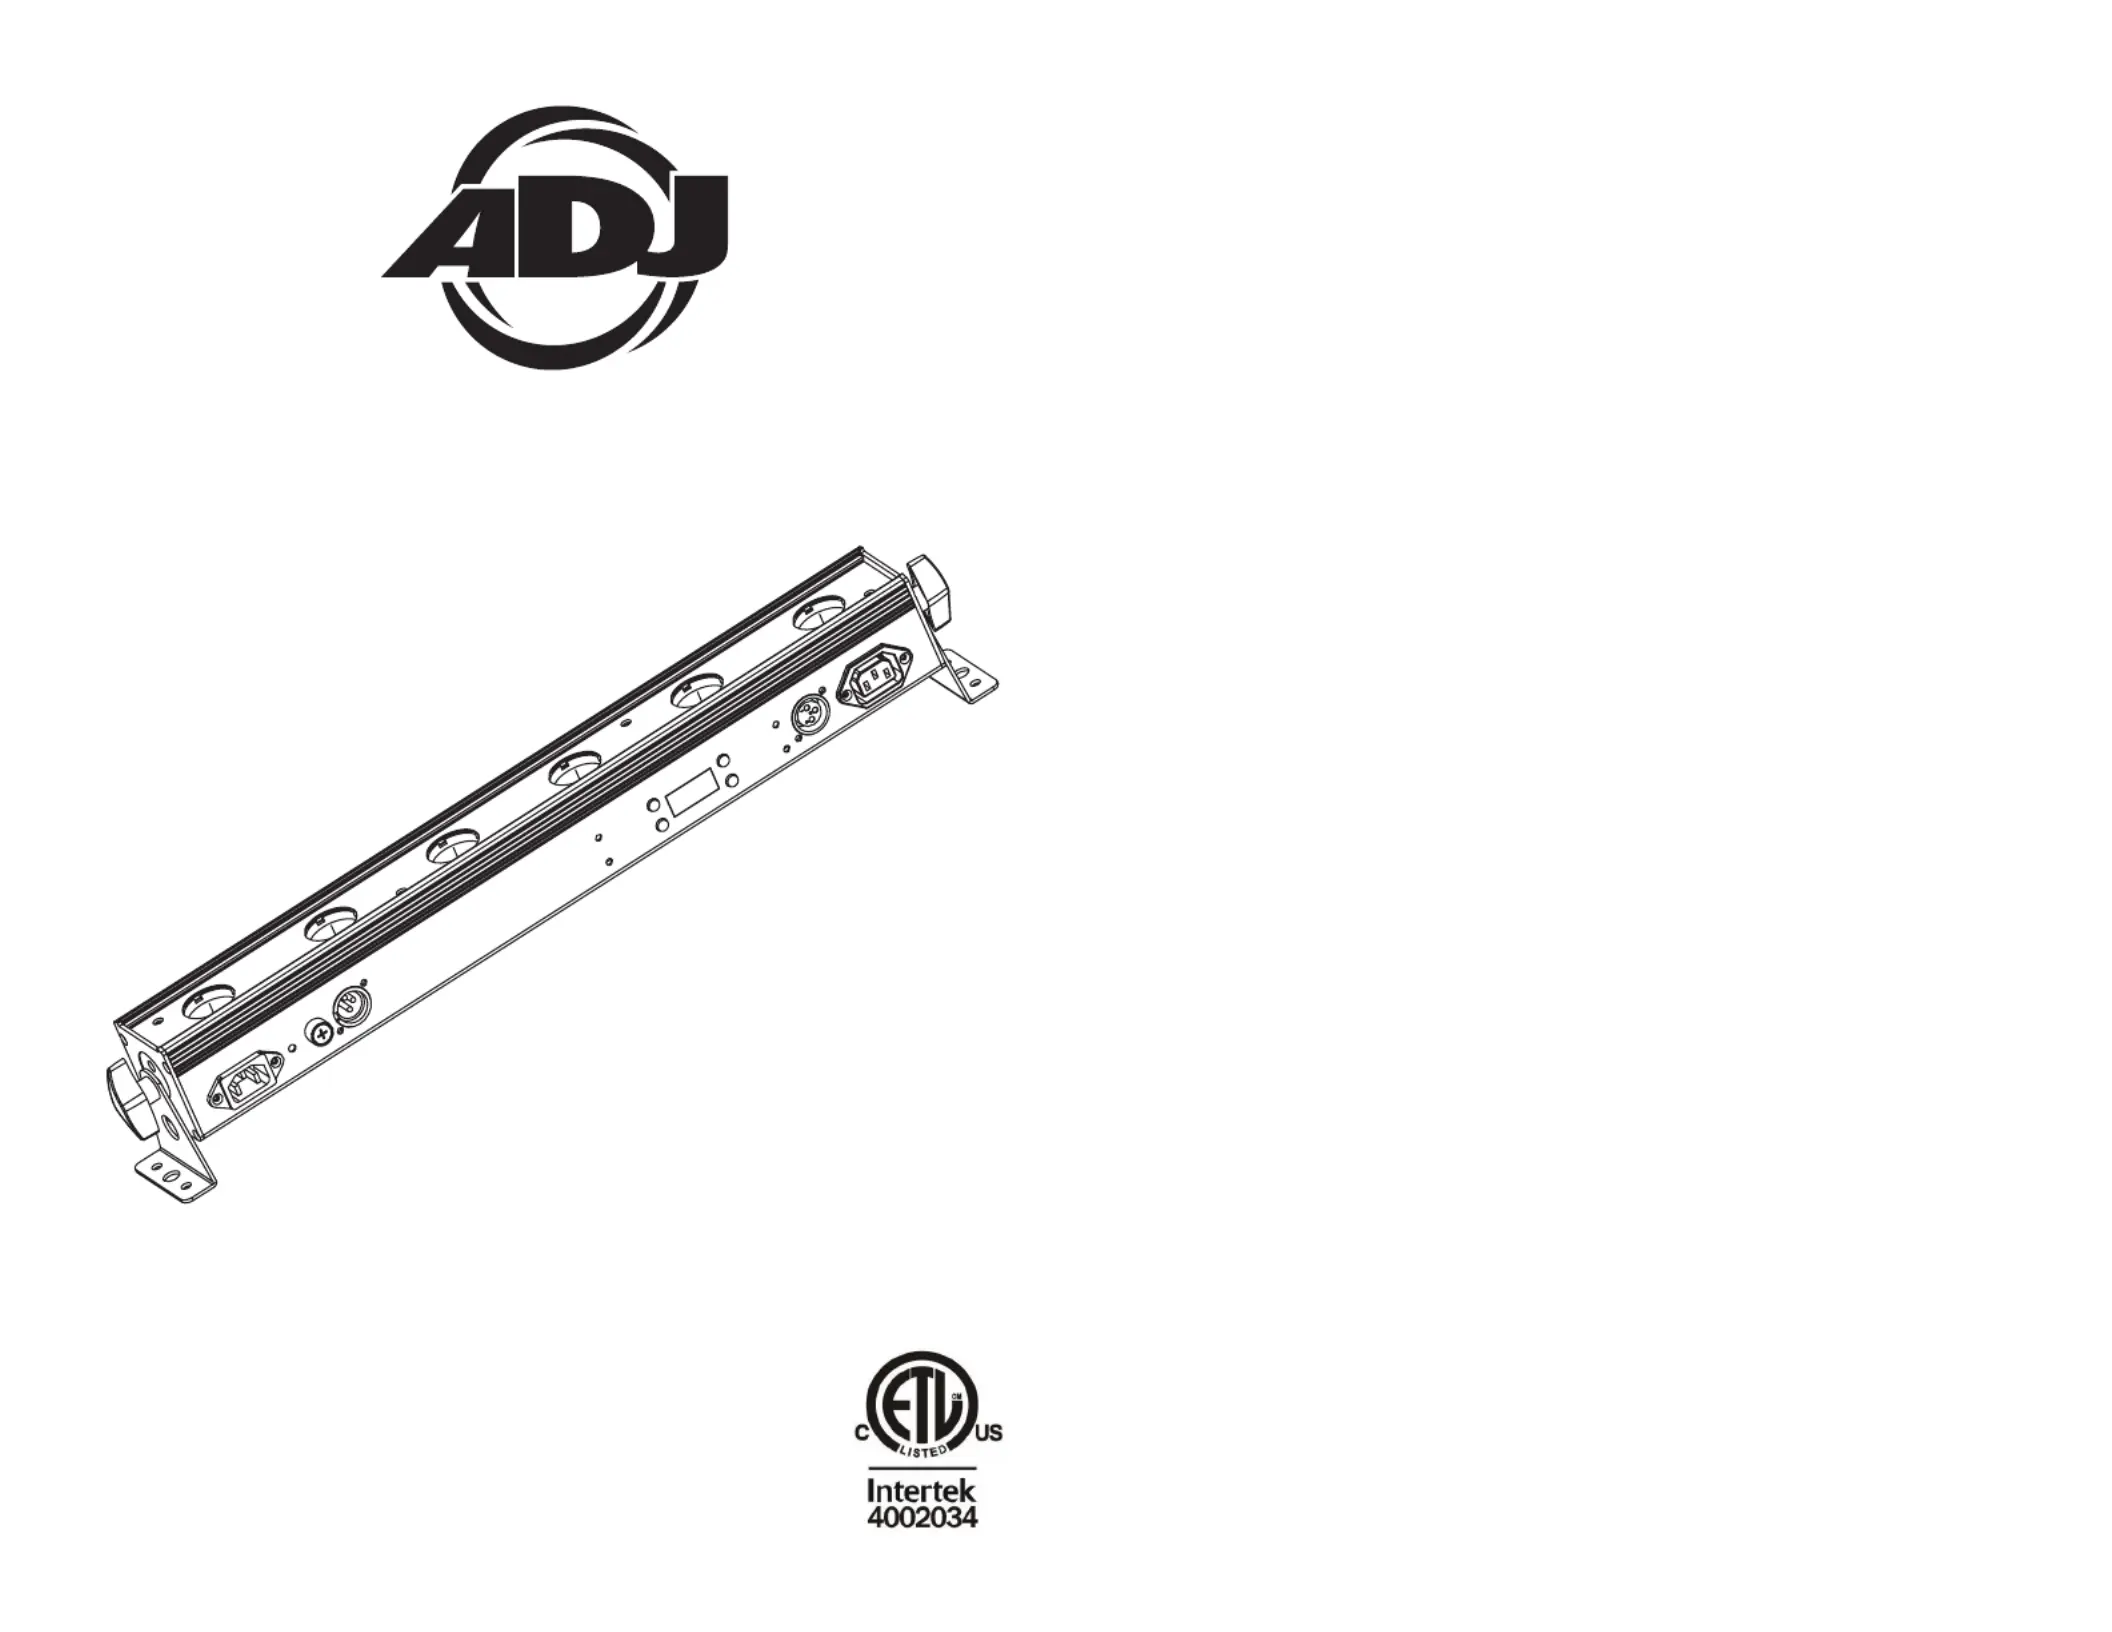
ULTRA BAR 6
©2014 ADJ Products, LLC all rights reserved. Information,
specications, diagrams, images, and instructions herein are
subject to change without notice. ADJ Products, LLC logo and
identifying product names and numbers herein are trademarks
of ADJ Products, LLC. Copyright protection claimed includes all
forms and matters of copyrightable materials and information
now allowed by statutory or judicial law or hereinafter granted.
Product names used in this document may be trademarks or
registered trademarks of their respective companies and are
hereby acknowledged. All non-ADJ Products, LLC brands and
product names are trademarks or registered trademarks of their
respective companies.
ADJ Products, LLC and all aliated companies hereby dis-
claim any and all liabilities for property, equipment, building, and
electrical damages, injuries to any persons, and direct or indi-
rect economic loss associated with the use or reliance of any
information contained within this document, and/or as a result
of the improper, unsafe, unsucient and negligent assembly,
installation, rigging, and operation of this product.
Europe Energy Saving Notice
Energy Saving Matters (EuP 2009/125/EC)
Saving electric energy is a key to help protecting the enviroment.
Please turn o all electrical products when they are not in use. To
avoid power consumption in idle mode, disconnect all electrical
equipment from power when not in use. Thank you!
Produktspezifikationen
| Marke: | Adj |
| Kategorie: | Nicht kategorisiert |
| Modell: | Ultra Bar 6 |
Brauchst du Hilfe?
Wenn Sie Hilfe mit Adj Ultra Bar 6 benötigen, stellen Sie unten eine Frage und andere Benutzer werden Ihnen antworten
Bedienungsanleitung Nicht kategorisiert Adj

28 Februar 2026
30 Dezember 2026
15 Oktober 2025
15 Oktober 2025
15 Oktober 2025
15 Oktober 2025
15 Oktober 2025
15 Oktober 2025
15 Oktober 2025
15 Oktober 2025
Bedienungsanleitung Nicht kategorisiert
Neueste Bedienungsanleitung für -Kategorien-
3 April 2026
3 April 2026
3 April 2026
3 April 2026
3 April 2026
3 April 2026
3 April 2026
3 April 2026
3 April 2026
3 April 2026