Atlona AT-VTP-550 Bedienungsanleitung
Atlona Nicht kategorisiert AT-VTP-550
Lies die bedienungsanleitung für Atlona AT-VTP-550 (9 Seiten) kostenlos online; sie gehört zur Kategorie Nicht kategorisiert. Dieses Handbuch wurde von 10 Personen als hilfreich bewertet und erhielt im Schnitt 5.0 Sterne aus 7 Bewertungen. Hast du eine Frage zu Atlona AT-VTP-550 oder möchtest du andere Nutzer dieses Produkts befragen? Stelle eine Frage
Seite 1/9
Installation Guide
AT-VTP-550
1
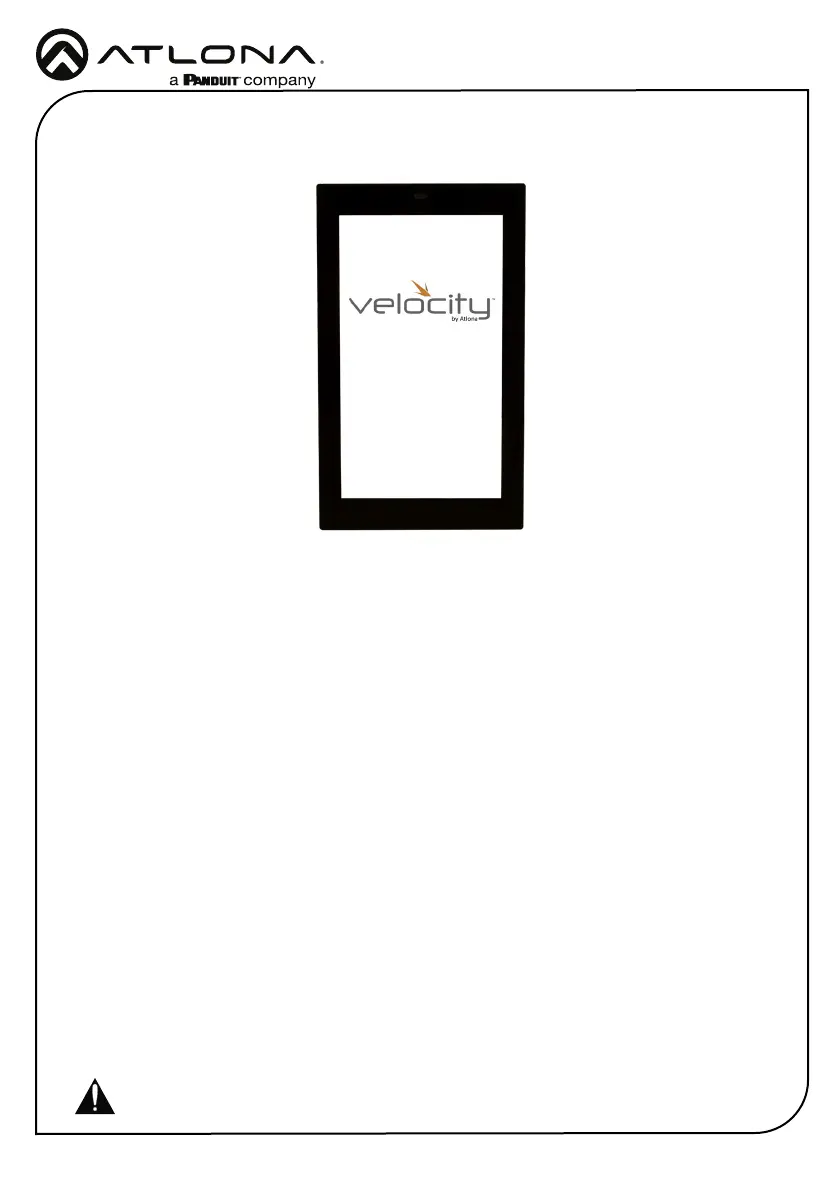
Velocity 5.5” Touch Panel
AT-VTP-550-WH and AT-VTP-550-BL
The Atlona AT-VSP-550-BL and AT-VTP-550-WH are 5.5” touch panels in black and white,
respectively, for the Atlona Velocity™ Control System. They feature contemporary, rened styling
for modern presentation environments with 720x1280 native resolution, and a capacitive glass
surface that supports multi-touch and gesture interactions. These touch panels conveniently
install into a wall or furniture via a US or Euro one-gang opening. The VTP-550-BL and VTP-550-
WH feature Power over Ethernet (PoE), enabling a single network connection for data and power.
Setting up the touch panels is eortless as the AV control GUI is automatically uploaded from the
Velocity Control Gateway processor during system conguration.
1 x AT-VTP-550
1 x Metal mounting plate
4 x Mounting screws
1 x Installation Guide
Package Contents
Operating Notes
• The Velocity 5” Touch Panel (AT-VTP-550) must be on the same network as the Velocity
Gateway (AT-VGW-HW) or it will be unable to sync for control.
• The AT-VTP-550 is PoE capable, to power the unit, simply plug it into a 802.3at compatible
network switch. If the network switch is not PoE capable, a PoE injector (purchased separately)
can be used.
IMPORTANT: Velocity Gateway (AT-VGW-HW) must be set up before the AT-VTP-550 is
fully functional.
Produktspezifikationen
| Marke: | Atlona |
| Kategorie: | Nicht kategorisiert |
| Modell: | AT-VTP-550 |
Brauchst du Hilfe?
Wenn Sie Hilfe mit Atlona AT-VTP-550 benötigen, stellen Sie unten eine Frage und andere Benutzer werden Ihnen antworten
Bedienungsanleitung Nicht kategorisiert Atlona

9 März 2026
9 März 2026
14 August 2025
14 Juli 2025
11 Juli 2025
11 Juli 2025
11 Juli 2025
11 Juli 2025
11 Juli 2025
10 Juli 2025
Bedienungsanleitung Nicht kategorisiert
Neueste Bedienungsanleitung für -Kategorien-
3 April 2026
3 April 2026
3 April 2026
3 April 2026
3 April 2026
3 April 2026
3 April 2026
3 April 2026
3 April 2026
3 April 2026