Crestron C3RY-8 Bedienungsanleitung
Crestron Nicht kategorisiert C3RY-8
Lies die bedienungsanleitung für Crestron C3RY-8 (2 Seiten) kostenlos online; sie gehört zur Kategorie Nicht kategorisiert. Dieses Handbuch wurde von 30 Personen als hilfreich bewertet und erhielt im Schnitt 4.9 Sterne aus 2 Bewertungen. Hast du eine Frage zu Crestron C3RY-8 oder möchtest du andere Nutzer dieses Produkts befragen? Stelle eine Frage
Seite 1/2
C3COM-3/C3IO-16/C3IR-8/C3RY-16/C3RY-8
3-Series
®
Control Cards
Installation Guide
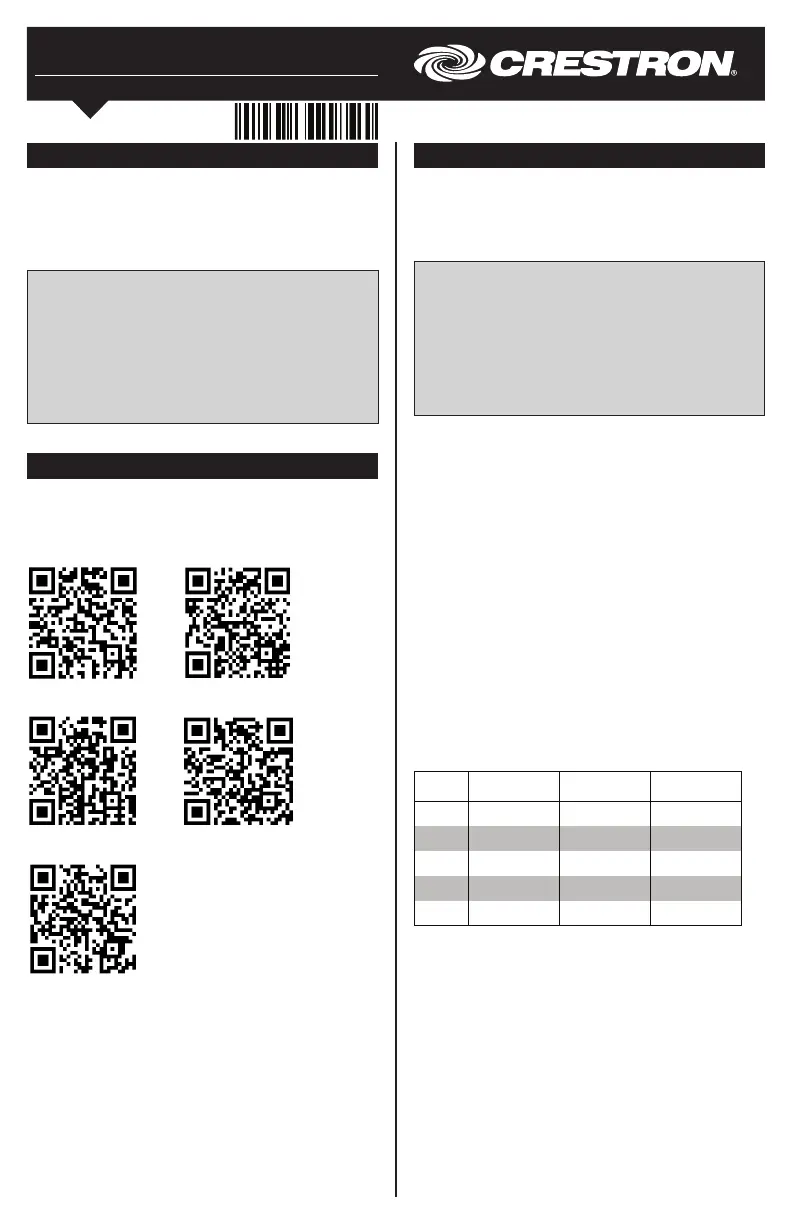
Additional Resources
Visit the product page on the Crestron website
(www.crestron.com) for additional information and the
latest rmware updates. Use a QR reader application on
your mobile device to scan the appropriate QR image.
C3IO-16C3COM-3
C3IR-8C3RY-8
C3RY-16
1
A ground terminal connection is recommended but not
required. Ground potential difference must be under +/-4 v.
Description
Crestron
®
3-Series
®
control cards are designed to install
into a control card expansion slot of a 3-Series Control
System
®
device (PRO3 or AV3). The cards can also be
installed into a 3-Series Card Interface device
(CEN-CI3-1 or CEN-CI3-3).
NOTE: The AV3 requires the CAGE3 Control Card
Expansion Cage accessory to enable use of 3-Series
control cards.
NOTE: 3-Series control cards are not compatible
with the 2-Series PRO2, AV2, or PAC2 models. Even
when installed in the CAGE3 Control Card Expansion
Cage, the cards are not compatible with any 2-Series
control system.
Installation
Items required to install the 3-Series control cards are
already attached to the unit. The only tools required
are a Phillips screwdriver and a grounding strap. To
install the control card, follow the procedure below.
CAUTION: 3-Series control cards contain
electrostatic-sensitive devices (ESD); observe
precautions for handling ESDs to avoid damaging the
card.
NOTE: If the card is being installed into an AV3,
ensure that the CAGE3 Control Card Expansion Cage
accessory is installed before completing this
procedure.
1. Disconnect power from the control system.
2. Use the Phillips screwdriver to remove two
screws and the blank faceplate from the control
system.
3. Align the 3-Series control card guides in the open
slot and slide the control card into position.
4. Firmly press on both ends of the 3-Series control
card faceplate to seat the control card into the
control system connector.
5. Tighten the thumb screws to secure the 3-Series
control card to the control system.
6. Reapply power to the control system.
C3COM-3 Wiring Connections
The C3COM-3 provides three bidirectional
RS-232/422/485 ports (COM 1−3). Refer to the
following table when making connections to the
C3COM-3.
C3COM-3 Pin Out
PIN RS-232 RS-422 RS-485
G
GND GND GND
1
TX
TX TX- TX-/RX-
RX
RX RX+ (Not Used)
RTS
RTS TX+ TX+/RX+
CTS
CTS RX- (Not Used)
Produktspezifikationen
| Marke: | Crestron |
| Kategorie: | Nicht kategorisiert |
| Modell: | C3RY-8 |
| Gewicht: | 114 g |
| Betriebstemperatur: | 5 - 45 °C |
| Anzahl Kanäle: | - Kanäle |
| Relative Luftfeuchtigkeit: | 10 - 90 % |
| Kanaltyp: | Relaiskanal |
| Modultyp: | Digital |
Brauchst du Hilfe?
Wenn Sie Hilfe mit Crestron C3RY-8 benötigen, stellen Sie unten eine Frage und andere Benutzer werden Ihnen antworten
Bedienungsanleitung Nicht kategorisiert Crestron

10 März 2026
8 März 2026
24 Januar 2026
23 Januar 2026
3 Dezember 2025
1 Dezember 2025
1 Dezember 2025
1 Dezember 2025
1 Dezember 2025
1 Dezember 2025
Bedienungsanleitung Nicht kategorisiert
Neueste Bedienungsanleitung für -Kategorien-
3 April 2026
3 April 2026
3 April 2026
3 April 2026
3 April 2026
3 April 2026
3 April 2026
3 April 2026
3 April 2026
3 April 2026