Eliminator Lighting Electro Disc LED Bedienungsanleitung
Eliminator Lighting Nicht kategorisiert Electro Disc LED
Lies die bedienungsanleitung für Eliminator Lighting Electro Disc LED (4 Seiten) kostenlos online; sie gehört zur Kategorie Nicht kategorisiert. Dieses Handbuch wurde von 9 Personen als hilfreich bewertet und erhielt im Schnitt 4.9 Sterne aus 8 Bewertungen. Hast du eine Frage zu Eliminator Lighting Electro Disc LED oder möchtest du andere Nutzer dieses Produkts befragen? Stelle eine Frage
Seite 1/4
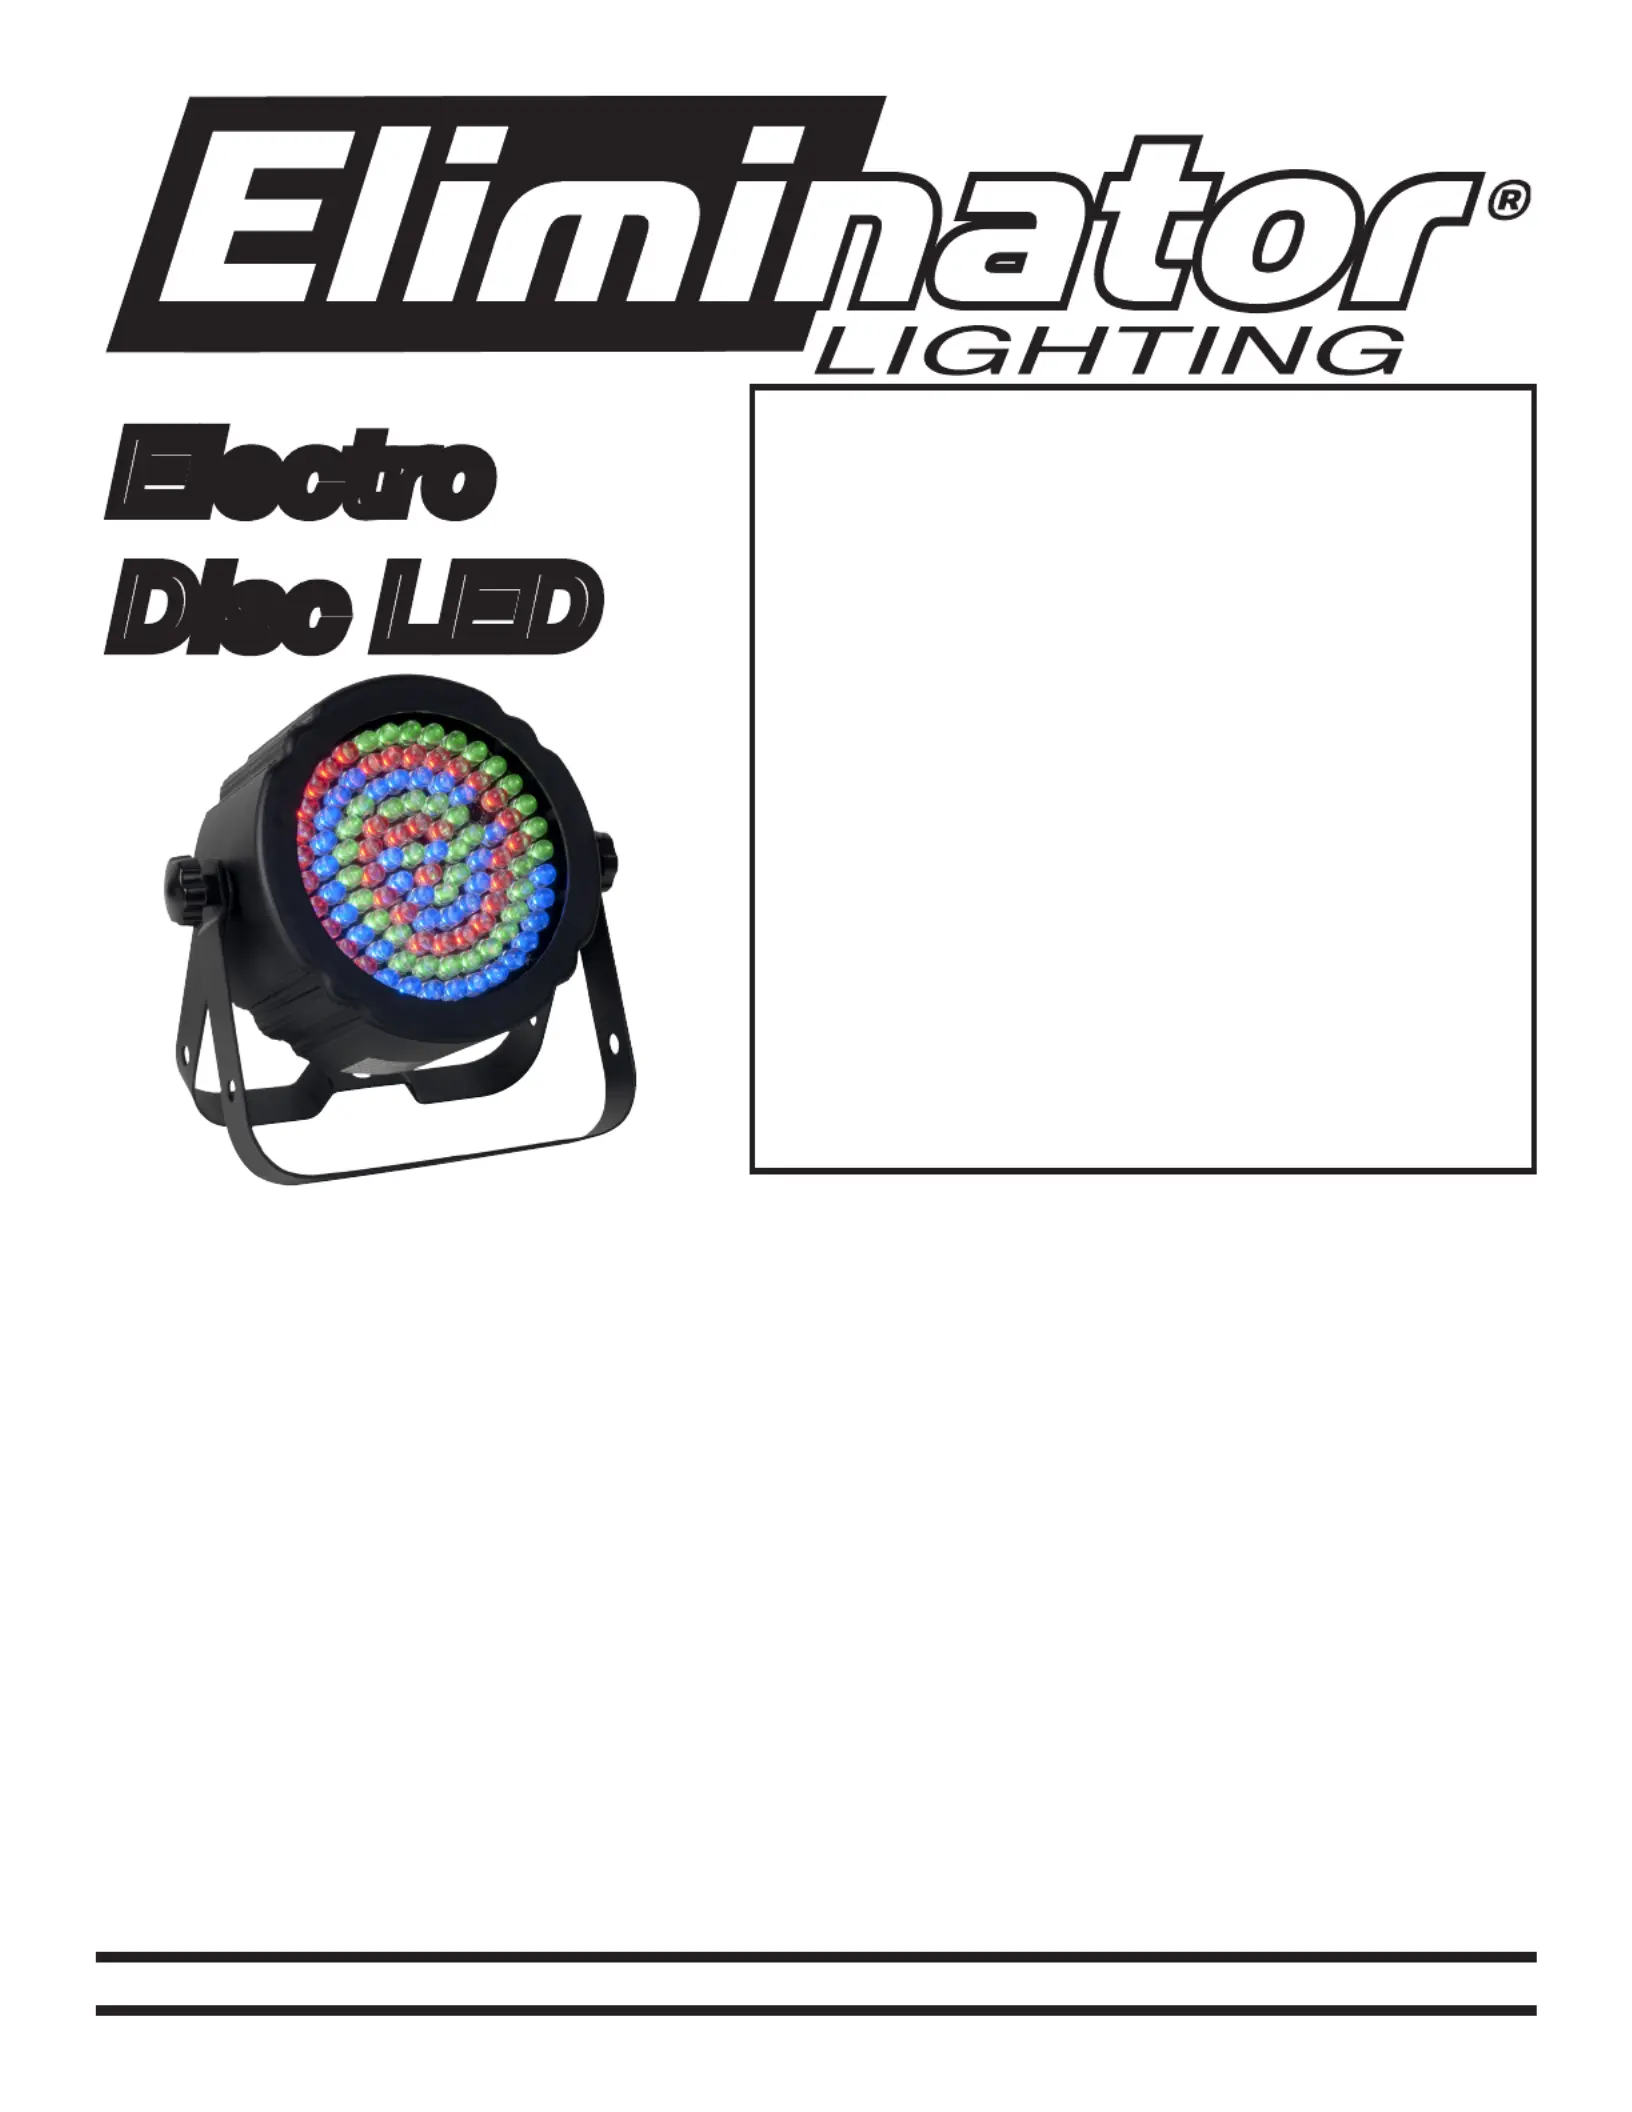
Electro
Disc LED
SPECIFICATIONS:
Model: Electro Disc LED
Voltage: 100V-240V 50/60Hz
LEDs: 107 x 10mm LEDs (36
Red, 36 Green, & 35 Blue)
Beam Angle: 30 Degrees
Power Consumption: 14W
Weight: 3lbs./ 1.2kgs.
Size: 10.25”(L) x 9.5”(W) x 4”(H)
Fuse: 1 Amp
Power Cord Daisy Chain: 40 Fixtures Max.
Working Position: Any Safe position
Duty Cycle: None
DMX Channels: 4 DMX Channels
Colors: Multiple Colors
Warranty: 1 Year
CAUTION! Please read and under-
stand these instructions before
installing or operating this unit.
Operating Instructions:
The Electro Disc LED has been tested at the factory, there is no assembly required. The unit is ready
to be plugged into a power outlet. This unit is a 4 channel DMX intelligent LED wash. It has 6 oper-
ating modes; Static Color mode, Color Change mode, Color Fade mode, Auto Run mode, Sound
Active mode, or DMX mode. The Electro Disc LED can be used as a stand alone unit or in a master-
slave conguration.
Power Cord Daisy Chaining: With this feature you can connect the xtures to one another using the
IEC input and output sockets. The quantity that can be connected is 40 xtures maximum. After 40
xtures you will need to use a new power outlet. They must be the same xtures. DO NOT mix xtures.
©Eliminator® Los Angeles, CA. - www.EliminatorLighting.com
Caution! Never open unit when in use. Always
disconnect main power before replacing fuse.
Remember to always replace with the exact same
type fuse.
1 Year Limited Warranty:Eliminator Lighting warranty is valid from the date of purchase. Our
1 year limited warranty covers manufacturing defects only. Serial number, place of purchase with
dated valid receipt must be submitted at time of service. Eliminator Lighting warranty does not cover
items or parts prone to wear and tear: lamps, fuses, brushes and belts. Eliminator Lighting warranty
is only valid with-in the United States.
Produktspezifikationen
| Marke: | Eliminator Lighting |
| Kategorie: | Nicht kategorisiert |
| Modell: | Electro Disc LED |
Brauchst du Hilfe?
Wenn Sie Hilfe mit Eliminator Lighting Electro Disc LED benötigen, stellen Sie unten eine Frage und andere Benutzer werden Ihnen antworten
Bedienungsanleitung Nicht kategorisiert Eliminator Lighting

2 November 2025
1 November 2025
1 November 2025
1 November 2025
31 Oktober 2025
31 Oktober 2025
31 Oktober 2025
31 Oktober 2025
31 Oktober 2025
31 Oktober 2025
Bedienungsanleitung Nicht kategorisiert
Neueste Bedienungsanleitung für -Kategorien-
3 April 2026
3 April 2026
3 April 2026
3 April 2026
3 April 2026
3 April 2026
3 April 2026
3 April 2026
3 April 2026
3 April 2026