Elite Screens ezFrame R106H Bedienungsanleitung
Elite Screens Projektionsfläche ezFrame R106H
Lies die bedienungsanleitung für Elite Screens ezFrame R106H (3 Seiten) kostenlos online; sie gehört zur Kategorie Projektionsfläche. Dieses Handbuch wurde von 29 Personen als hilfreich bewertet und erhielt im Schnitt 4.0 Sterne aus 9 Bewertungen. Hast du eine Frage zu Elite Screens ezFrame R106H oder möchtest du andere Nutzer dieses Produkts befragen? Stelle eine Frage
Seite 1/3
Insta-RP2 Screen Series
Self-Adhesive Rear Projection Screen Film
Installation Guide
PRECAUTIONS
1.This product is an adhesive rear-projection screen that can be applied to various surfaces such
as transparent glass or acrylic.
2.This product is made for a one-time application. It has a non-reusable adhesive that bonds
firmly to a window surface. If the window has any layer treatment such as tinting, it is likely
that the layering will be damaged upon removal of the screen.
3.To ensure an even and “bubble-free” installation, make sure that the window surface is clean
and evenly moistened previous to installation.
4.Do not fold the Insta-RP2 Screen’s material. Folding will result in a permanent crease that
cannot be removed.
5.Avoid touching the screen with any hard or sharp objects that may cut, scratch or otherwise
deface the material.
6.The Insta-RP2 Screen is applied to a moist surface. This can impact the installation of the
material by possibly creating slight ripples or bubbling. These will disappear within the first few
weeks as the micro-droplets of water trapped in the adhesive evaporate.
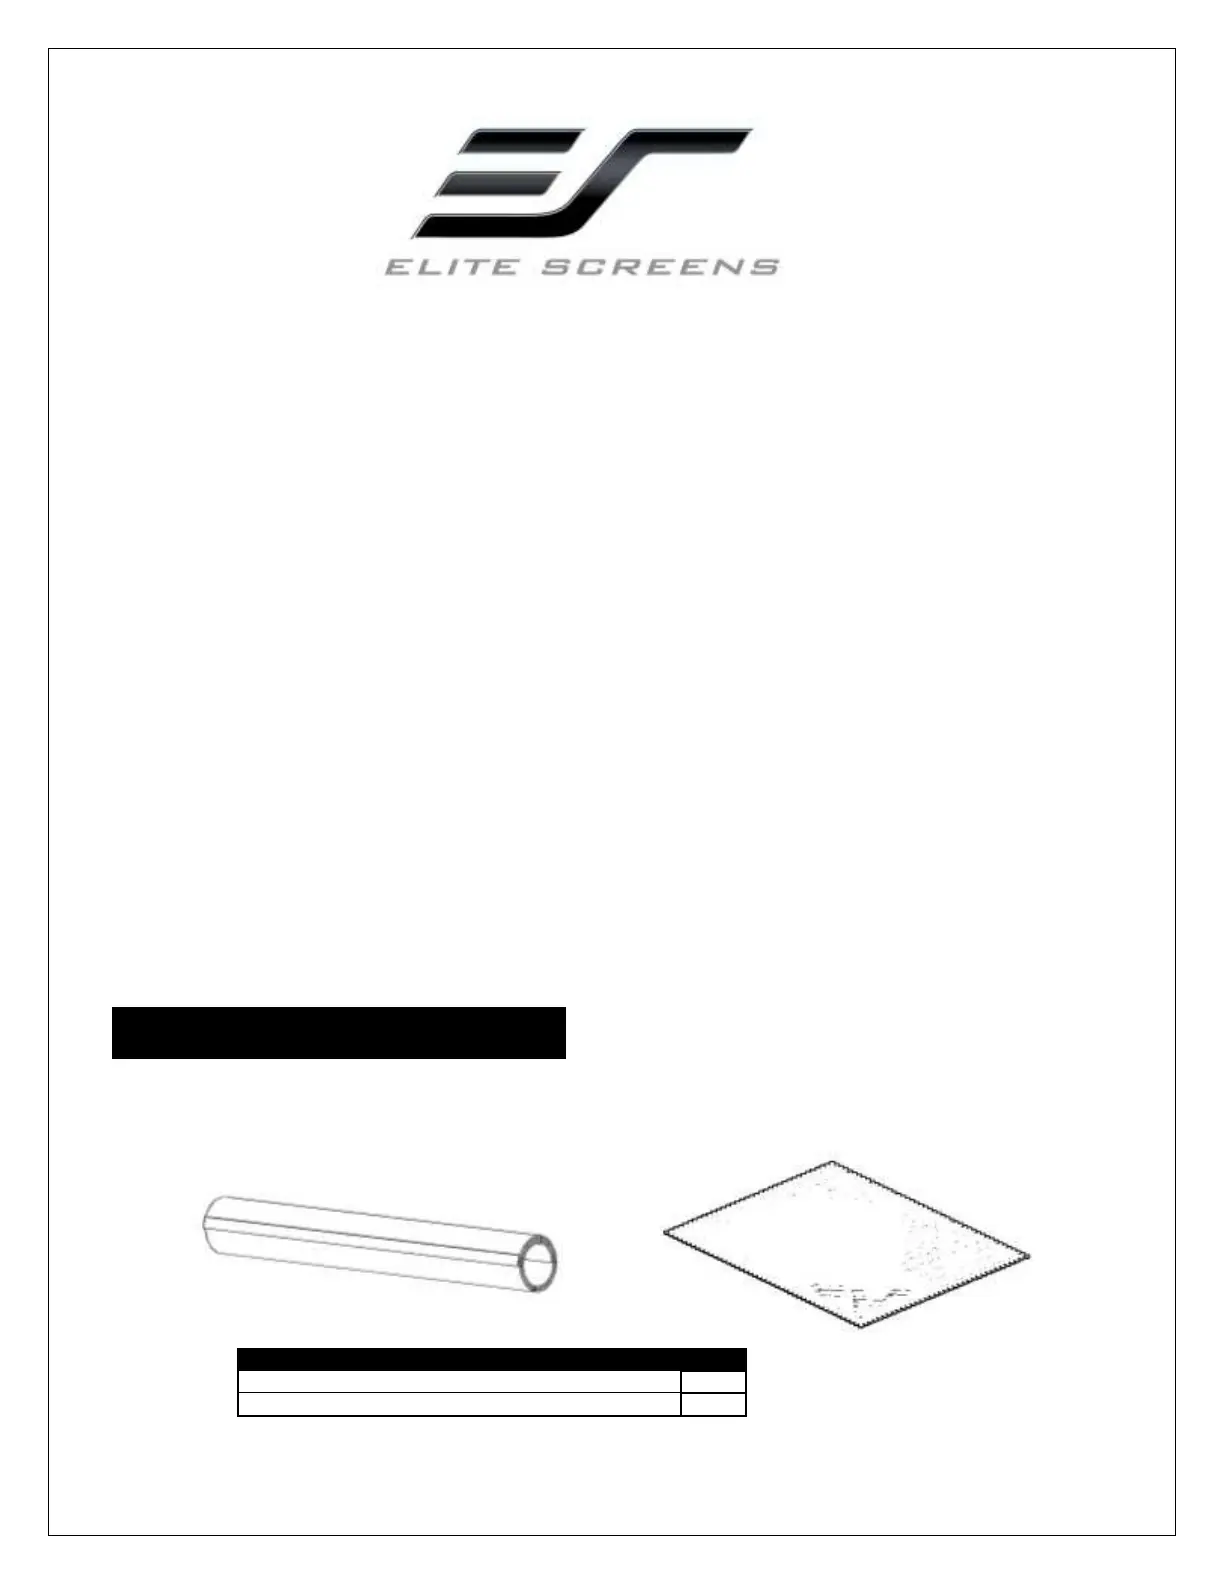
Contents of this package Pad
Please make sure that all parts listed below are included. Contact Elite Screens Immediately if anything is
missing.
a. b.
Parts List
QTY
a. Insta-RP2 Screen Material
1
b. Microfiber cleaning cloth
1
Produktspezifikationen
| Marke: | Elite Screens |
| Kategorie: | Projektionsfläche |
| Modell: | ezFrame R106H |
| Gewicht: | - g |
| Produktfarbe: | Weiß |
| Natives Seitenverhältnis: | 16:9 |
| Einsehbare Bildschirmhöhe (H): | 2341.9 mm |
| Einsehbare Bildschirmbreite (B): | 1318.3 mm |
| Diagonal: | 106 " |
| Gesamte Bildschirmgröße (Höhe x Breite): | 132 x 234 cm |
Brauchst du Hilfe?
Wenn Sie Hilfe mit Elite Screens ezFrame R106H benötigen, stellen Sie unten eine Frage und andere Benutzer werden Ihnen antworten
Bedienungsanleitung Projektionsfläche Elite Screens

23 August 2024
23 August 2024
23 August 2024
23 August 2024
23 August 2024
23 August 2024
23 August 2024
23 August 2024
23 August 2024
23 August 2024
Bedienungsanleitung Projektionsfläche
Neueste Bedienungsanleitung für -Kategorien-
12 Oktober 2024
2 Oktober 2024
29 September 2024
27 September 2024
20 September 2024
11 September 2024
7 September 2024
6 September 2024
6 September 2024
5 September 2024