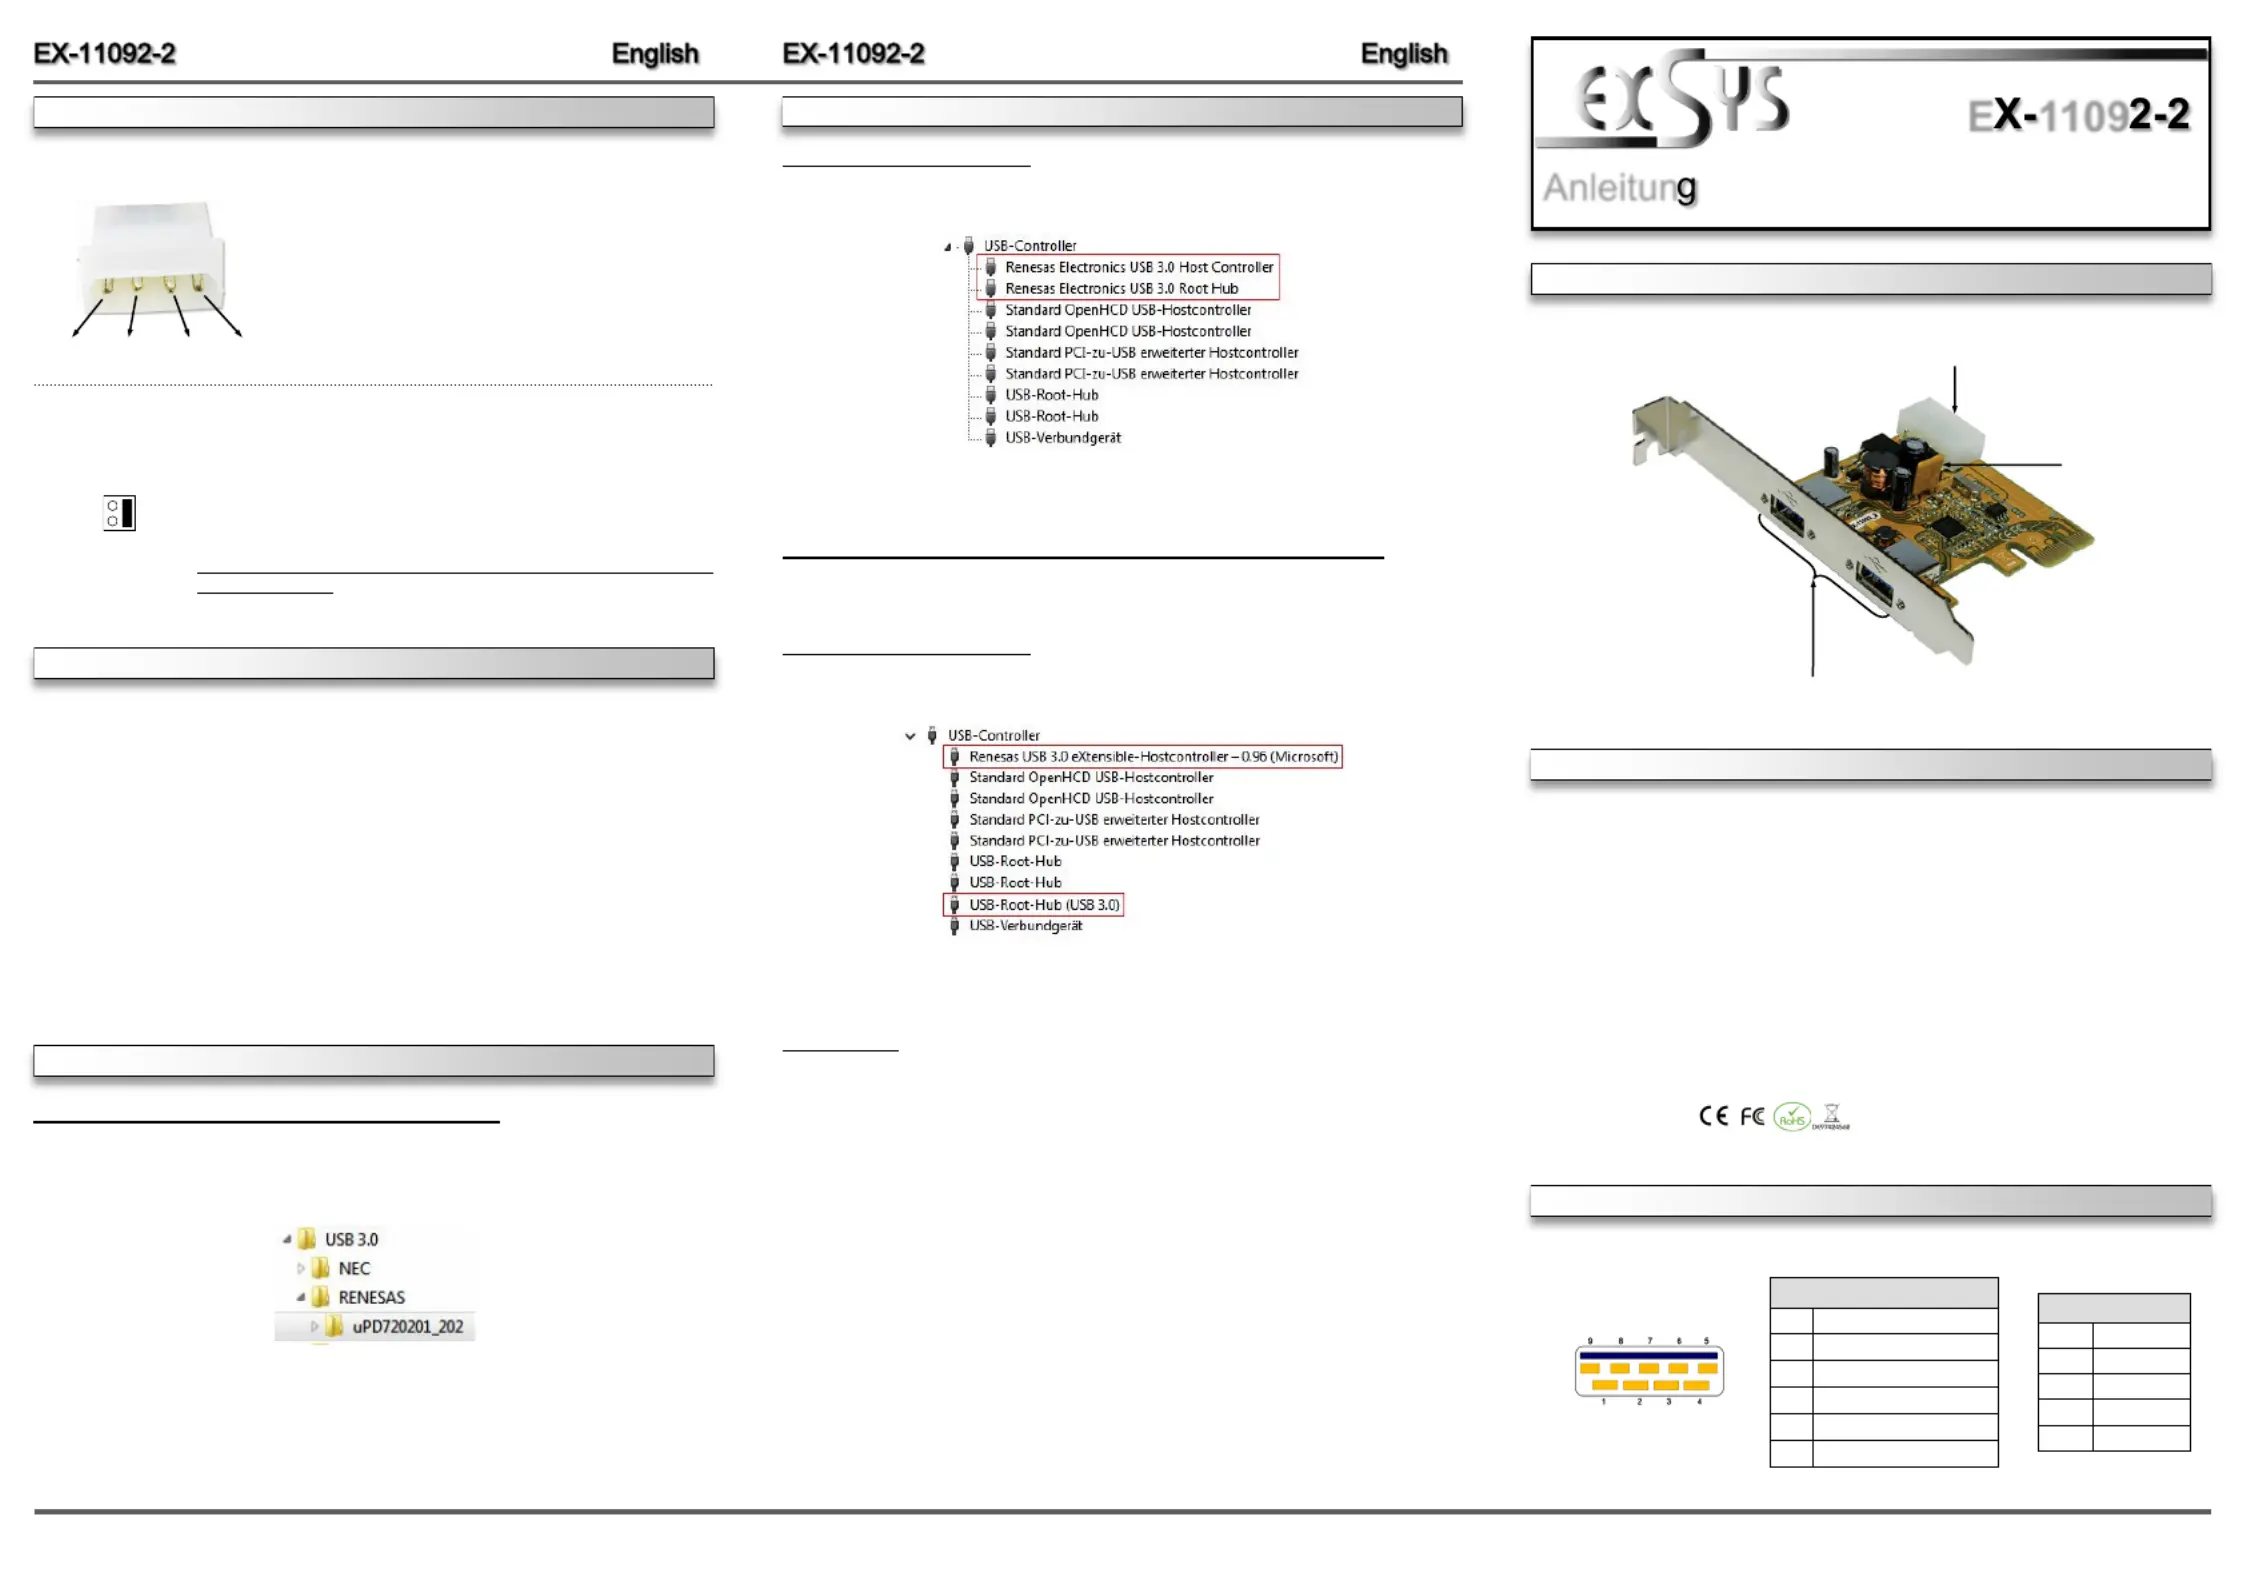
EXSYS EX-11092-2 Bedienungsanleitung
EXSYS Netzwerkkarte / Adapter EX-11092-2
Lies die bedienungsanleitung für EXSYS EX-11092-2 (2 Seiten) kostenlos online; sie gehört zur Kategorie Netzwerkkarte / Adapter. Dieses Handbuch wurde von 26 Personen als hilfreich bewertet und erhielt im Schnitt 4.5 Sterne aus 4 Bewertungen. Hast du eine Frage zu EXSYS EX-11092-2 oder möchtest du andere Nutzer dieses Produkts befragen? Stelle eine Frage
Seite 1/2
65
Die EX-11092-2 ist eine USB 3.2 Gen 1 PCIe Karte. Sie ist mit zwei externen Buchsen ausge-
stattet, die jeweils 900mA Strom zu Verfügung stellen. Die EX2 unterstützt die volle -11092-
Leistung von 900mA an beiden externen Buchsen ohne das Sie zusätzlichen Strom vom PC-
Netzteil benötigen. Sie unterstützt alle PCIe Slots von x1 bis x16. Der PCIExpress Bus unter--
stützt optimal die Leistung des schnellen Renesas Chipsatz. Die EX2 gewährleistet so -11092-
eine sichere Datenübertragung und exzellente Performance von bis zu 5Gbit pro Sekunde! Sie
unterstützt alle USB Anschlüsse von 1.1 bis 3.2. Zusätzlich bietet die EX2 Ihnen die -11092-
Möglichkeit das USB Kabel an die UBS Buchsen der Karte zu verschrauben.
Kompatibilität:PCIExpress p1-x1 bis x16-
Betriebssysteme:Windows XP / Vista / 7 / 8.x / 10 / 11 / Server 20xx / Linux / Mac
Anschlüsse:2x USB 3.2 Gen 1 ABuchse (verschraubbar), 1x 4Pin Molex Power --
Anschluss
Lieferumfang:2, Low Profile Bügel, Treiber CD, AnleitungEX-11092-
Zertifikate:
1
BESCHREIBUNG & TECHNISCHE DATEN
AUFBAU
Anleitun
Vers. 1.5 / 26.02.24
E1109
ANSCHLÜSSE & JUMPEREINSTELLUNG
2x USB 3.2 Gen 1 ABuchse (verschraubbar)-
USB 3.2 Gen 1 Buchse:
USB 2.0 Pins‘
PinSignal
1VCC
2DATA-
3DATA+
4GND
USB 3.2 Pins‘
PinSignal
5SSTX+
6SSTX-
7GND
8SSRX+
9SSRX-
4Pin Molex Power Anschluss für PCNetzteil--
DRIVER INSTALLATION
CHECK INSTALLED DRIVER
Open the >Device manager<. Now you should see at „USB-Controller“ the following new entry's:
If you see this or a similar information the device is installed correctly.
Windows 8.x / 10 / 11 / Server 2012R2 & 2016 & 2019 & 2022
After the hardware installation, the operating system will recognize the device automatically and
install the drivers.
CHECK INSTALLED DRIVER
Open the >Device manager<. Now you should see at „USB-Controller“ the following new entry's:
If you see this or a similar information the device is installed correctly.
Linux / Mac
After the hardware installation, the operating system will recognize the device automatically and
install the drivers.
JP1:
Jumper zur Auswahl
der Stromquelle
(Netzteil oder
PCIExpress Bus)-
HARDWAREINSTALLATION
DRIVER INSTALLATION
Please note the following installation instructions. Because there are large differences between the
PC’s, we can give you only a general installation instructions for the EX-11092-2. Please refer your
computers reference manual whenever in doubt.’
1.Turn off the power to your computer and any other connected peripherals.
2.Remove the mounting screws located at the rear and/or sides panels of your Computer and
gently slide the cover off.
3.Locate an available PCI-Express expansion slot and insert the card. Make sure that the card
is plugged in correctly.
4. If necessary please install now the external power supply to the card.
5.Then attach the card with a screw to the rear panel of the computer.
6.Gently replace your computers cover and the mounting screws.’
Windows XP / Vista / 7 / Server 2003 & 2008R2
After starting Windows is recognizes a new . Now ““USB (Universal Serial Bus)Controller-
insert the Driver CD into your CDROM drive (e.g. drive D:) and start the which is -„“ setup
located in the folder (see picture):„“ USB 3.0/RENESAS/uDP720201_202
Follow the installation instructions and complete the installation.
Windows will now install automatically you right driver for your particular operating system. After
the installation the operating system detects the card and automatically install them.
CONNECTORS
4Pin Molex Power Connector :-
1 +12V2 GND3 GND4 +5V
If JP1 is set to AUX, the connector must be connected to
the power connector from the PC power supply.
Please make sure you connect the plug in the right
direction!
Attention! Never connect or release the plug while the
PC power is on!
INT = (Factory Setting)Power 900mA from PCIExpress BUS -
AUX = Power 900mA from PC power supply
(For safe direct power from PC power supply to provide sufficient power
for devices with high power consumption)
The 4Pin Molex Power Connector must then be connected to the -
PC power supply!
JP1:
INT
AUX
Produktspezifikationen
| Marke: | EXSYS |
| Kategorie: | Netzwerkkarte / Adapter |
| Modell: | EX-11092-2 |
| Tiefe: | 65 mm |
| Gewicht: | 400 g |
| Produktfarbe: | Silber |
| Höhe: | 61 mm |
| Zweck: | PC |
| Betriebstemperatur: | 0 - 50 °C |
| Relative Luftfeuchtigkeit in Betrieb: | 5 - 95 % |
| Zertifizierung: | CE / FCC / WEEE |
| Plug & Play: | Ja |
| Eingebaut: | Ja |
| Temperaturbereich bei Lagerung: | -20 - 85 °C |
| Unterstützt Windows-Betriebssysteme: | Windows 7 Home Premium, Windows 7 Home Premium x64, Windows 8, Windows 8 x64, Windows Vista Home Premium, Windows Vista Home Premium x64, Windows XP Home, Windows XP Home x64 |
| Benutzerhandbuch: | Ja |
| USB 3.2 Gen 1 (3.1 Gen 1) Anzahl der Anschlüsse vom Typ A: | 2 |
| Nachhaltigkeitszertifikate: | RoHS |
| Hostschnittstelle: | PCIe |
| Anzahl Molex Anschlüsse 4pin: | 1 |
| Datenübertragungsrate (max): | 5 Gbit/s |
| Hot-Plug-Unterstützung: | Ja |
| Chipsatz: | Renesas uPD720202 |
| Ausgangsschnittstelle: | USB 3.2 Gen 1 (3.1 Gen 1) |
Brauchst du Hilfe?
Wenn Sie Hilfe mit EXSYS EX-11092-2 benötigen, stellen Sie unten eine Frage und andere Benutzer werden Ihnen antworten
Bedienungsanleitung Netzwerkkarte / Adapter EXSYS

10 März 2026
9 März 2026
7 März 2026
7 März 2026
7 März 2026
6 März 2026
5 März 2026
24 Juli 2025
23 Juli 2025
23 Juli 2025
Bedienungsanleitung Netzwerkkarte / Adapter
Neueste Bedienungsanleitung für -Kategorien-
1 April 2026
29 März 2026
28 März 2026
27 März 2026
27 März 2026
24 März 2026
24 März 2026
24 März 2026
24 März 2026
24 März 2026