FLIR Ariel CM-3505 Bedienungsanleitung
FLIR Sicherheitskamera Ariel CM-3505
Lies die bedienungsanleitung für FLIR Ariel CM-3505 (12 Seiten) kostenlos online; sie gehört zur Kategorie Sicherheitskamera. Dieses Handbuch wurde von 45 Personen als hilfreich bewertet und erhielt im Schnitt 4.1 Sterne aus 3 Bewertungen. Hast du eine Frage zu FLIR Ariel CM-3505 oder möchtest du andere Nutzer dieses Produkts befragen? Stelle eine Frage
Seite 1/12
CM-350x Quick Install Guide Revision 100
February 2025
This document does not contain any export-controlled information.
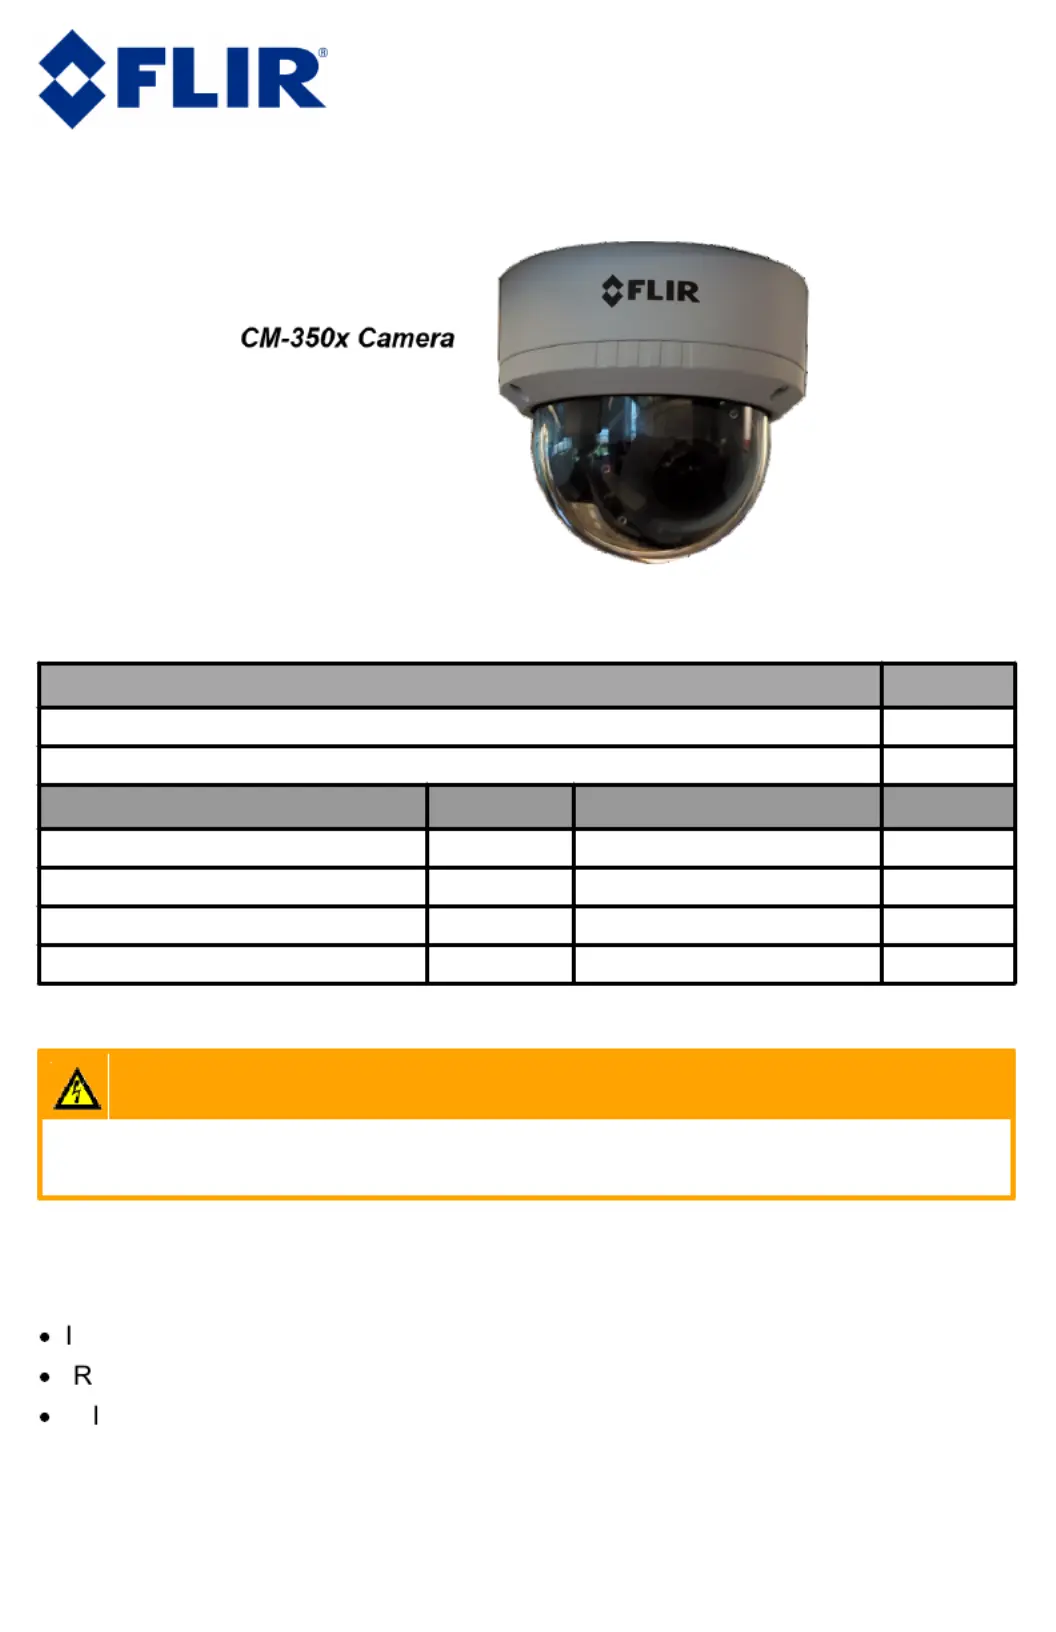
Ariel™ CM-350x
Dome Cameras
Quick Install Guide
1 Check Contents
Make sure all of the items below are included in the kit:
Item
Quantity
M4x8mm machine screws for attaching the camera to adapter plate
2
M4x16mm countersunk screws for attaching the adapter plate to electrical box
2
Item
Quantity
Item
Quantity
4S electrical box adapter plate
1
Mounting template sticker
1
M4x25 screws
2
T20 Torx wrench
1
Plastic screw anchors
2
This printed guide
1
Rubber multi-cable seal
1
Allen key
1
2 Select a Location
Warnings
The camera must be installed by qualified personnel and the installation must
conform to all local codes.
The camera is designed to be mounted outdoors.
Make sure that the operating temperature falls within the following ranges, with 10-
90% non-condensing humidity:
IR off: -40°C to 60°C (-40°F to 140°F)
IR on: -40°C to 40°C (-40°F to 104°F)
cold start: -20°C (-4°F)
Make sure you have the required accessories and tools.
Make sure that the location provides a suitable method for routing cables to and
from the camera.
Produktspezifikationen
| Marke: | FLIR |
| Kategorie: | Sicherheitskamera |
| Modell: | Ariel CM-3505 |
Brauchst du Hilfe?
Wenn Sie Hilfe mit FLIR Ariel CM-3505 benötigen, stellen Sie unten eine Frage und andere Benutzer werden Ihnen antworten
Bedienungsanleitung Sicherheitskamera FLIR

2 Dezember 2025
2 Dezember 2025
2 Dezember 2025
2 Dezember 2025
2 Dezember 2025
1 Dezember 2025
1 Dezember 2025
1 Dezember 2025
1 Dezember 2025
1 Dezember 2025
Bedienungsanleitung Sicherheitskamera
Neueste Bedienungsanleitung für -Kategorien-
31 März 2026
31 März 2026
31 März 2026
31 März 2026
31 März 2026
29 März 2026
29 März 2026
29 März 2026
29 März 2026
29 März 2026