Musical Fidelity A1 Bedienungsanleitung
Lies die bedienungsanleitung für Musical Fidelity A1 (12 Seiten) kostenlos online; sie gehört zur Kategorie Empfänger. Dieses Handbuch wurde von 33 Personen als hilfreich bewertet und erhielt im Schnitt 4.0 Sterne aus 5 Bewertungen. Hast du eine Frage zu Musical Fidelity A1 oder möchtest du andere Nutzer dieses Produkts befragen? Stelle eine Frage
Seite 1/12
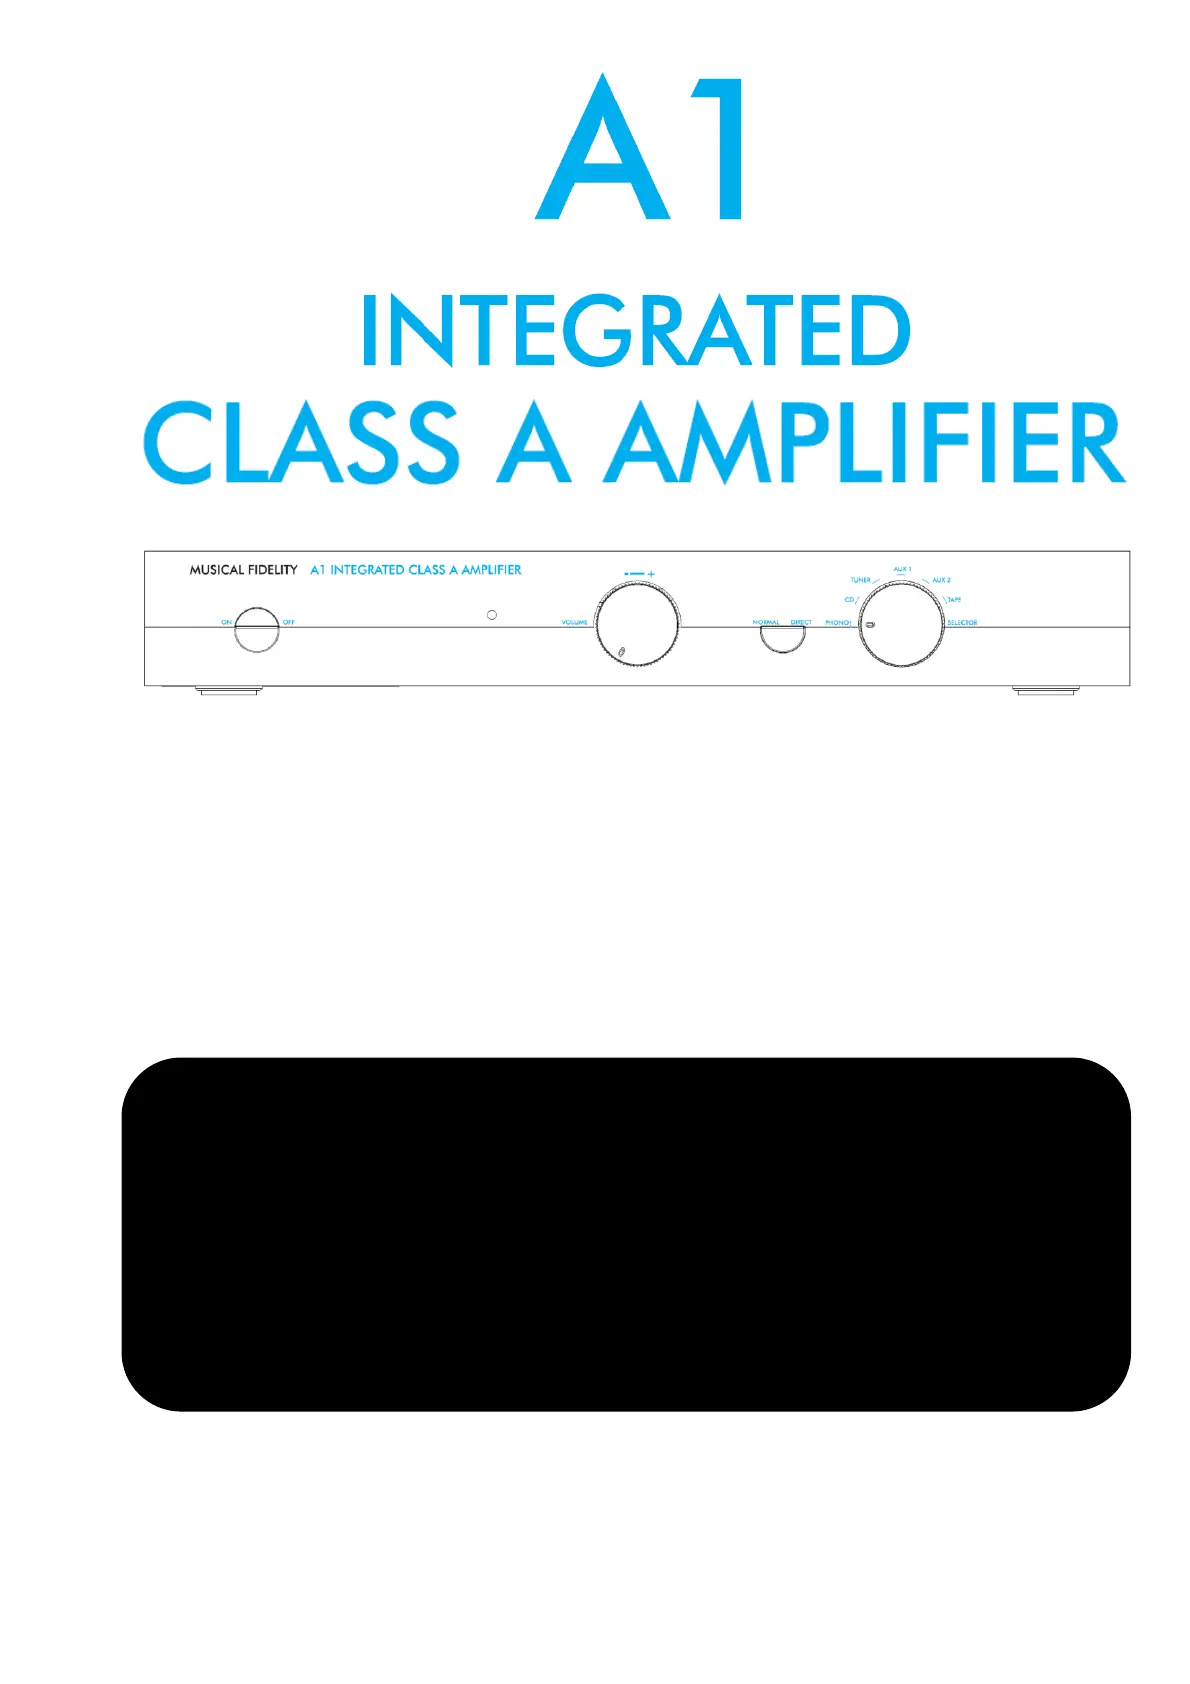
Instructions for use
Thank you for choosing the A1 integrated class A amplifier. Used properly, it should give you many years of
outstanding musical reproduction.
The A1 is designed for high definition performance. It is strongly biased into Class A, for audible smoothness and
clarity.
If there are any questions about the audio system, please consult the dealer, who is there to help and advise.
HEAT DISSIPATION
The A1 is a traditional Class A amp. A rarity in this day and age. Because the A1 is strongly biased into Class A,
it dissipates power, as heat. Think of the heat that a 75 watt light bulb creates, and you've got an idea of the heat
produced by the A1.
CAUTION:
SOME PARTS OF THE PRODUCT MAY BECOME VERY HOT AND CAUSE
BURNS. SPECIAL CARE SHOULD BE TAKEN IN THE PRESENCE OF
CHILDREN AND VULNERABLE PERSONS.
THE WHOLE TOP OF THE A1 IS A HEAT SINK. TO ALLOW FULL HEAT
DISSIPATION, NOTHING SHOULD BE PLACED ON IT AT ANY TIME.
SURFACE TEMPERATURES OF ABOUT 55 DEGREES C ARE AVERAGE
FOR THE HEAT SINK. FRONT PANEL CONTROL ELEMENTS CAN FEEL
WARM TO THE TOUCH.
The exact temperature depends on the ambient temperature in your room, and on how much energy is dissipated
as sound.
It is also important to keep the top of the A1 free of dust and grime. Dust it regularly with a soft duster or soft brush
but do not use cleaning or polishing agents - they may harm the surface finish.
YOU MUST CONNECT THE A1 TO A PAIR OF LOUDSPEAKERS BEFORE YOU SWITCH IT ON.
Produktspezifikationen
| Marke: | Musical Fidelity |
| Kategorie: | Empfänger |
| Modell: | A1 |
Brauchst du Hilfe?
Wenn Sie Hilfe mit Musical Fidelity A1 benötigen, stellen Sie unten eine Frage und andere Benutzer werden Ihnen antworten
Bedienungsanleitung Empfänger Musical Fidelity

28 August 2025
28 August 2025
13 August 2025
29 Juli 2025
5 September 2024
5 September 2024
5 September 2024
5 September 2024
5 September 2024
5 September 2024
Bedienungsanleitung Empfänger
Neueste Bedienungsanleitung für -Kategorien-
3 April 2026
2 April 2026
1 April 2026
31 März 2026
30 März 2026
30 März 2026
30 März 2026
30 März 2026
30 März 2026
29 März 2026