OmniMount OBCM40 Bedienungsanleitung
OmniMount Nicht kategorisiert OBCM40
Lies die bedienungsanleitung für OmniMount OBCM40 (2 Seiten) kostenlos online; sie gehört zur Kategorie Nicht kategorisiert. Dieses Handbuch wurde von 27 Personen als hilfreich bewertet und erhielt im Schnitt 4.5 Sterne aus 6 Bewertungen. Hast du eine Frage zu OmniMount OBCM40 oder möchtest du andere Nutzer dieses Produkts befragen? Stelle eine Frage
Seite 1/2
P1
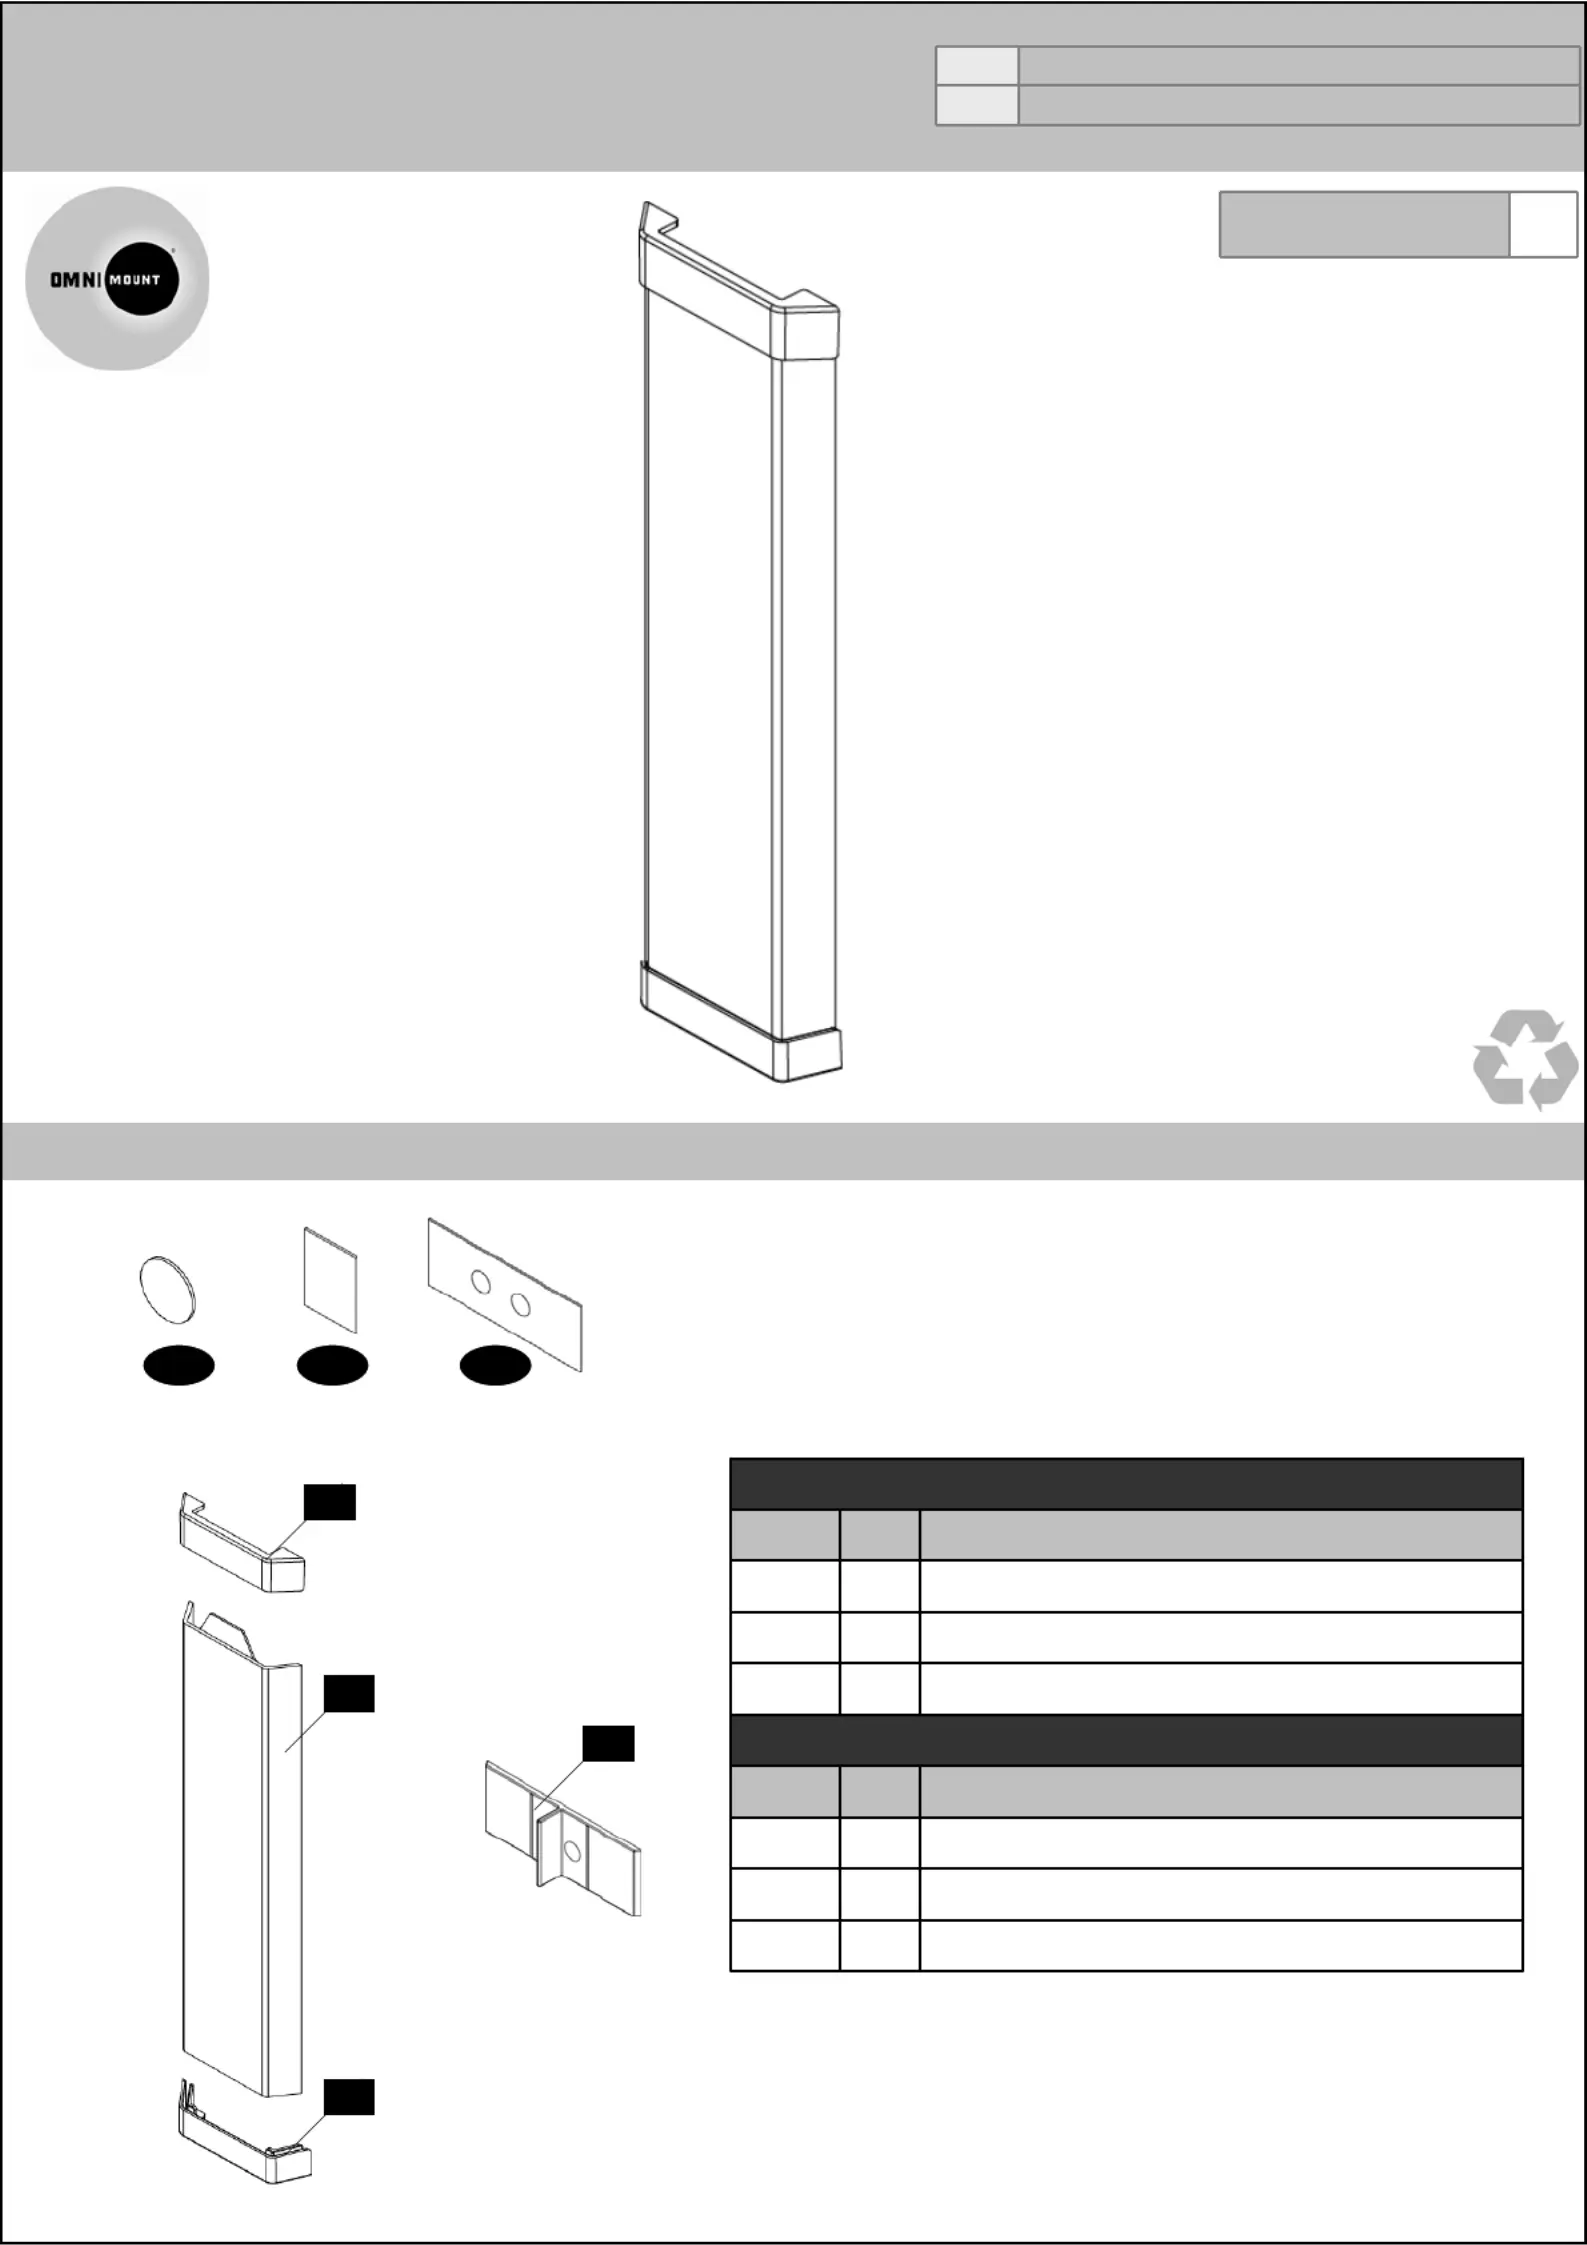
OBCM40
CABLE MANAGEMENT
VERSIONA
INSTRUCTION MANUAL
MANUAL DE INSTRUCCIONES
OM #OM1100464
PN #OBCM40 = L2-OM1100464-CON-021611vA
CONTENTS / CONTENIDO
Reduce.Reuse.Recycle
10
20
20Round Hook Velcro / Ganchoredondode velcroP-A
Square Loop Velcro / Loop cuadradode velcroP-B
Adhesive Tape / CintaadhesiveP-C
Qty
OM1100464vA
DescriptionPart #
End Cap
/ Extremos de la guiade cables
23
Wall Bracket
/ Clip de pared
82
Cable Management Body
/ Guiade cables
41
DescriptionQtyPart #
Contents
P-AP-BP-C
2
1
3
3
Produktspezifikationen
| Marke: | OmniMount |
| Kategorie: | Nicht kategorisiert |
| Modell: | OBCM40 |
Brauchst du Hilfe?
Wenn Sie Hilfe mit OmniMount OBCM40 benötigen, stellen Sie unten eine Frage und andere Benutzer werden Ihnen antworten
Bedienungsanleitung Nicht kategorisiert OmniMount

23 März 2026
21 März 2026
18 März 2026
18 März 2026
1 November 2025
31 Oktober 2025
31 Oktober 2025
31 Oktober 2025
29 Oktober 2025
1 August 2025
Bedienungsanleitung Nicht kategorisiert
Neueste Bedienungsanleitung für -Kategorien-
3 April 2026
3 April 2026
3 April 2026
3 April 2026
3 April 2026
3 April 2026
3 April 2026
3 April 2026
3 April 2026
3 April 2026