Uline H-756 Bedienungsanleitung
Lies die bedienungsanleitung für Uline H-756 (18 Seiten) kostenlos online; sie gehört zur Kategorie Waage. Dieses Handbuch wurde von 6 Personen als hilfreich bewertet und erhielt im Schnitt 4.0 Sterne aus 2 Bewertungen. Hast du eine Frage zu Uline H-756 oder möchtest du andere Nutzer dieses Produkts befragen? Stelle eine Frage
Seite 1/18
PAGE 1 OF 18 0825 IH-1607
1-800-295-5510
uline.com
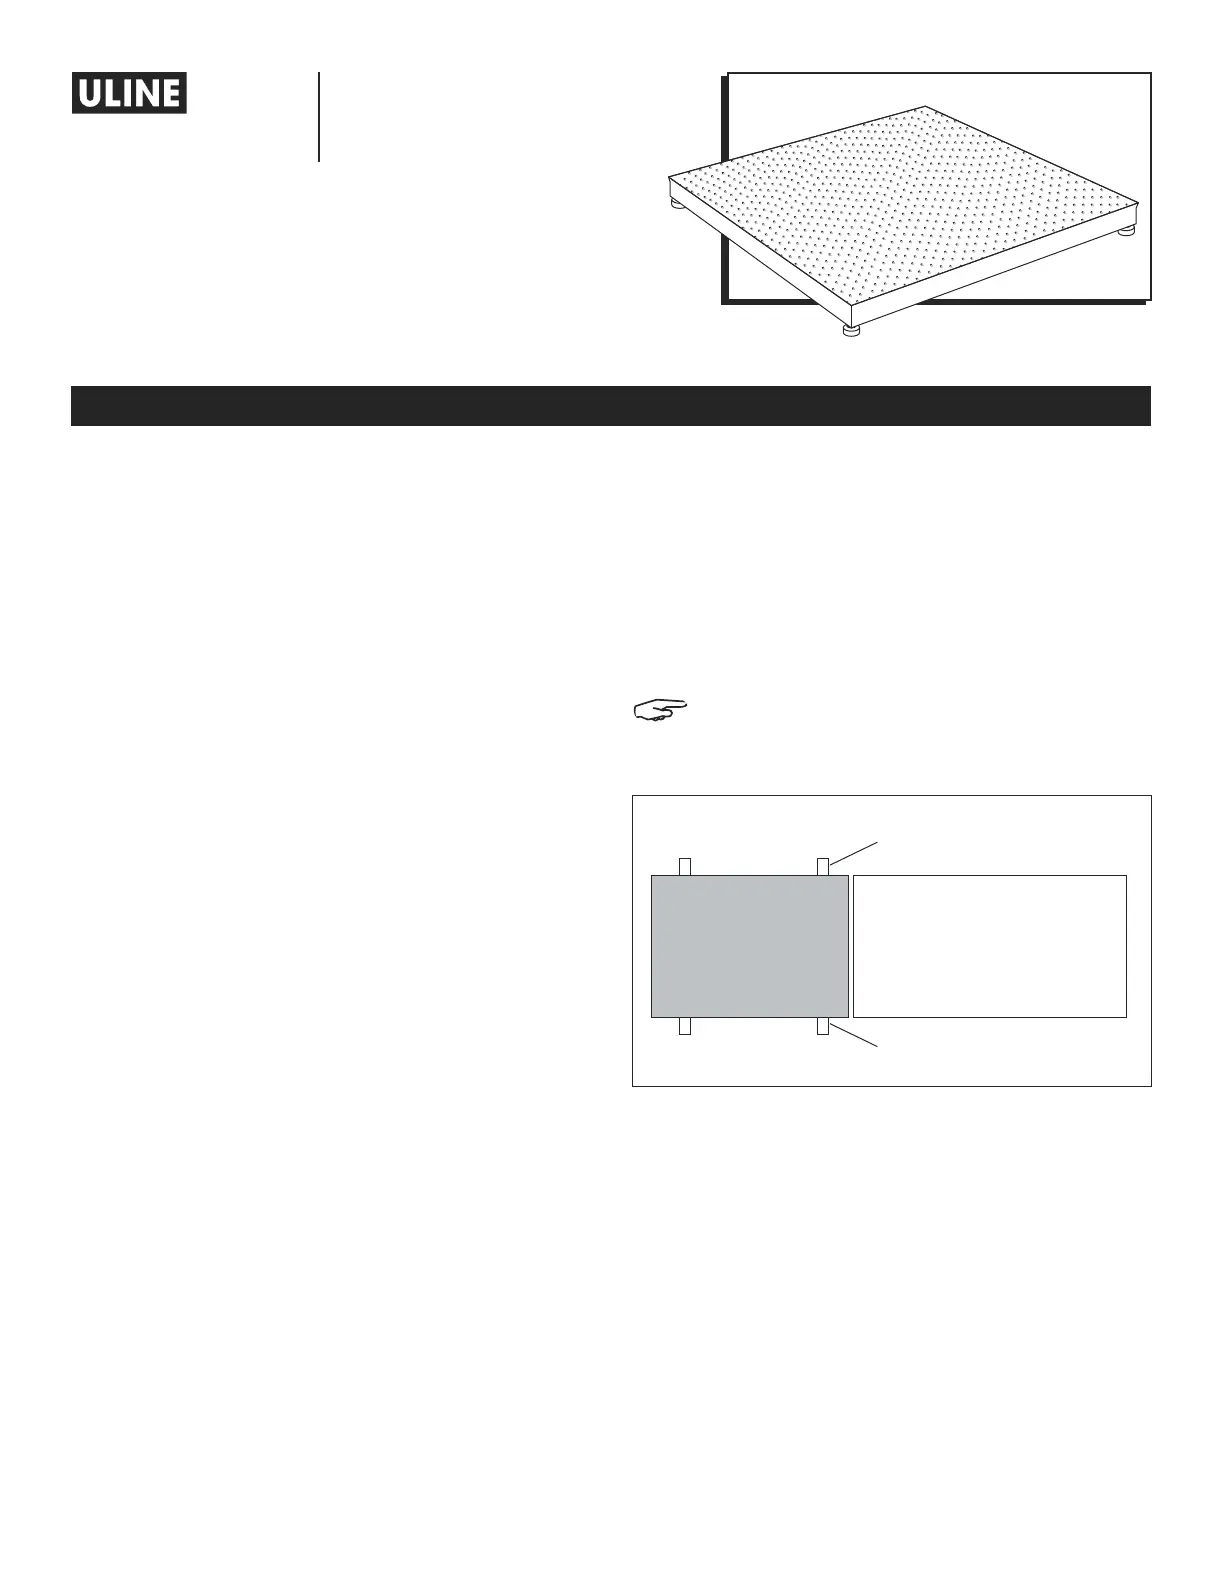
STANDARD
LOW PROFILE
FLOOR SCALE
Para Español, vea páginas 7-12.
Pour le français, consulter les pages 13-18.
INTRODUCTION
SITE SELECTION
Select a site for the floor scale where it is least likely to
be damaged by fork trucks and other material handling
devices. Floor scale load cell weighing elements are
prone to overload damage caused by side impacts,
falling objects and weight loads that exceed the rated
capacity of the scale.
Site should be:
• Level within 1/4".
• Free from vibration.
• Dry for standard, non-washdown floor scales.
• Clean of debris.
• Out of the way of vehicle traffic patterns, unless
installed in a pit while having a rated capacity
that exceeds all loaded vehicle weights that could
possibly drive onto or contact the scale.
The cable from the floor scale to the digital weight
indicator should be run through conduit to protect it
against possible damage. Running the interface cable
through conduit is the best method of protection.
UNPACKING
1. Inspect your shipment for damage. If you see visible
signs of damage, notify carrier at once.
2. Remove floor scale from the shipping pallet.
3. Unpack the digital indicator. Digital indicator and
power cord are located in the junction box in the
side of the scale. (See Figure 2)
RAMP INSTALLATION (OPTIONAL)
1. Set floor scale in desired location.
2. Position ramp on desired side of the scale. There
should be 1/8 – 1/4" gap between the scale and
ramp. (See Figure 1)
3. To hold ramp in place, drill 1/2 x 3" anchors (not
included) through ramp's mounting tabs into the
floor.
NOTE: Scale and ramp should not be touching.
Contact will impede scale from weighing
accurately.
HEIGHT AND LEVEL ADJUSTMENTS
1. Unlock the nuts on all four feet.
2. Using a pry bar, lift the weight of the scale base off
the scale feet.
3. Make adjustments by screwing the feet
counterclockwise. All four feet should make firm
contact with the floor.
4. Do not screw feet counterclockwise more than ten
turns.
5. Tighten locknuts on feet.
6. Check your work.
Figure 1
RampScale
Anchor goes here
Mounting Tabs
Produktspezifikationen
| Marke: | Uline |
| Kategorie: | Waage |
| Modell: | H-756 |
Brauchst du Hilfe?
Wenn Sie Hilfe mit Uline H-756 benötigen, stellen Sie unten eine Frage und andere Benutzer werden Ihnen antworten
Bedienungsanleitung Waage Uline

24 März 2026
3 März 2026
1 März 2026
24 Februar 2026
23 Februar 2026
23 Februar 2026
23 Februar 2026
16 Februar 2026
15 Februar 2026
15 Februar 2026
Bedienungsanleitung Waage
Neueste Bedienungsanleitung für -Kategorien-
30 März 2026
27 März 2026
27 März 2026
26 März 2026
24 März 2026