Waterstone 9950 Bedienungsanleitung


Lies die bedienungsanleitung für Waterstone 9950 (7 Seiten) kostenlos online; sie gehört zur Kategorie Nicht kategorisiert. Dieses Handbuch wurde von 4 Personen als hilfreich bewertet und erhielt im Schnitt 5.0 Sterne aus 2.5 Bewertungen. Hast du eine Frage zu Waterstone 9950 oder möchtest du andere Nutzer dieses Produkts befragen? Stelle eine Frage

Seite 1/7
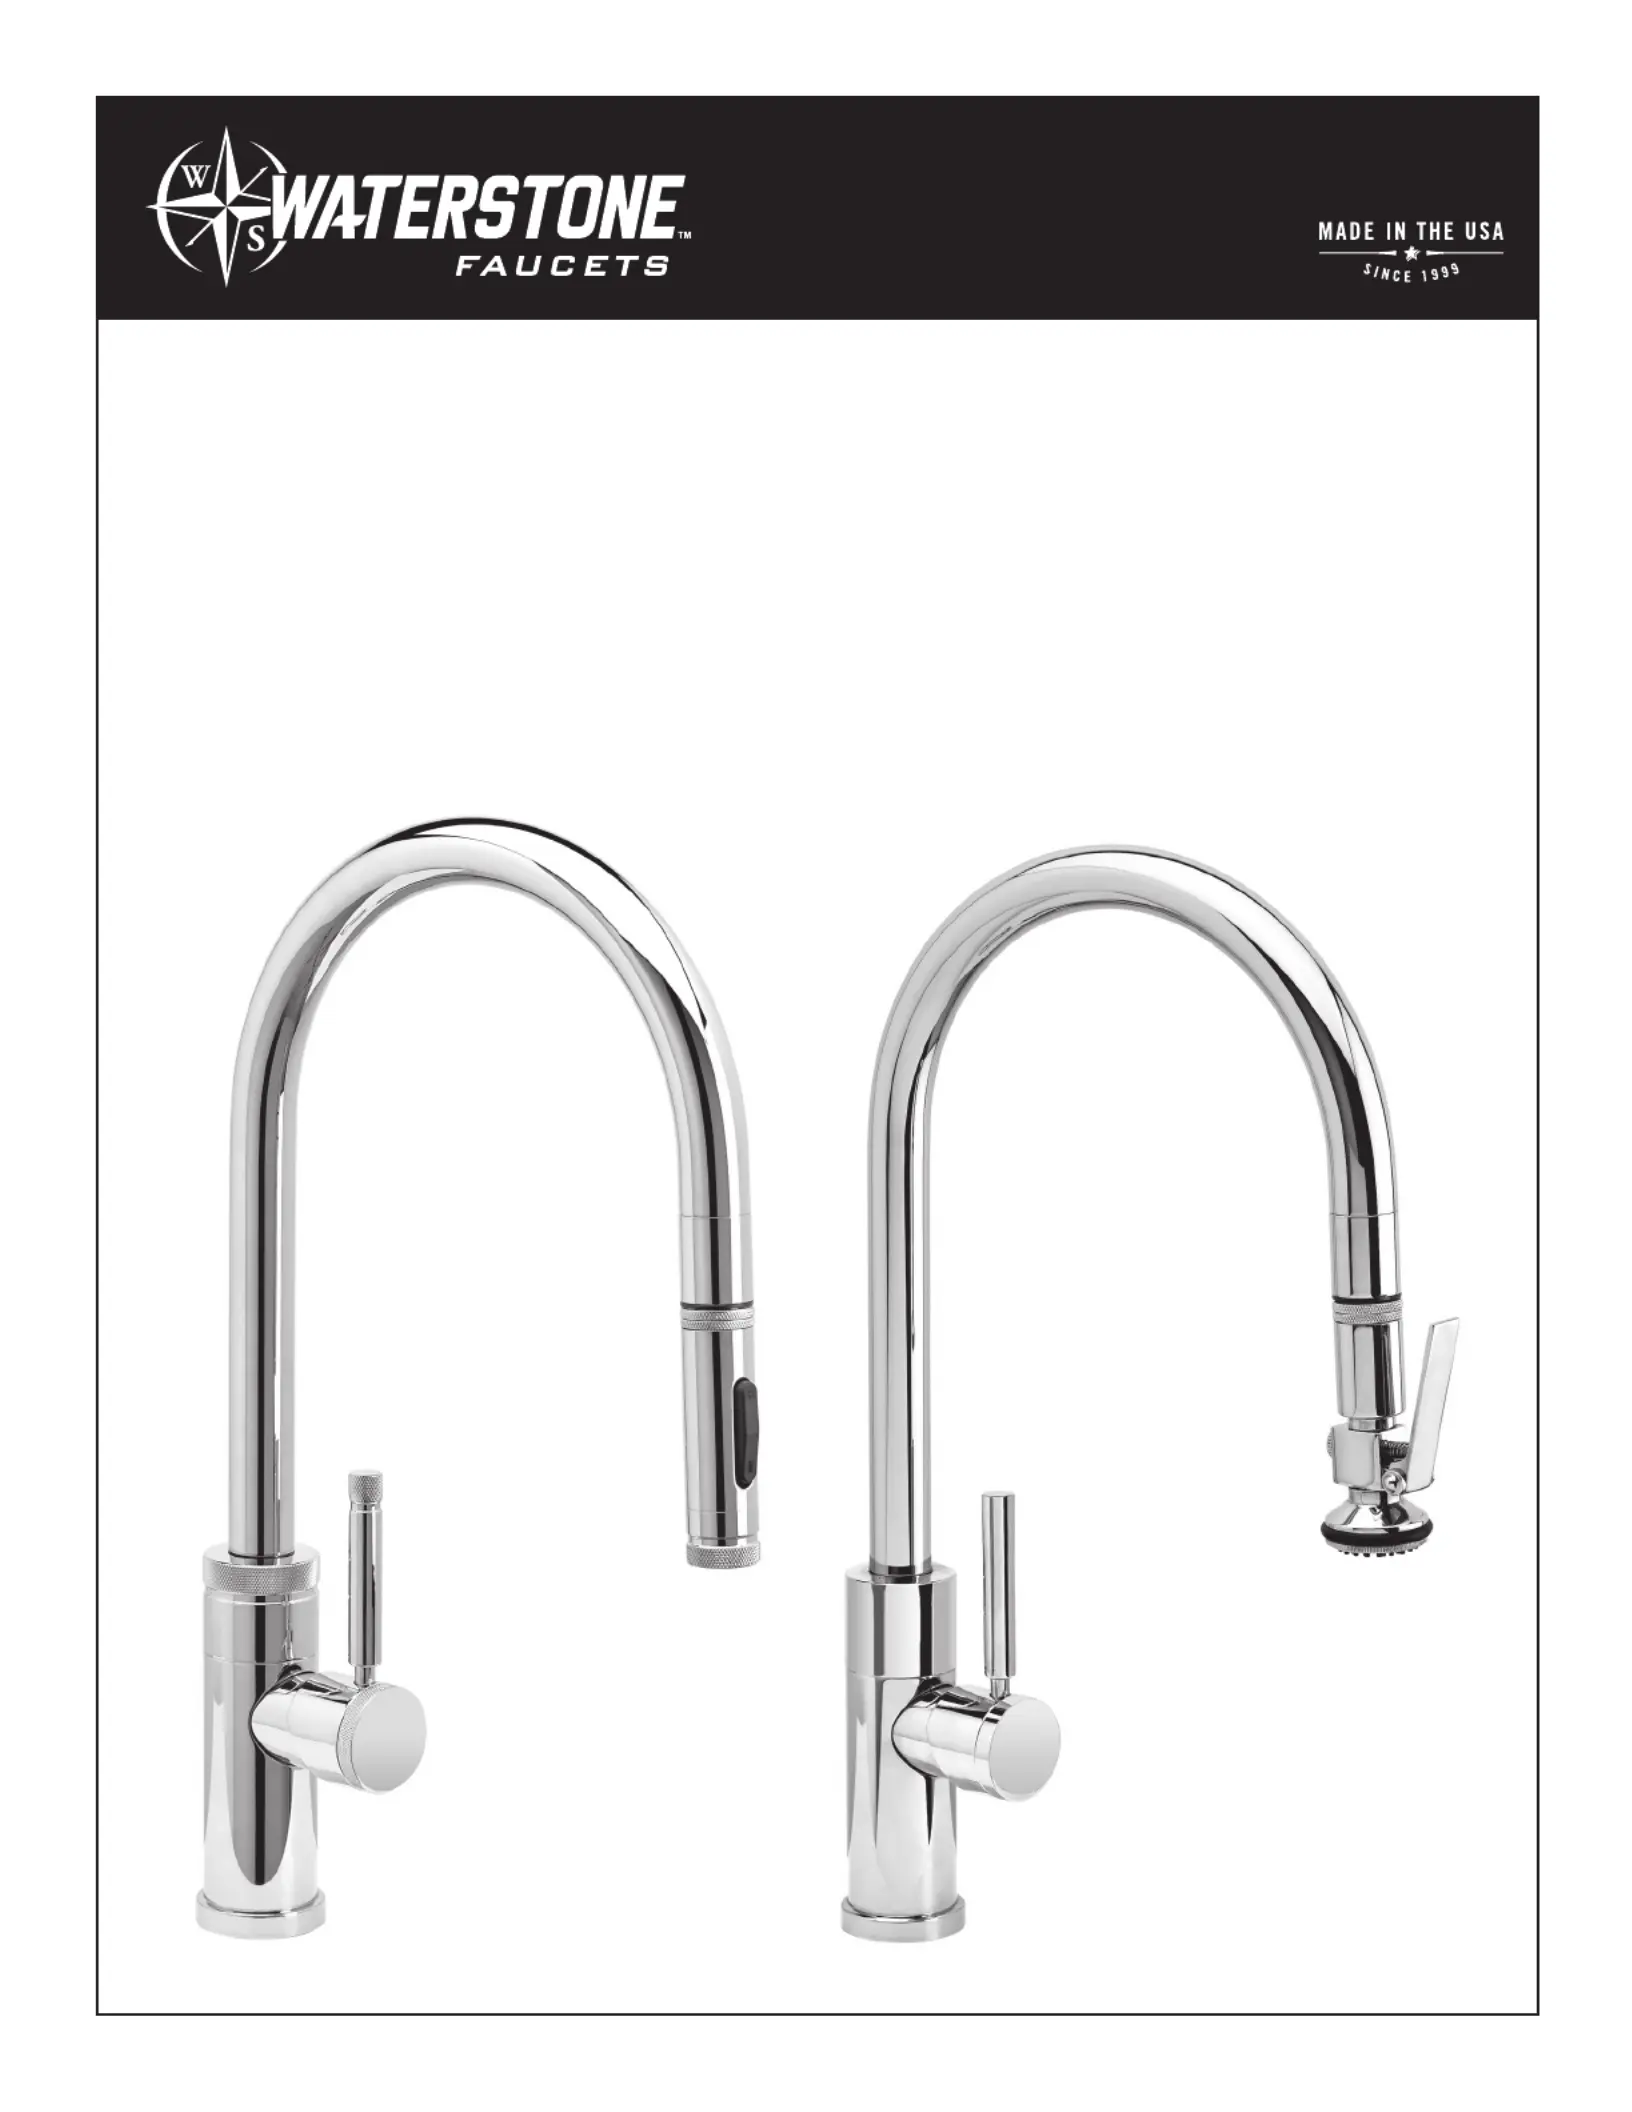
INDUSTRIAL PLP PULLDOWN FAUCET
INSTALLATION INSTRUCTIONS
Model #s: 9300, 9400, 9410, 9700, 9800, 9810, 9900, 9910, 9930, 9940
9350, 9450, 9460, 9750, 9850, 9860, 9950, 9960, 9980, 9990
1 2 3 4
Turn o water supply. Observe all local
plumbing codes.
Inspect plumbing for signs of
damage. Replace as necessary.
DO NOT use petroleum based
REQUIRED TOOLS:
Phillips ScrewdriverAdjustable Wrench
Channel Locks
BEFORE YOU BEGIN YOUR INSTALLATION:
Waterstone faucets are designed to be installed in 3 dierent faucet
positions. Choose to have the handle on left, front or right. Your faucet is
factory congured for the most common positions - a front and right side
installation. To reverse this and have the handle positioned on the left,
connect the hose for cold water to the hot supply and the hose for hot water
to the cold supply. This will maintain the relationship of pulling the handle
for hot water or pushing for cold water.
HANDLE POSITION
HANDLE ON LEFT HANDLE IN FRONT HANDLE ON RIGHT
A
B
C
F
COUNTER
OR SINK
1.
2. 3. 4.
PULLDOWN FAUCET INSTALLATION
Remove the clamp nut (A) and
washer (B) from the threaded
shroud (C).
Slide washer and thread the
clamp nut onto threaded shroud.
Tighten nut snug to underside of
sink or counter.
Turn faucet to the desired handle
position. Securely tighten clamp
screws (F).
Fit exible hoses (D) and spray
connection tube (E) through hole
on counter or sink. (No plumbers
putty is required. O-ring seals base).
B
A
C
RED FOR HOT
BLUE FOR COLD
ADJUST HANDLE FOR BACKSPLASH
On some kitchen countertops, the handle may hit the backsplash
when the faucet handle is positioned to the left or right (Fig. 1).
Remove the handle, turn it approximately 22.5 degrees forward,
then reattach.
FIG.1
ORIGINAL FACTORY POSITION
MAY HIT BACKSPLASH
NEW ADJUSTED POSITION
CLEARS BACKSPLASH
CONNECT THE PULLDOWN SPRAY HOSE
Before connecting supply hoses, ush
supply stops to clear any debris. Place
a bucket underneath stops and run
water for 5 to 10 seconds. Turn water
o. Carefully position hot and cold
supplies so they will not interfere with
other hoses. Connect supply hoses (A)
to supply stops (B). DO NOT use teon
tape or plumbers putty. Turn water
back on and check for leaks.
CONNECTING SUPPLY HOSES
A
B
OPTIONAL HOT COLD INDICATOR RING
To reverse or remove Hot and Cold
Indicator Ring, unscrew the metal
cap, remove ring and ip. Slide ring
back onto handle and screw metal
cap back on.
Connect spray hose (A) to spray connection hose tube (B).
NOTE – make sure spray hose (A) and counter balance (C) are free to slide
up and down and are not in conict with any plumbing components or
items under sink.


Produktspezifikationen

Marke: Waterstone
Kategorie: Nicht kategorisiert
Modell: 9950

Brauchst du Hilfe?

Wenn Sie Hilfe mit Waterstone 9950 benötigen, stellen Sie unten eine Frage und andere Benutzer werden Ihnen antworten