AXESS AXDI-VET1 Bedienungsanleitung
AXESS Nicht kategorisiert AXDI-VET1
Lies die bedienungsanleitung für AXESS AXDI-VET1 (4 Seiten) kostenlos online; sie gehört zur Kategorie Nicht kategorisiert. Dieses Handbuch wurde von 26 Personen als hilfreich bewertet und erhielt im Schnitt 4.8 Sterne aus 8 Bewertungen. Hast du eine Frage zu AXESS AXDI-VET1 oder möchtest du andere Nutzer dieses Produkts befragen? Stelle eine Frage
Seite 1/4
AXDI-VET1
INSTALLATION INSTRUCTIONS
AxxessInterfaces.com © COPYRIGHT 2023 METRA ELECTRONICS CORPORATION REV. 8/8/23 INSTAXDI-VET1
ATTENTION: With the key out of the
ignition, disconnect the negative battery
terminal before installing this product.
Ensure that all installation connections,
especially the air bag indicator lights, are
plugged in before reconnecting the battery
or cycling the ignition to test this product.
NOTE: Refer also to the instructions
included with the aftermarket accessory
before installing this device.
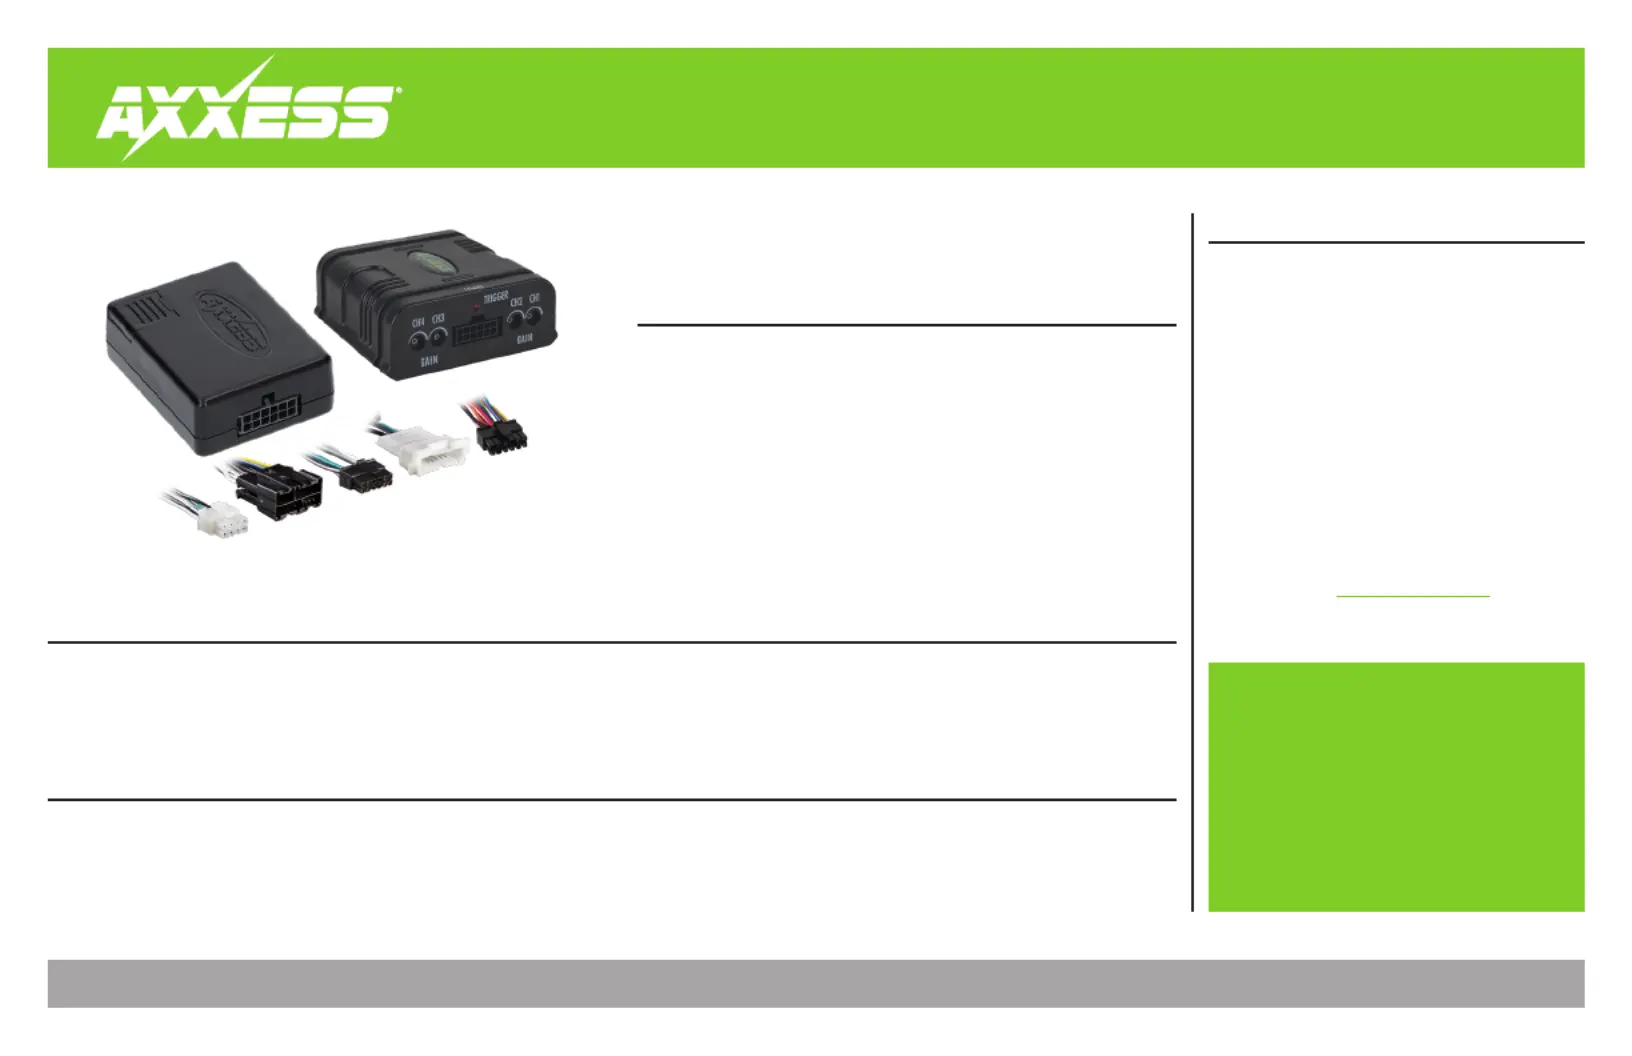
INTERFACE FEATURES
INTERFACE COMPONENTS
TOOLS & INSTALLATION ACCESSORIES REQUIRED
• Crimping tool and connectors, or solder gun,
solder, and heat shrink • Tape • Wire cutter
• Zip-ties
TABLE OF CONTENTS
Connections
LD-AX-XSVI-GM5 Diagram2 ................................
Installation3 .............................................................
Programming3 .........................................................
Corvette Amplifier Interface 1997-2004
• Provides accessory power (12-volt 10-amp)
• Retains R.A.P. (Retained Accessory Power)
• High level speaker input
• Retains amplified door woofers
• Micro-B USB updatable
• CHEVROLET
APPLICATIONS
Chevrolet
Corvette1997-2004 ...........................................................................................
Visit AxxessInterfaces.com
for more detailed information about the product
and up-to-date vehicle specific applications
Produktspezifikationen
| Marke: | AXESS |
| Kategorie: | Nicht kategorisiert |
| Modell: | AXDI-VET1 |
Brauchst du Hilfe?
Wenn Sie Hilfe mit AXESS AXDI-VET1 benötigen, stellen Sie unten eine Frage und andere Benutzer werden Ihnen antworten
Bedienungsanleitung Nicht kategorisiert AXESS

31 Juli 2025
31 Juli 2025
14 Juli 2025
14 Juli 2025
14 Juli 2025
14 Juli 2025
14 Juli 2025
14 Juli 2025
14 Juli 2025
14 Juli 2025
Bedienungsanleitung Nicht kategorisiert
Neueste Bedienungsanleitung für -Kategorien-
3 April 2026
3 April 2026
3 April 2026
3 April 2026
3 April 2026
3 April 2026
3 April 2026
3 April 2026
3 April 2026
3 April 2026