Electrolux EDSR1832AP Bedienungsanleitung
Electrolux Spülmaschine EDSR1832AP
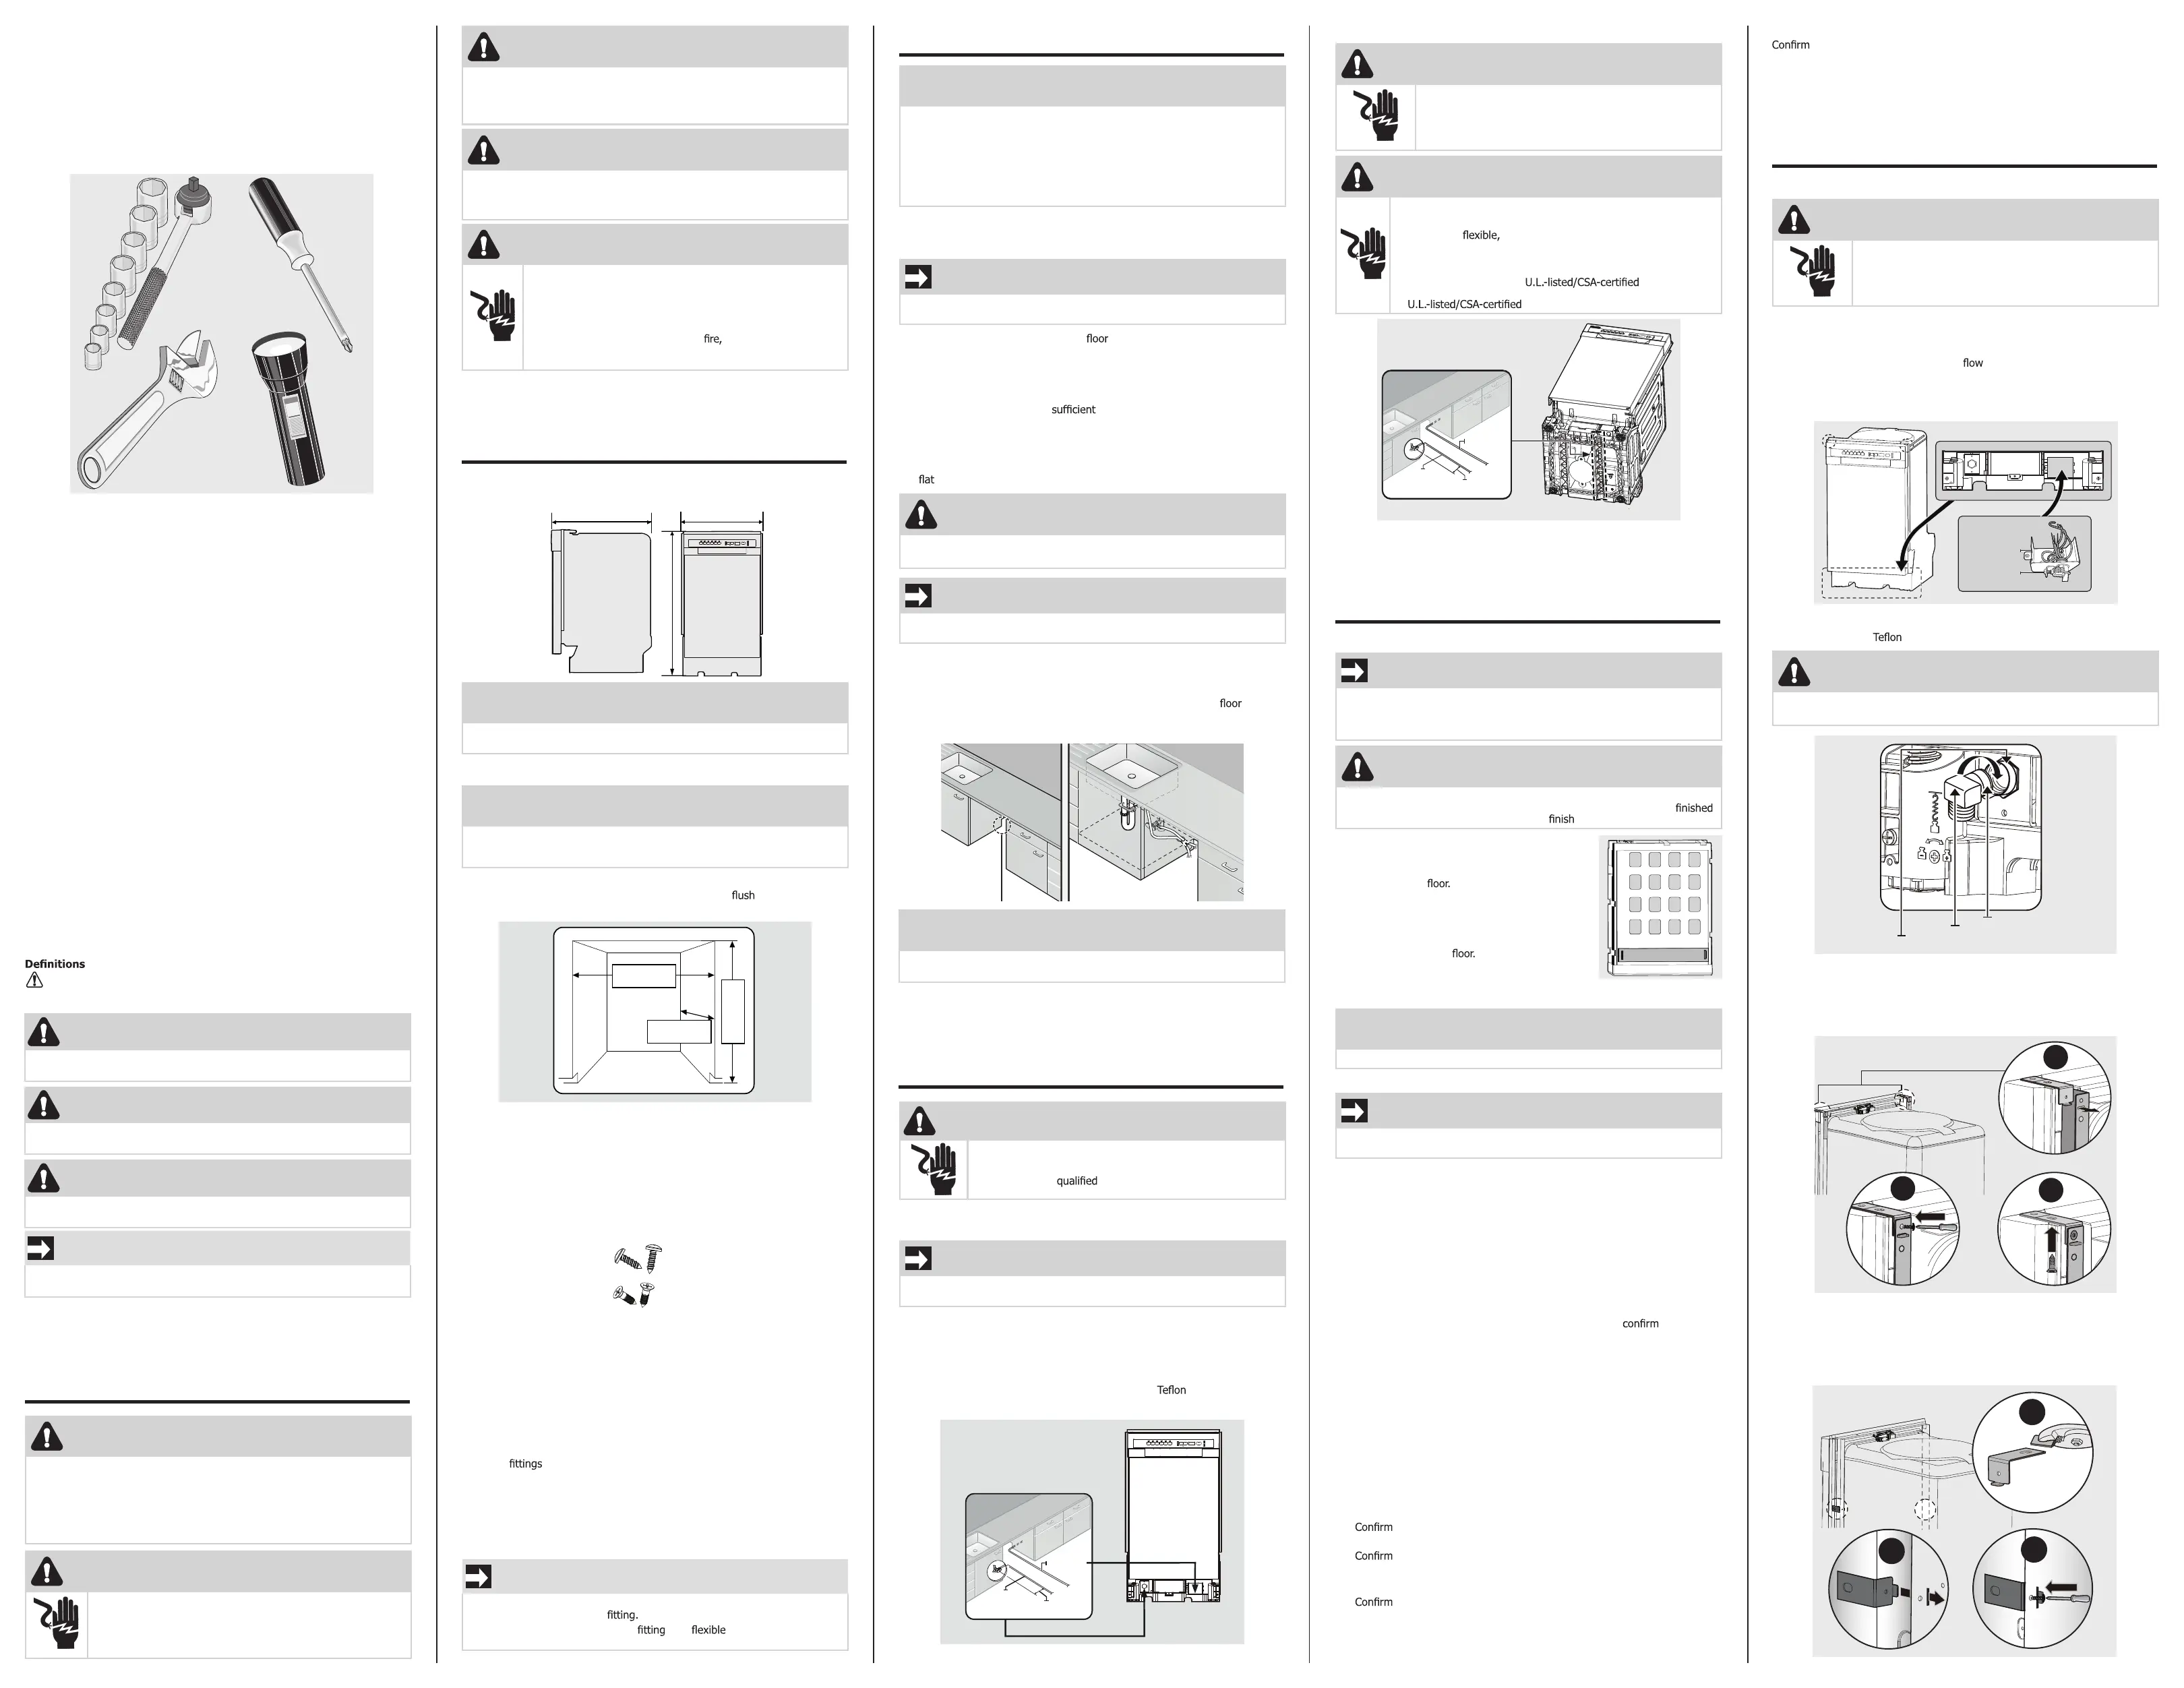
Lies die bedienungsanleitung für Electrolux EDSR1832AP (4 Seiten) kostenlos online; sie gehört zur Kategorie Spülmaschine. Dieses Handbuch wurde von 5 Personen als hilfreich bewertet und erhielt im Schnitt 4.3 Sterne aus 9 Bewertungen. Hast du eine Frage zu Electrolux EDSR1832AP oder möchtest du andere Nutzer dieses Produkts befragen? Stelle eine Frage
Seite 1/4
•Installation brackets(×2)
•
decoration door brackets(×2)
•hooks (×2)
•ST4*14 screws (×10) for i
nstallation brackets
•ST3.2*25 (×2) for hooks
•ST3.2*45 (×4) for installing
decoration door
•ST3.9*13 (×2)
•ST3.5*9 (×2)
•Adjustment caps (×2)
•Adjustable toeplate (×1)
Dishwasher
Installation
Instructions
INSTALLER: Leave Installation Instructions with owner.
OWNER: Read your dishwasher Use & Care Guide. It contains important
safety information for operating this appliance. It also has many suggestions
for getting the best results from your dishwasher. Keep these instructions with
your Use & Care manual for future reference.
If you have an installation problem, contact your dealer or installer. You are
responsible for providing adequate electrical, exhausting and other connecting
facilities.
Skill Level: Installation of this dishwasher requires basic mechanical and elec-
trical skills. Proper installation is the responsibility of the installer. Product failure
due to improper installation is not covered under the warranty.
Completion Time: 1 to 3 Hours. New installations require more time than
replacement installations.
Safety Precautions: The following warnings, cautions, and the important
safety instructions DO NOT cover all possible conditions and situations that
may occur. It’s your responsibility to use common sense, caution, and care
when installing, maintaining, and operating the dishwasher DO NOT attempt
to install or operate your unit until you have read the safety precautions in
this manual. Safety items throughout this manual are labeled with a Danger,
Warning, or Caution based on the risk type.
Printed in U.S.A.
P/N: $2FWREHU
WARNING
Read and obser
ve all CAUTIONS and WARNINGSshown throughout these
instructions before installing dishwasher. This guide will help you anticipate
drain, water, and electrical connections, and help you select the best location
for the dishwasher.
As with all equipment using electricity, water and moving parts, potential
hazards exist. To safely operate this appliance, become familiar with its
operation and exercise care when using it.
1
Before You Begin
WARN
IN
G
Install and stor
e the dishwasher inside, away from exposure to weather.
DO NOT install the dishwasher in a location where the water may freeze (where
the temperature falls below 32°F (0°C). Frozen water in the hoses, pipes, or
other components may damage the dishwasher.
This is the saf
ety alert symbol. It is used to alert you to potential personal
injury hazards. Obey all safety messages that follow this symbol to avoid
possible injury or death.
Safety Precautions: The following warnings, cautions, and the important safety
instructions do not cover all possible conditions and situations that may occur.
It’s your responsibility to use common sense, caution, and care when installing,
maintaining, and operating the dishwasher DO NOT attempt to install or
operate your unit until you have read the safety precautions in this manual.
Safety items throughout this manual are labeled with a Danger, Warning, or
Caution based on the risk type.
WARNING
FIRE HAZARD
Do not install the di
shwasher on a carpet.
2
Preparing for Installation
Materials and Tools
Parts Supplied*
Parts Needed for Installat
ion
(Not supplied)
•Twist on wire connectors (x3)
•Strain relief
•Tape (electrical tape and standard
duct tape)
•Hot water supply line
•90° Elbow
•Tube
•Ai
r gap
•Rubber
connector
•Hose clamp
•Power cable
(if not able to hard wire)
•PTFE thread seal tape or sealing
compound
Tools needed for installation
•Drill and appropriate bits
•Safety glasses
•Gloves
•Flashlight
•Adjustable wrench
•Wire stripper
•Pliers
•Nipper
•Measuring tape
•Pencil
•Phillips screwdriver
•Flat screwdriver
•Tubing cutter
•Utility knife
•Hole saw set
•Level
•Torx
®
T20
dri
v
er
•
Hex L-wrench set
Before starting the installation, prepare all the necessary tools and parts
required to install the dishwasher. This will save installation time and simplify
the installation process.
* Provided with the dishwasher. Check that all parts are present when
unpacking the dishwasher.
WARN
IN
G
TIP OVER HAZARD
•DO
NOT use dishwasher until completely installed.
•DO NOT push down or place excessive weight on open door.
DANGER
DANGER indicates an immi
nently hazardous situation which, if not avoided,
will result in death or serious injury.
WARNING
WARNING indicates a potentially hazar
dous situation which, if not avoided,
could result in death or serious injury.
CAUTION
CAUTION indicates a potentially
hazardous situation which, if not avoided,
may result in minor or moderate injury.
IMPORTANT
Indicates installation, oper
ation, or maintenance information which is
important but not hazard-related.
Í
NOTE
Water supply line, power cable
and drain hose will run through the bottom
channels from the back to the front connections.
Enclosure dimensions
Í
NOTE
This dishwasher
is designed to be enclosed on the top and on both sides by
a standard residential kitchen cabinet unit. The installation enclosure must
be clean and free of any obstructions.
The enclosure must be at least 17.7 inches wide 23 inches deep and 32.5
inches high. For the front door of the dishwasher to be
with the leading
edge of the counter top
, the counter top must be at least 23 inches deep.
IMPORTANT
DO NOT use pl
astic tubing. Plastic tubing can deteriorate over time and
cause a leak inside the tube
Copper tubing with a compression or a stainless steel braided
hot water supply line should
be used for the hot water supply line.
3
Roughing In
Í
NOTE
New installation
If the
dishwasher is a new installation, most of the installation work must be
done before the dishwasher is moved into place.
Replacement
If the dishwasher is replacing an old dishwasher, you must check the
existing dishwasher connections for compatibility with the new dishwasher.
Replace the existing connections as necessary.
1.Make sure your location has the right drain, water, and electrical outlets to
make the connections. DO NOT install unit under a cooktop range, damage
to plastic tub will occur.
IMPORTANT
If unit is to be placed in a corner, there must be at least a 2” side clearance
to open door.
•The location must have a solid
that is able to support the weight
of the dishwasher
.
•The location must be near a sink with easy access to the water supply,
drain, and electrical outlet.
•The dishwasher must be installed within 9.8 ft (3 m) of the sink.
•The location must have space for the dishwasher door to
open easily and provide enough space between the dishwasher and the
cabinet sides of at least 0.1 in (2 mm).
•The back wall of the enclosure must be free of obstructions.
2.Remove any carpet from area to provide motor clearance. Floor should be
and free of any obstruction.
IMPORTANT
Drain, water, and electrical lines
should be roughed-in before going any
further.
For new installations only
1.Using a hole saw, cut a hole into the side of the cabinet that holds the sink
for water line supply, drain hose and power cables, as shown below.
2.If the base inside the sink cabinet is raised above the kitchen
and is
higher than the connecti
ons on the dishwasher, make a hole in the base
inside the cabinet and in the cabinet side.
Í
NOTE
Depending on where y
our electrical outlet is, you may need to cut a hole in
the opposite cabinet side.
17.7" (450mm)
minimum
23" (580mm)
minimum
32.5" (825mm)
minimum
WARNING
ELECTRIC SHOCK HAZARD
Observe al
l local codes and ordinances for electrical and
plumbing connections. All electrical and plumbing work should
be performed by
persons. Failure to follow this
warning could result
in death or serious injury.
4
Connections (Water and Elect
rical)
1.Adjust the water heater
to deliver water between 120°F (49°C)–135°F
(57.2°C). This temperature range provides the best washing result and
shortest cycle time. Temperature should not exceed 135°F (57.2°C) to
prevent damage to dishes.
2.Turn OFF water supply valve.
3.Seal the hot water supply line connections using
tape or sealing
compound to stop an
y water leakage.
IMPORTANT
The hot water supply
line pressure must be between 20 psi–120 psi
(0.14 MPa–0.82 MPa).
Preparing Hot Water Line Connection
Preparing Electrical Line Connection
WARNING
ELECTRIC SHOCK HAZARD
The electrical service
must conform with all state, municipal,
provincial and/or local codes and ordinances and the latest
edition of the National Electrical Code, or in Canada, the
Canadian Electrical Code CSA C22.1 latest edition.
WARNING
ELECTRIC SHOCK HAZARD
Direct
connections require:
•
The use of armored or non-metallic sheathed, 8VH
FRSSHUFRQGXFWRUVRQO\with a grounding wire that meets the
wiring requirementsfor your local codes and ordinances.
•The use of strain relief method provided with the wiring
junction box or install a clamp
connector to the wiring
junction box. If using conduit, use a
conduit connector.
Hot water
supply line
Power
cable
5 ѿ~ 7ѿ in.
(135 ~ 185mm)
5 1/3~7 1/3 in.
(135 ~ 185mm)
Hot Water
Supply Line
Power Cable
Dishwasher bottom
Side ViewFront View
17.6” (448 mm)21.7” (550 mm)
32.4” 825 mm
5
Unpacking and Inspection
IMPORTANT
Unpack the dishwasher
in an open area free of obstruction both around the
carton and overhead. Retain the carton and all of the packing materials until
the dishwasher is fully installed and operational to ensure you have removed
all the product’s components from the carton prior to disposal.
1.Cut or unbuckle the four straps securing the top
of the carton.
2.Lift the carton up and over the dishwasher and
place it on the
3.Place the strap
s and all packing materialsfrom
around the dishwasher inside the empty carton,
inspecting them for any signs of damage.
4.Lift the dishwasher from the carton tray, and
then place it on the
5.Locate
and set aside the dishwasher’s installation
parts package and toeplate. The toeplate is
attached to bottom of the carton tray. Place carton tray into the carton.
WARNING
ALWAYS LIFT THE DISHWASHER TO MOVE IT. Sliding it o
ver rough
surfaces can damage the dishwasher’s feet and sliding the feet over
surfaces can, in some cases, damage that or the underlying surface.
IMPORTAN
T
DO NOT, under an
y circumstances, remove the sound-absorbent padding
that surrounds the exterior of the tub of the dishwasher.
7.There is also packing inside the dishwasher that you may want to leave in
place until the dishwasher is installed.
Unpacking the dishwasher
Inspecting the dishwasher
Mechanical inspection
1.Check the plastic
base assembly to ensure that it is intact.
2.Check the dishwasher’s feet to ensure they are in place and can be
adjusted so you can level and secure the dishwasher.
3.Check all the visible components on the bottom of the dishwasher to
ensure they are intact and secure.
4.Check the door latch, the operation of the hinges, and
the door is
properly secured to the
dishwasher.
5.Remove the two screws securing kickplate to dishwasher and remove
kickplate. Set aside kickplate and screws to replace when unit is installed.
Plumbing inspection
1.Check the hot water connection on the left side at the front of the base of
the dishwasher. The mounting plate should be secured to the front of the
base, the threads inside the connection should be smooth and shiny, and
the area should be clean and free of any debris.
2.Check the plastic Brake and Sensor cases to ensure these assemblies are
not cracked and that all connections are secure.
3.Check the drain hose for any holes or deformities that could allow a water
leak during draining.
Electrical inspection
1.
the junction box cover is secured to the junction box on the f
ront
right-side of the base of the dishwasher.
2.
the electrical box was not damaged during shipping and that i
t is
secured to the base of the dishwasher.
Visual inspection
1.
there are no dents or scratches on the front of the dishwasher.
2.
Check the edges of the doors for any roughness or cracking.
3.Check the control panel to ensure it is clear and unscratched, and that all
the control markers are in their proper places.
6
Installing the Dishwasher
Preparing the dishwasher
WARNING
ELECTRIC SHOCK HAZARD
Disconnect electrical power at the fuse box or circuit breaker
box before removing old dishwasher or beginning new
installation. Failure to follow this warning could result in
death or serious injury.
WARNING
ELECTRIC SHOCK HAZARD
Prior to removal of original dishwasher and the installation of your new
unit, make
sure to switch off your circuit breaker. Do not connect the
dishwasher until you have completed the installation. Connecting the
power cableisthe last step when installing the dishwasher.
Teflon tape or
sealing compound
90°
Elbow
Inlet Valve
CAUTION
Do
not
o
v
erti
ghten the 90° elbow. Doing so may damage the water inlet
valve and cause a water leak.
Verify that the circuit breaker and water supply valve are off before proceeding
with the following steps.
1.Make sure there are no kinks in the water hose and that it is not bent at
any angles that could constrict the
of water.
2.Remove the junction box
cover located at the bottom front right of the
dishwasher using a screwdriver, and install the strain relief. Keep the
junction box cover to replace after wiring is completed.
WARNING
ELECTRIC SHOCK HAZARD
•Electrically ground the dishwasher.
•Connect the ground wire to the green ground connector in
the junction box.
•DO NOT use extension cord.
To reduce the risk of electrical shock,
or personal injury, the
installer must
ensure that the dishwasher is completely enclosed at
the time of installation.
Strain relief
Junction box
3.Connect the 90° elbow
joint to the inlet valve from the front of the
dishwasher. Use
tape or sealing compound to secure.
4.Secure dishwasher t
o the countertop if the countertop is made of
wood or a material that is not damaged by drilling.
To attach the two installation brackets to the top of the dishwasher, insert
each bracket tab into the corresponding slot on the top of the dishwasher.
Tighten using screws ST3.5*9 provided with the unit.
1
2
3
Product dimensions
1
2
3
Í
NOTE
Remove toeplate and parts
package from the bottom of the carton tray.
6.Remove the bag that protects the dishwasher during shipping.
Secure dishwasher to the cabinet side wall if the countertop can
be damaged by top mounting the unit. To attach the two installation
brackets to the side of the dishwasher, remove the adjustment caps from
the sides of the unit. Use pliers to snap off the end of the long leg of the
bracket. Insert each bracket tab into the corresponding slot on the side of
the dishwasher and tighten using screws ST3.5*9 provided with the unit.
Required parts
that you have all the parts supplied by the manufactur
er (see the
Material and Tools section of this Installation Instruction).
Produktspezifikationen
| Marke: | Electrolux |
| Kategorie: | Spülmaschine |
| Modell: | EDSR1832AP |
Brauchst du Hilfe?
Wenn Sie Hilfe mit Electrolux EDSR1832AP benötigen, stellen Sie unten eine Frage und andere Benutzer werden Ihnen antworten
Bedienungsanleitung Spülmaschine Electrolux

27 März 2026
11 März 2026
11 März 2026
2 März 2026
10 Dezember 2025
9 Dezember 2025
9 Dezember 2025
9 Dezember 2025
7 Dezember 2025
12 November 2025
Bedienungsanleitung Spülmaschine
Neueste Bedienungsanleitung für -Kategorien-
3 April 2026
2 April 2026
2 April 2026
1 April 2026
1 April 2026
1 April 2026
31 März 2026
31 März 2026
31 März 2026
31 März 2026