Elektrobock PT14-P Bedienungsanleitung
Elektrobock
Thermostat
PT14-P
Lies die bedienungsanleitung für Elektrobock PT14-P (12 Seiten) kostenlos online; sie gehört zur Kategorie Thermostat. Dieses Handbuch wurde von 31 Personen als hilfreich bewertet und erhielt im Schnitt 3.9 Sterne aus 16 Bewertungen. Hast du eine Frage zu Elektrobock PT14-P oder möchtest du andere Nutzer dieses Produkts befragen? Stelle eine Frage
Seite 1/12

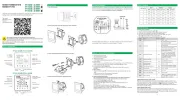
Intended for:
•direct heaters
• radiant panels
• electric fl oor heating

2
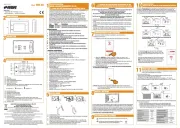
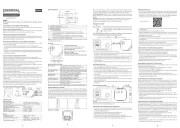
INSTALLATION AND LOCATION
Install the thermostat at a suitable place where its operation cannot be affected by direct fl ow
of hot air from the heater, sunshine or other disturbing effects. Neither install it on an external
wall. The installation height should be approx. 1.5 m above the fl oor. Place the thermostat in
the “reference room”, such as the living room (the heating source will switch according to the
temperature in this room).
The installation must only be done by a properly qualifi ed person!
Before installation, disconnect the power supply!
1) Switch off the main circuit breaker.
2) Loosen the locking screw and remove the front part of the thermostat with the
electronics (Fig. 1).
3) Fix the back part of the thermostat to the wall (Fig. 2).
4) Connect the wires to the terminal board; take heed to proper tightening of the
terminals.
5) Put on the front part of the thermostat with LCD and ensure the thermostat with the
locking screw against splitting.
6) Switch on the main circuit breaker. If everything is OK, the LCD shows the current
temperature.
7) Set the thermostat parameters and the required temperature program according to the
instructions.
INSTALLATION PROCEDURE
PT14-P DESCRIPTION
When heating is
switched on,
LED is lit
entry into the menu (AUTO, MANU,
OFF, CLO, PROG, PAr)
short push = confi rmation (ENTER)
long push = step back
browsing the functions of
temperature setting, time, key
locking; see page 10
RESET button
backlit display
(active for 30 s after
you push any button)
internal temperature sensor

3
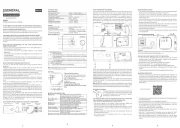
Fig.1 Loosen the locking screw and remove
the thermostat electronics.
Fig.2 Fix the back part of the thermostat
to the wall.
Fig.3 Connect the inlet wires according
to the diagram.
Fig.4 Put the electronics part onto the bottom
part and ensure it with the locking screw.
L
N
HEATING-
max. 16 A
UNUSED
holes for installation screws
Produktspezifikationen
| Marke: | Elektrobock |
| Kategorie: | Thermostat |
| Modell: | PT14-P |
Brauchst du Hilfe?
Wenn Sie Hilfe mit Elektrobock PT14-P benötigen, stellen Sie unten eine Frage und andere Benutzer werden Ihnen antworten
Bedienungsanleitung Thermostat Elektrobock
10 Juli 2025

1 September 2024

26 August 2024

26 August 2024

20 August 2024

17 August 2024

12 August 2024

6 August 2024

5 August 2024

4 August 2024
Bedienungsanleitung Thermostat
- Westfalia
- OJ ELECTRONICS
- EQ3
- Dimplex
- Netatmo
- Horstmann
- Carrier
- Bulex
- Arnold Rak
- Bosch
- Hama
- Boneco
- 2Heat
- Meross
- Heimeier
Neueste Bedienungsanleitung für -Kategorien-
30 Juli 2025
28 Juli 2025
27 Juli 2025
27 Juli 2025
26 Juli 2025
25 Juli 2025
24 Juli 2025
24 Juli 2025
24 Juli 2025
