IBEAM TE-50VS Bedienungsanleitung
IBEAM Nicht kategorisiert TE-50VS
Lies die bedienungsanleitung für IBEAM TE-50VS (1 Seiten) kostenlos online; sie gehört zur Kategorie Nicht kategorisiert. Dieses Handbuch wurde von 70 Personen als hilfreich bewertet und erhielt im Schnitt 4.4 Sterne aus 9 Bewertungen. Hast du eine Frage zu IBEAM TE-50VS oder möchtest du andere Nutzer dieses Produkts befragen? Stelle eine Frage
Seite 1/1
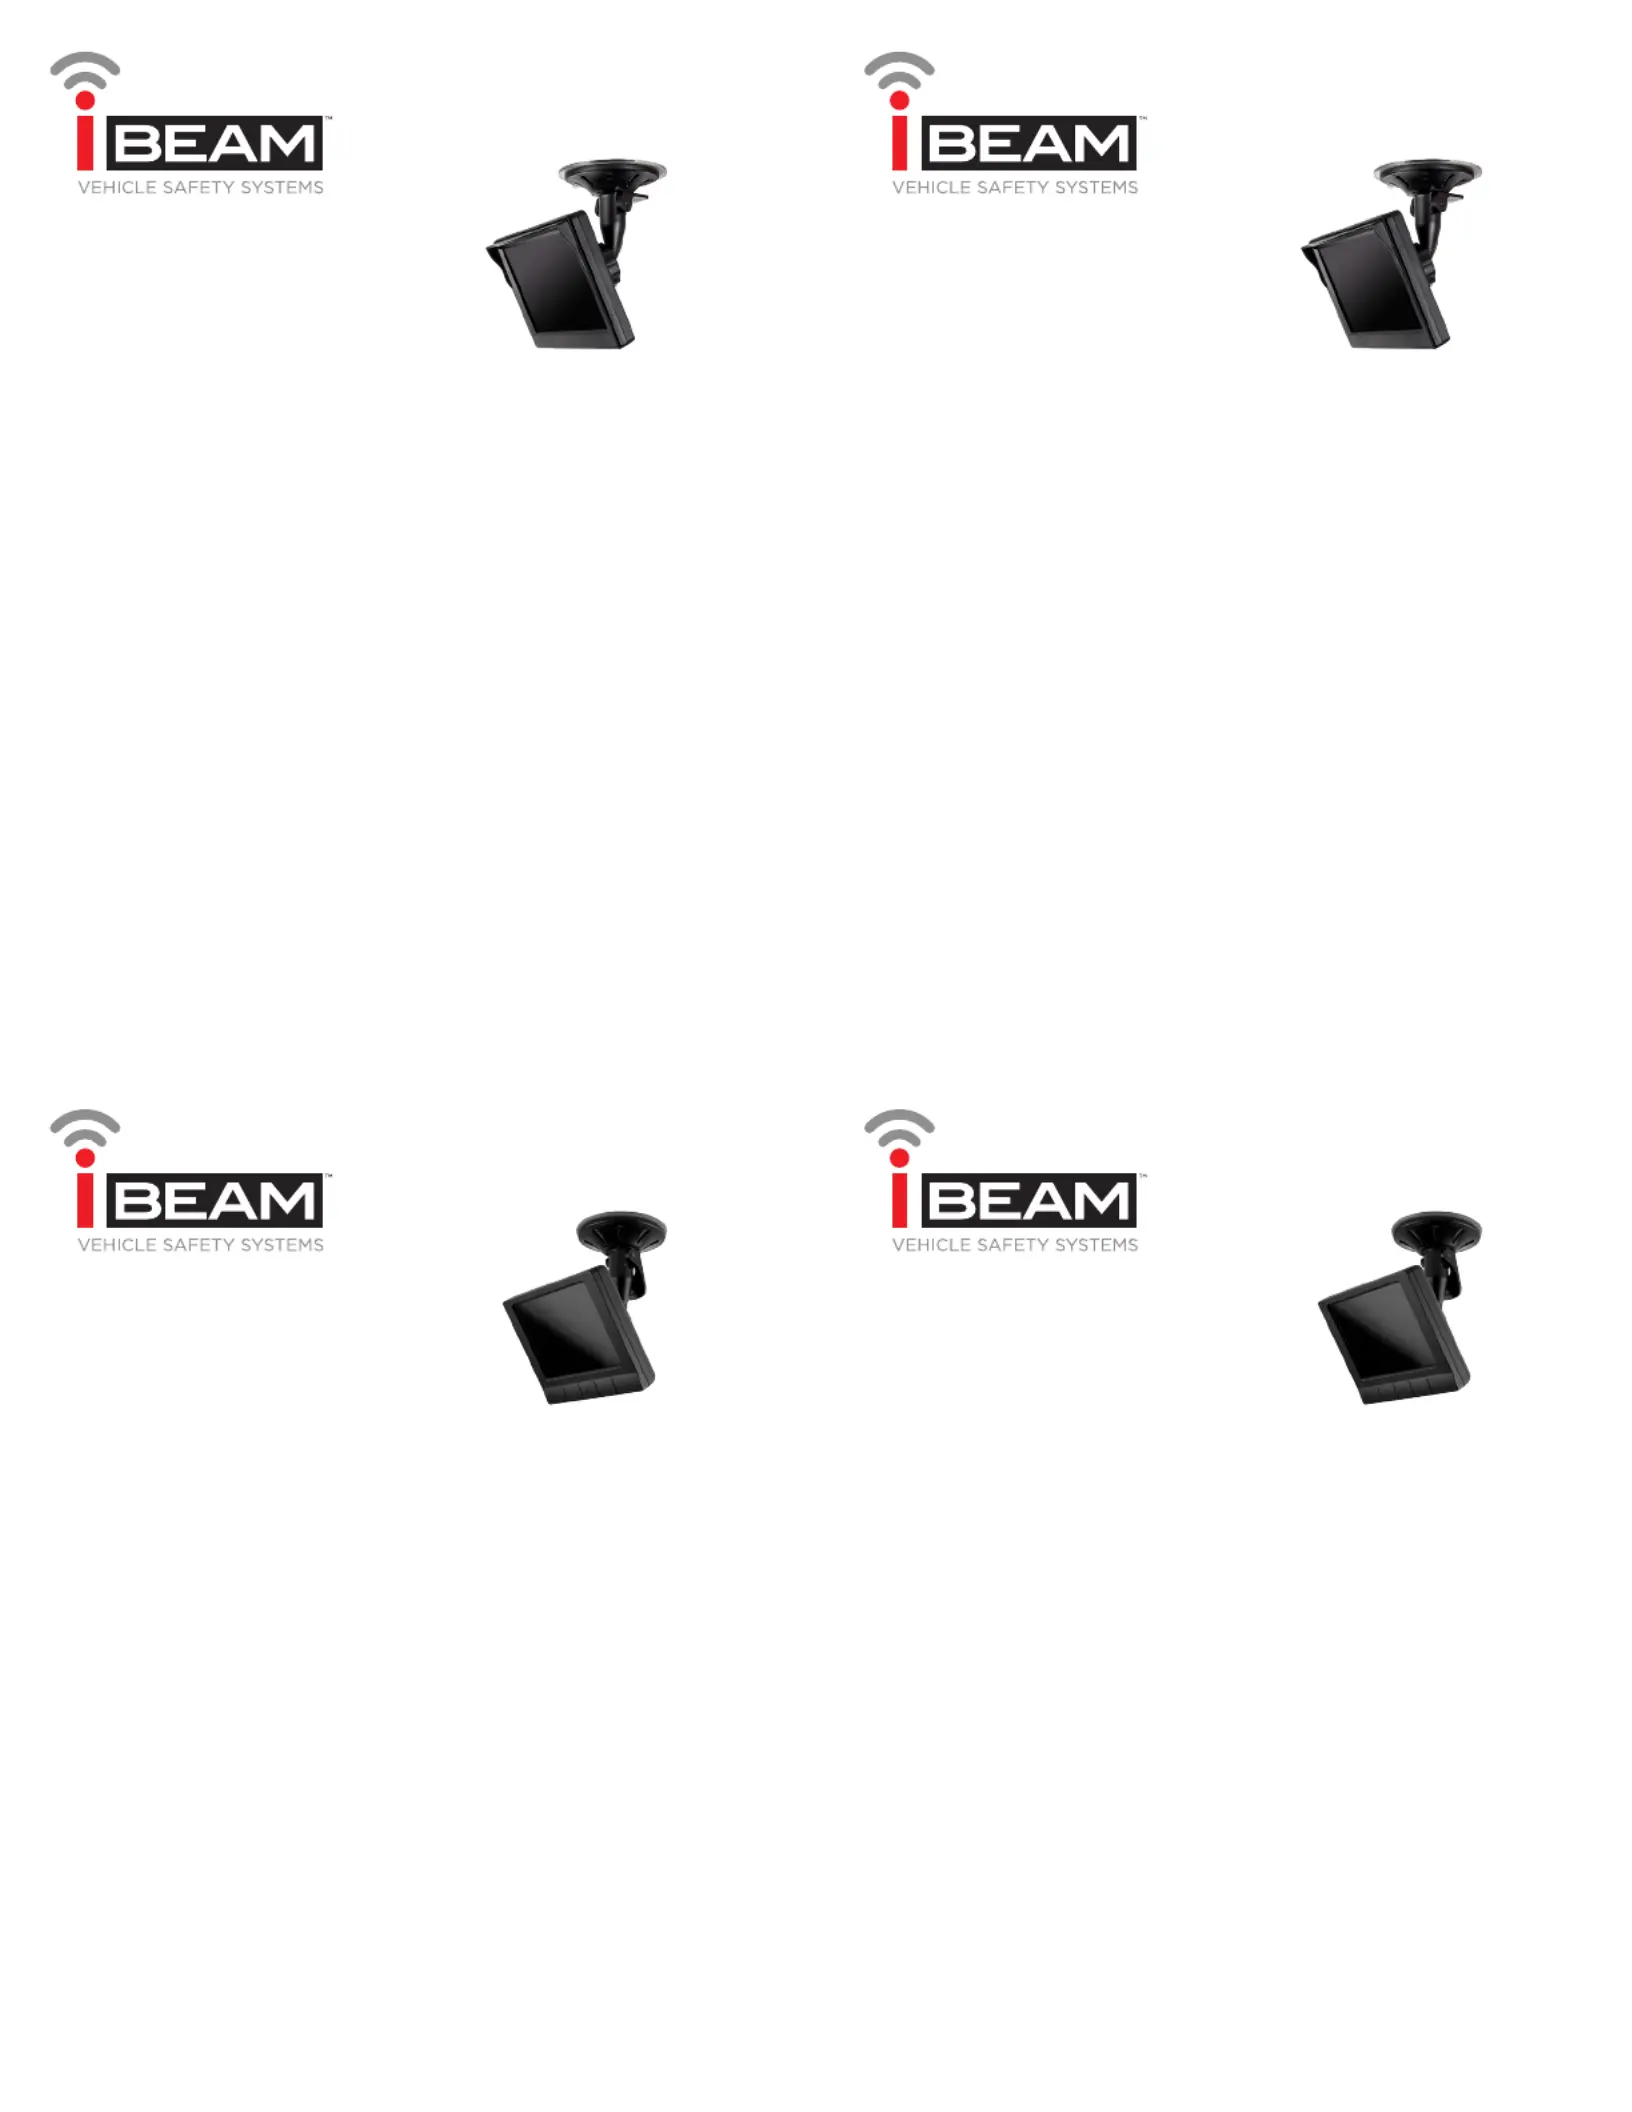
TE-50VS
Product Manual
TE-50VS
Product Manual
TE-35VS
Product Manual
TE-35VS
Product Manual
800.221.0932 iBeamUSA.com
460 Walker Street, Holly Hill, FL 32117
800.221.0932 iBeamUSA.com
460 Walker Street, Holly Hill, FL 32117
800.221.0932 iBeamUSA.com
460 Walker Street, Holly Hill, FL 32117
800.221.0932 iBeamUSA.com
460 Walker Street, Holly Hill, FL 32117
II. Installation
1) 5” color video screen that can mount on the window (with supplied suction
cup mount) or dash (with supplied mounting base with 3M tape)
2) Connect the RED wire to the +12 volt accessory wire
3) Connect the BLACK wire to ground (a metal, non-painted surface)
4) Plug video cable from any source with a composite video output into
either of the video inputs of the video screen. The video screen will
automatically turn on when it detects a video source and it turn off when
that video source stops.
5) To adjust settings such as color, contrast, brightness, language and screen
ratio use the middle button on the back to scroll through settings and use
the top and bottom buttons to select.
NOTE:If the video screen is used with a backup camera use AV2 input (this
will allow for automatic triggering when vehicle is placed in reverse and will
override the AV1 input) the video screen has a built in shade on top, this is
how the screen should be mounted.
II. Installation
1) The TE-35VS is a 3.5 inch color video screen that can mount on the
window (with supplied suction cup mount) or dash (with supplied
mounting base with 3M tape)
2) Connect the RED wire to the +12 volt accessory wire
3) Connect the BLACK wire to ground (a metal, non-painted surface).
4) Plug the power cable into the USB/video cable then plug the mini USB
cable into the back of the video screen to power the device.
5) Plug video cable from any source with a composite video output into either
of the video inputs of the video screen. The video screen will automatically
turn on when it detects a video source and it turn off when that video
source stops.
6) To adjust settings such as color, contrast, brightness, language and screen
ratio use the middle button on the front to scroll through settings and use
the left and right buttons to select.
I. Specifications
Display: 5.0 (16:9)
Power: 3W≤
Power Supply: DC 12V
Pixel: 480(W)*RGB*272(H)
Contrast: 350:1
PAL / NTSC compatible
AV signal auto detect power on/off
Auto switch when reversing
2 ways AV input
Compact size & easy installation
I. Specifications
Display: 5.0 (16:9)
Power: 3W≤
Power Supply: DC 12V
Pixel: 480(W)*RGB*272(H)
Contrast: 350:1
PAL / NTSC compatible
AV signal auto detect power on/off
Auto switch when reversing
2 ways AV input
Compact size & easy installation
I. Specifications
Display: 3.5 (4.3)
Power: 3W≤
Power Supply: DC 12V
Pixel: 480(W)*RGB*272(H)
Contrast: 350:1
PAL / NTSC compatible
AV signal auto detect power on/off
Auto switch when reversing
1 AV input
Compact size & easy installation
I. Specifications
Display: 3.5 (4.3)
Power: 3W≤
Power Supply: DC 12V
Pixel: 480(W)*RGB*272(H)
Contrast: 350:1
PAL / NTSC compatible
AV signal auto detect power on/off
Auto switch when reversing
1 AV input
Compact size & easy installation
Produktspezifikationen
| Marke: | IBEAM |
| Kategorie: | Nicht kategorisiert |
| Modell: | TE-50VS |
Brauchst du Hilfe?
Wenn Sie Hilfe mit IBEAM TE-50VS benötigen, stellen Sie unten eine Frage und andere Benutzer werden Ihnen antworten
Bedienungsanleitung Nicht kategorisiert IBEAM

4 September 2024
4 September 2024
31 August 2024
31 August 2024
31 August 2024
31 August 2024
31 August 2024
31 August 2024
2 April 2024
25 März 2024
Bedienungsanleitung Nicht kategorisiert
Neueste Bedienungsanleitung für -Kategorien-
3 April 2026
3 April 2026
3 April 2026
3 April 2026
3 April 2026
3 April 2026
3 April 2026
3 April 2026
3 April 2026
3 April 2026