Ivation IVAWM50FPB Bedienungsanleitung
Lies die bedienungsanleitung für Ivation IVAWM50FPB (7 Seiten) kostenlos online; sie gehört zur Kategorie Kamin. Dieses Handbuch wurde von 34 Personen als hilfreich bewertet und erhielt im Schnitt 4.1 Sterne aus 2 Bewertungen. Hast du eine Frage zu Ivation IVAWM50FPB oder möchtest du andere Nutzer dieses Produkts befragen? Stelle eine Frage
Seite 1/7
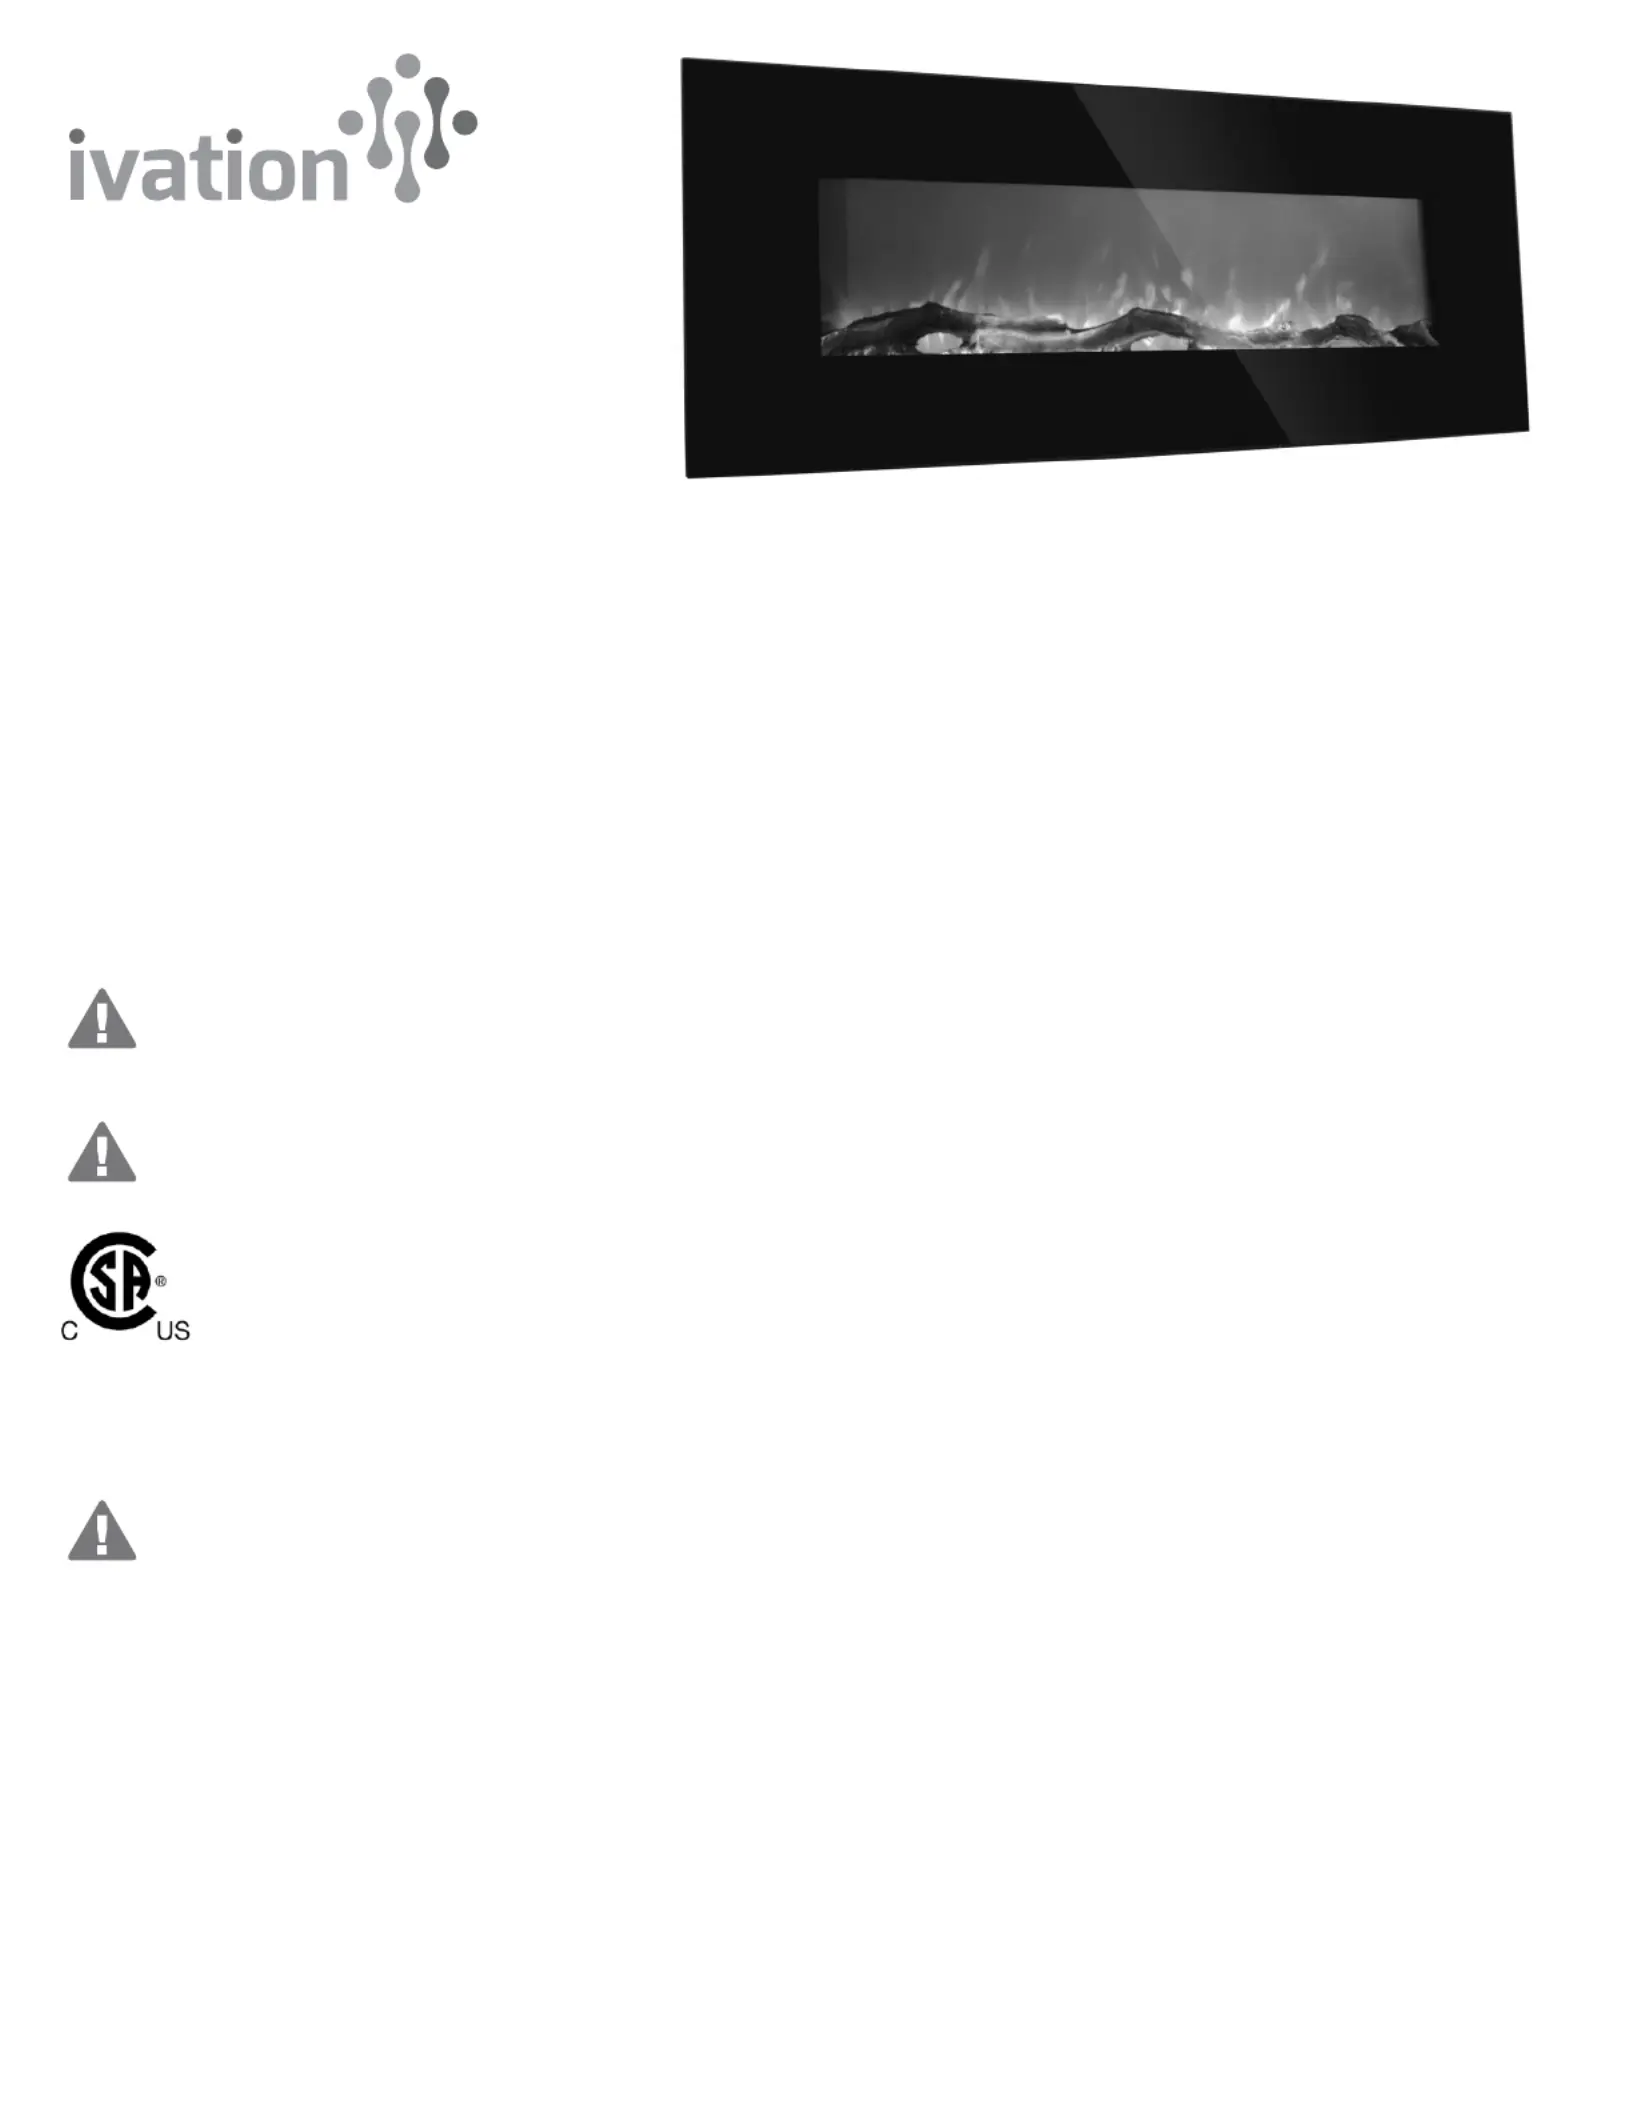
Wall Mount
Electric Fireplace
User Guide
Thank you for purchasing the Ivation Wall Mount Electric Fireplace. This User Guide is intended to provide you with guidelines to ensure that operation
of this product is safe and does not pose risk to the user. Any use that does not conform to the guidelines described in this User Guide may void the
limited warranty.
Please read all directions before using the product and retain this guide for reference. This product is intended for household use only.
This product is covered by a limited one-year warranty. Coverage is subject to limits and exclusions. See warranty for details.
Box Contents
Wall mount firebox
Mounting bracket
Mounting hardware
Remote control unit
User guide
IMPORTANT SAFETY INFORMATION!
WARNING
Read and understand this entire owner’s manual, including all safety information, before plugging in or using this product. Failure to do so
could result in fire, electric shock, or serious personal injury.
WARNING
• Read all instructions before using this heater!
• This heater is hot when in use. To avoid burns, DO NOT let bare skin touch hot surfaces. Do not attempt to move the heater while it is
operating. Keep combustible materials, such as furniture, pillows, bedding, papers, clothes, and curtains at least 3 feet (0.9m) from the
front of the heater, and keep them away from the sides and rear.
• Extreme caution is necessary when any heater is used by or near children or invalids and whenever the heater is left operating
and unattended.
• DO NOT operate any heater with a damaged cord or plug or after the heater malfunctions, has been dropped or damaged in any manner.
Discard heater, or return to authorized service facility for examination and/or repair.
• DO NOT run power cord under carpeting. DO NOT cover power cord with throw rugs, runners, or similar coverings. DO NOT route power
cord under furniture or appliances. Arrange power cord away from traffic area, and where it will not be tripped over.
• Connect to properly grounded outlets ONLY.
• DO NOT insert or allow foreign objects to enter any ventilation or exhaust opening, as this may cause electric shock or fire, or damage
the heater.
• To prevent a possible fire, DO NOT block air intakes or exhaust in any manner. Doing so could cause a fire. DO NOT use on soft surfaces,
like a bed, where openings may become blocked.
• A heater has hot and arcing or sparking parts inside. DO NOT use it in areas where gasoline, paint, or flammable liquids are used or stored.
1
CAUTION
Keep this owner’s manual for future reference. If you sell or give this product away, make sure this manual accompanies this product.
253158
Produktspezifikationen
| Marke: | Ivation |
| Kategorie: | Kamin |
| Modell: | IVAWM50FPB |
Brauchst du Hilfe?
Wenn Sie Hilfe mit Ivation IVAWM50FPB benötigen, stellen Sie unten eine Frage und andere Benutzer werden Ihnen antworten
Bedienungsanleitung Kamin Ivation

13 August 2025
13 August 2025
Bedienungsanleitung Kamin
Neueste Bedienungsanleitung für -Kategorien-
29 März 2026
27 März 2026
24 März 2026
24 März 2026
23 März 2026
23 März 2026
22 März 2026
21 März 2026
21 März 2026
14 März 2026