Kramer KAC-BAR-81 Bedienungsanleitung
Kramer Videokonferenzsystem KAC-BAR-81
Lies die bedienungsanleitung für Kramer KAC-BAR-81 (6 Seiten) kostenlos online; sie gehört zur Kategorie Videokonferenzsystem. Dieses Handbuch wurde von 38 Personen als hilfreich bewertet und erhielt im Schnitt 4.8 Sterne aus 5 Bewertungen. Hast du eine Frage zu Kramer KAC-BAR-81 oder möchtest du andere Nutzer dieses Produkts befragen? Stelle eine Frage
Seite 1/6
1.Introduction
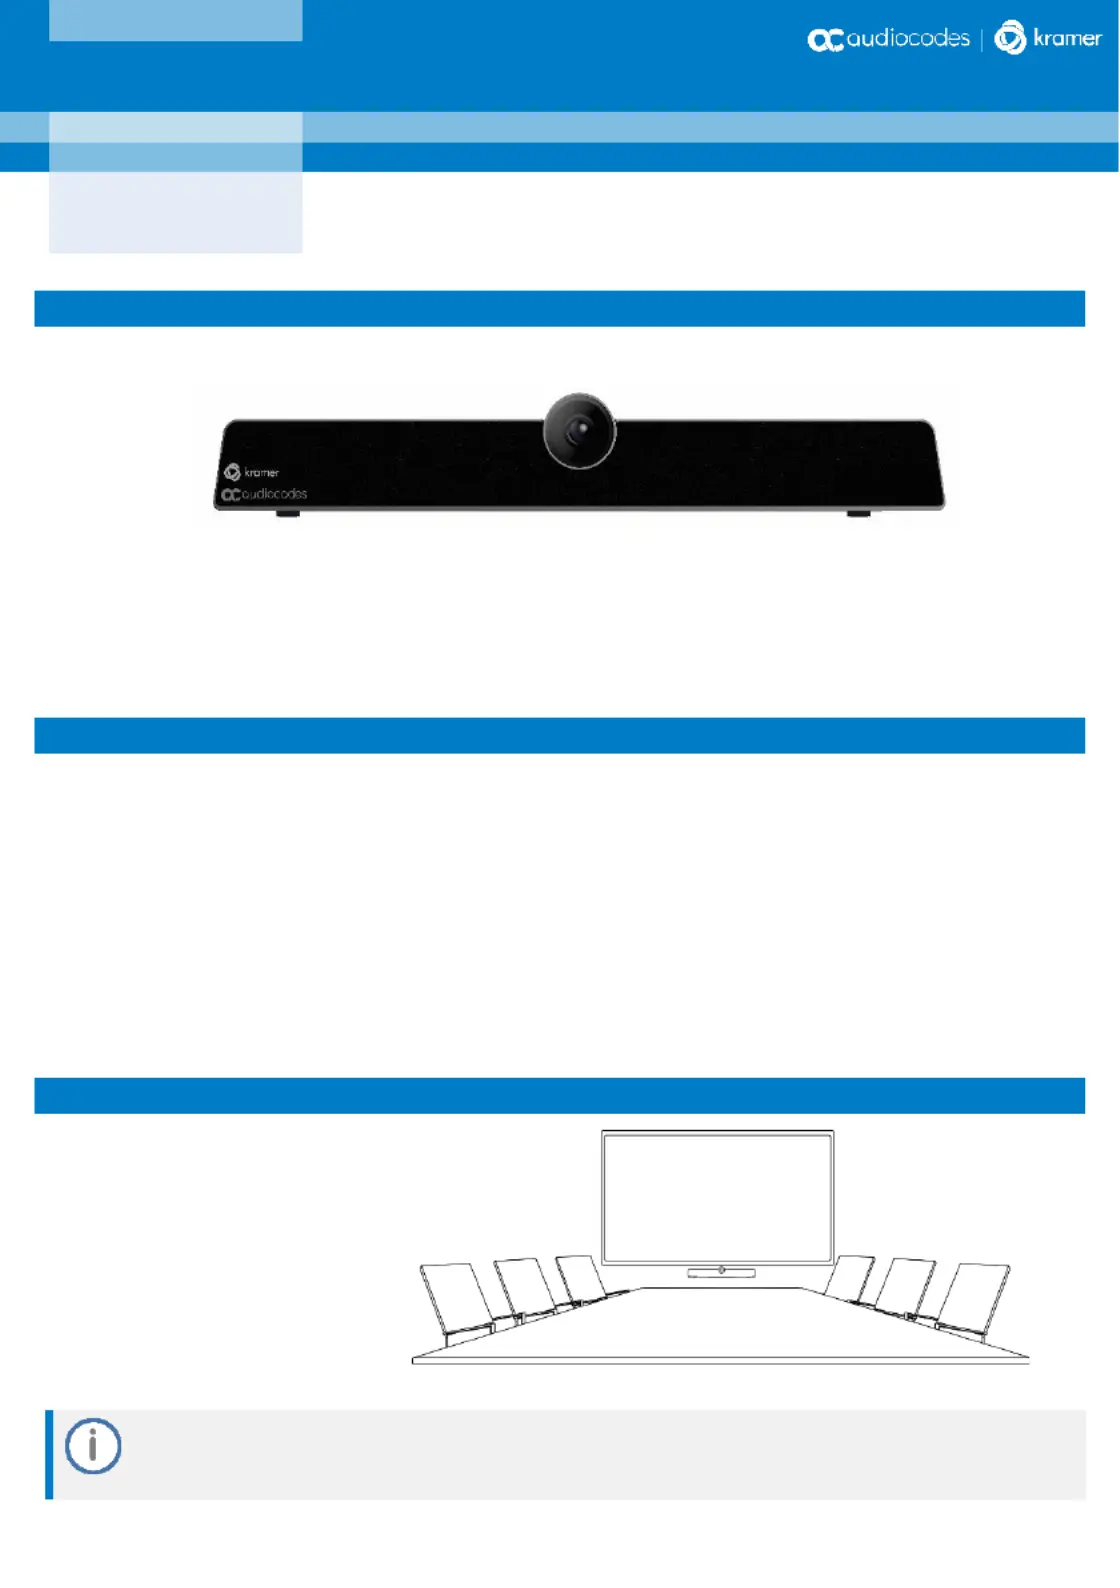
Thank you for purchasing the AudioCodes Kramer KAC-BAR-81 Collaboration Bar!
The KAC-BAR-offers an integrated camera with 81 an adjustable lens angle for optimal viewing, six
beamforming microphone arrays that provide a pickup range of 14.7 feet (4.5 meters), and a robust 10W
speaker.
2.Package Contents
Make sure you've received the following items in the shipped box:
✓KAC-BAR-Collaboration Bar 81
✓Power Adapter
✓USB Type-C cable
✓Wall mount and screws
✓HDMI Cable
✓Controller. Depending on your purchase, your KAC-BAR-includes one 81 of the following controllers:
oKAC-BAR--RC 81Remote Control and batteries
oKAC-TCH-10 Meeting Room Controller (when purchasing KAC-BAR--B10) 81
3.Positioning
You can wall mount the KAC-BAR-
81 or placed it on top of the
display (not supplied but can be
ordered separately). Designed for
small-- mid-size rooms, it's to
recommended to position the
KAC-BAR-below the display and 81
approximately 4 inches
(10 cm) above the table.
You can adjust the camera's wide-angle horizontal field view, which spans degrees, of110
allowing for precise fine-tuning of its vertical position as well.
PN: 2900-301721QS REV 3
AudioCodes Kramer KAC-BAR- Collaboration Bar81
Quick Guide
Produktspezifikationen
| Marke: | Kramer |
| Kategorie: | Videokonferenzsystem |
| Modell: | KAC-BAR-81 |
Brauchst du Hilfe?
Wenn Sie Hilfe mit Kramer KAC-BAR-81 benötigen, stellen Sie unten eine Frage und andere Benutzer werden Ihnen antworten
Bedienungsanleitung Videokonferenzsystem Kramer

11 August 2025
7 Juli 2025
20 August 2024
18 August 2024
8 November 2022
Bedienungsanleitung Videokonferenzsystem
Neueste Bedienungsanleitung für -Kategorien-
1 April 2026
20 März 2026
19 März 2026
16 März 2026
7 März 2026
1 März 2026
24 Februar 2026
29 Januar 2026
24 Januar 2026
2 Dezember 2025