Manhattan 102032 Bedienungsanleitung
Manhattan Nicht kategorisiert 102032
Lies die bedienungsanleitung für Manhattan 102032 (2 Seiten) kostenlos online; sie gehört zur Kategorie Nicht kategorisiert. Dieses Handbuch wurde von 10 Personen als hilfreich bewertet und erhielt im Schnitt 4.2 Sterne aus 9 Bewertungen. Hast du eine Frage zu Manhattan 102032 oder möchtest du andere Nutzer dieses Produkts befragen? Stelle eine Frage
Seite 1/2
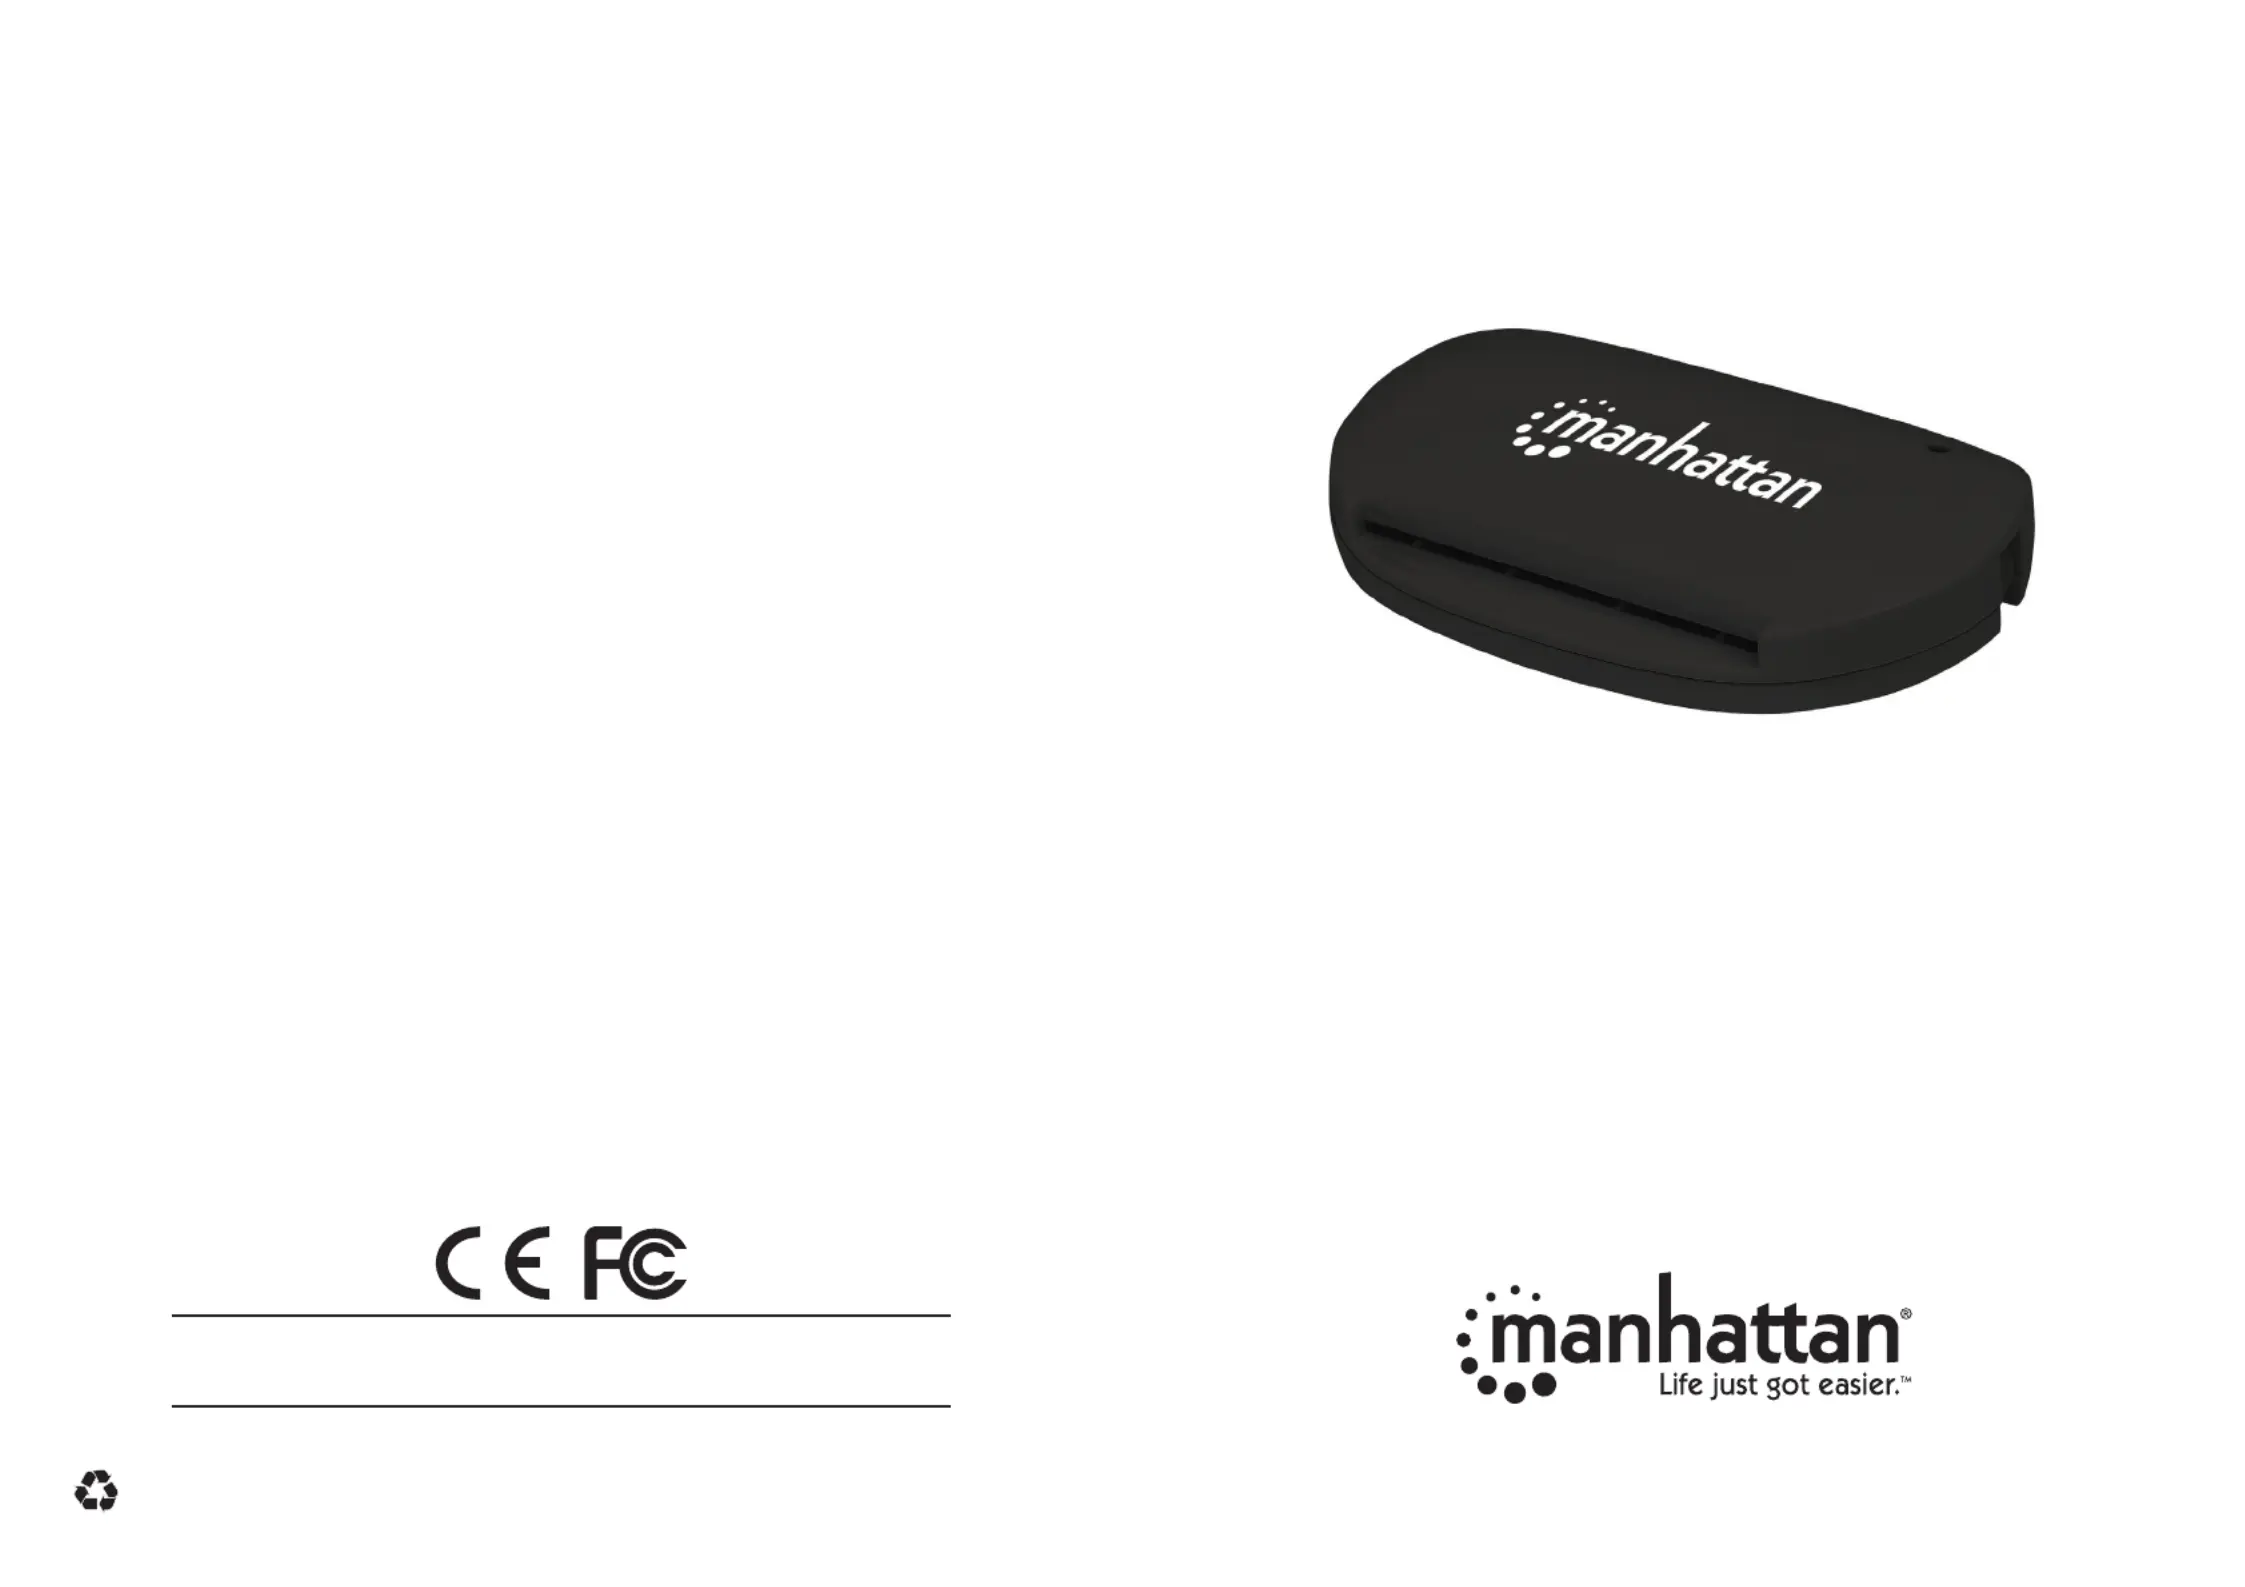
USB Smart/SIM Card
Reader Instructions
Model 102032
manhattanproducts.com
Important: Read before use. • Importante: Leer antes de usar.
English: For warranty information, go to manhattanproducts.com/warranty.
Deutsch: Garantieinformationen nden Sie unter manhattanproducts.com/warranty.
Español: Si desea obtener información sobre la garantía, visite manhattanproducts.com/warranty.
Français: Pour consulter les informations sur la garantie, visitez manhattanproducts.com/warranty.
Polski: Informacje dotyczące gwarancji znajdują się na stronie manhattanproducts.com/warranty.
Italiano: Per informazioni sulla garanzia, accedere a manhattanproducts.com/warranty.
En México: Póliza de Garantía Manhattan — Datos del importador y responsable ante el consumidor:
IC Intracom México, S.A.P.I. de C.V. • Av. Interceptor Poniente # 73, Col. Parque Industrial La Joya, Cuautitlán Izcalli, Estado de
México, C.P. 54730, México. • Tel. (55)1500-4500
La presente garantía cubre los siguientes productos contra cualquier defecto de fabricación en sus materiales y mano de obra.
A. Garantizamos los productos de limpieza, aire comprimido y consumibles, por 60 dias a partir de la fecha de entrega, o por
el tiempo en que se agote totalmente su contenido por su propia función de uso, lo que suceda primero.
B. Garantizamos los productos con partes móviles por 3 años.
C. Garantizamos los demás productos por 5 años (productos sin partes móviles), bajo las siguientes condiciones:
1. Todos los productos a que se reere esta garantía, ampara su cambio físico, sin ningún cargo para el consumidor.
2. El comercializador no tiene talleres de servicio, debido a que los productos que se garantizan no cuentan con
reparaciones, ni refacciones, p1-ya que su garantía es de cambio físico.
3. La garantía cubre exclusivamente aquellas partes, equipos o sub-ensambles que hayan sido instaladas de fábrica y
no incluye en ningún caso el equipo adicional o cualesquiera que hayan sido adicionados al mismo por el usuario o
distribuidor.
Para hacer efectiva esta garantía bastará con presentar el producto al distribuidor en el domicilio donde fue adquirido o en el
domicilio de IC Intracom México, S.A.P.I. de C.V., junto con los accesorios contenidos en su empaque, acompañado de su póliza
debidamente llenada y sellada por la casa vendedora (indispensable el sello y fecha de compra) donde lo adquirió, o bien, la
factura o ticket de compra original donde se mencione claramente el modelo, número de serie (cuando aplique) y fecha de
adquisición. Esta garantía no es válida en los siguientes casos: Si el producto se hubiese utilizado en condiciones distintas a las
normales; si el producto no ha sido operado conforme a los instructivos de uso; o si el producto ha sido alterado o tratado de
ser reparado por el consumidor o terceras personas.
Warranty Information
Printed on recycled paper.
MH-102032_QiG-0817_REV-5.01
© IC Intracom. All rights reserved. Manhattan is a trademark of IC Intracom, registered in the U.S. and other countries.
All trademarks and trade names are the property of their respective owners.
Regulatory Statements
FCC Class B
This equipment has been tested and found to comply with the limits for a Class B digital device, pursuant to Part 15 of Federal
Communications Commission (FCC) Rules. These limits are designed to provide reasonable protection against harmful
interference in a residential installation. This equipment generates, uses and can radiate radio frequency energy, and if not
installed and used in accordance with the instructions may cause harmful interference to radio communications. However, there
is no guarantee that interference will not occur in a particular installation. If this equipment does cause harmful interference
to radio or television reception, which can be determined by turning the equipment o and on, the user is encouraged to try
to correct the interference by one or more of the following measures: reorient or relocate the receiving antenna; increase the
separation between the equipment and the receiver; connect the equipment to an outlet on a circuit dierent from the receiver;
or consult the dealer or an experienced radio/TV technician for help.
CE
English: This device complies with the requirements of CE RED 2014/53/EU, 2014/30/EU and/or 2014/35/EC. The Declaration of Conformity
for this product is available at:
Deutsch: Dieses Gerät enspricht der CE RED 2014/53/EU, 2014/30/EU und / oder 2014/35/EC. Die Konformitätserklärung für dieses
Produkt nden Sie unter:
Español: Este dispositivo cumple con los requerimientos de CE RED 2014/53/EU, 2014/30/EU y / o 2014/35/EC. La declaración de
conformidad esta disponible en:
Français: Cet appareil satisfait aux exigences de CE RED 2014/53/EU, 2014/30/EU
et / ou 2014/35/EC
. La Déclaration de Conformité est
disponible à:
Polski: Urządzenie spełnia wymagania CE RED 2014/53/EU, 2014/30/EU I / lub 2014/35/EC. Deklaracja zgodności dostępna jest na stronie
internetowej producenta:
Italiano: Questo dispositivo è conforme alla CE RED 2014/53/EU, 2014/30/EU e / o 2014/35/EC. La dichiarazione di conformità è
disponibile al:
manhattanproducts.com
North & South America
IC Intracom Americas
550 Commerce Blvd.
Oldsmar, FL 34677 USA
Asia & Africa
IC Intracom Asia
4-F, No. 77, Sec. 1, Xintai 5th Rd.
Xizhi Dist., New Taipei City 221, Taiwan
Europe
IC Intracom Europe
Löhbacher Str. 7
D-58553 Halver, Germany
1 Plug the built-in cable into a USB port on your computer.
2 To install the driver, insert the enclosed Setup CD in your CD-ROM drive. If the
Welcome to the Found New Hardware Wizard screen displays, click Cancel to
continue.
3 When the Install screen displays, click Install Driver or run “autorun.exe.”
4 When the Driver Setup screen displays, click Yes.
5 When the “Please re-plug...” prompt displays, click OK
6 When prompted with “Do you want to restart your computer now?” click Yes. NOTE:
After your computer re-boots, you can verify the driver installation by going to Device
Manager / Smart Card Readers and conrming that “EZUSB PC/SC Smart Card Reader”
is listed.
7LED: power indicator (red), connection indicator (blue), activity indicator (alternating).
For specications, please visit manhattanproducts.com.
Produktspezifikationen
| Marke: | Manhattan |
| Kategorie: | Nicht kategorisiert |
| Modell: | 102032 |
| Breite: | 45 mm |
| Tiefe: | 83 mm |
| Gewicht: | 22 g |
| Produktfarbe: | Schwarz |
| Höhe: | 15 mm |
| Energiequelle: | USB |
| Betriebstemperatur: | 0 - 40 °C |
| Relative Luftfeuchtigkeit in Betrieb: | 0 - 96 % |
| Zertifizierung: | RoHS2, FCC, CE\nCCID rev 1.1\nEMV2000 Level 1\nCAC |
| Kabellänge: | 0.035 m |
| LED-Anzeigen: | Activity, Power |
| Temperaturbereich bei Lagerung: | -20 - 60 °C |
| Unterstützt Windows-Betriebssysteme: | Windows 10, Windows 7, Windows 8.1, Windows Vista, Windows XP Home, Windows XP Home x64, Windows XP Professional, Windows XP Professional x64 |
| Schnittstelle: | USB 2.0 |
| Schnellinstallationsanleitung: | Ja |
| Nachhaltigkeitszertifikate: | RoHS |
| Unterstützte Linux-Betriebssysteme: | Ja |
| Arbeitsspannung: | 5 V |
| SIM-Karten-Unterstützung: | Ja |
| Konformität mit Industriestandards: | CCID 1.1, EMV2000 lv. 1, CAC, SLE4418, 4428, 4432, 4442, AT88SC1608, 45D041 |
| USB: | Ja |
| Stromaufnahme (max): | 0.06 A |
| Unterstützte Positionierung: | Drinnen |
Brauchst du Hilfe?
Wenn Sie Hilfe mit Manhattan 102032 benötigen, stellen Sie unten eine Frage und andere Benutzer werden Ihnen antworten
Bedienungsanleitung Nicht kategorisiert Manhattan

29 März 2026
28 März 2026
3 März 2026
21 September 2025
21 September 2025
20 September 2025
20 September 2025
20 September 2025
20 September 2025
19 September 2025
Bedienungsanleitung Nicht kategorisiert
Neueste Bedienungsanleitung für -Kategorien-
3 April 2026
3 April 2026
3 April 2026
3 April 2026
3 April 2026
3 April 2026
3 April 2026
3 April 2026
3 April 2026
3 April 2026