Metra 95-6535B Bedienungsanleitung
Metra Nicht kategorisiert 95-6535B
Lies die bedienungsanleitung für Metra 95-6535B (4 Seiten) kostenlos online; sie gehört zur Kategorie Nicht kategorisiert. Dieses Handbuch wurde von 23 Personen als hilfreich bewertet und erhielt im Schnitt 4.8 Sterne aus 6 Bewertungen. Hast du eine Frage zu Metra 95-6535B oder möchtest du andere Nutzer dieses Produkts befragen? Stelle eine Frage
Seite 1/4
REV. 1/25/2017 INST95-6535B
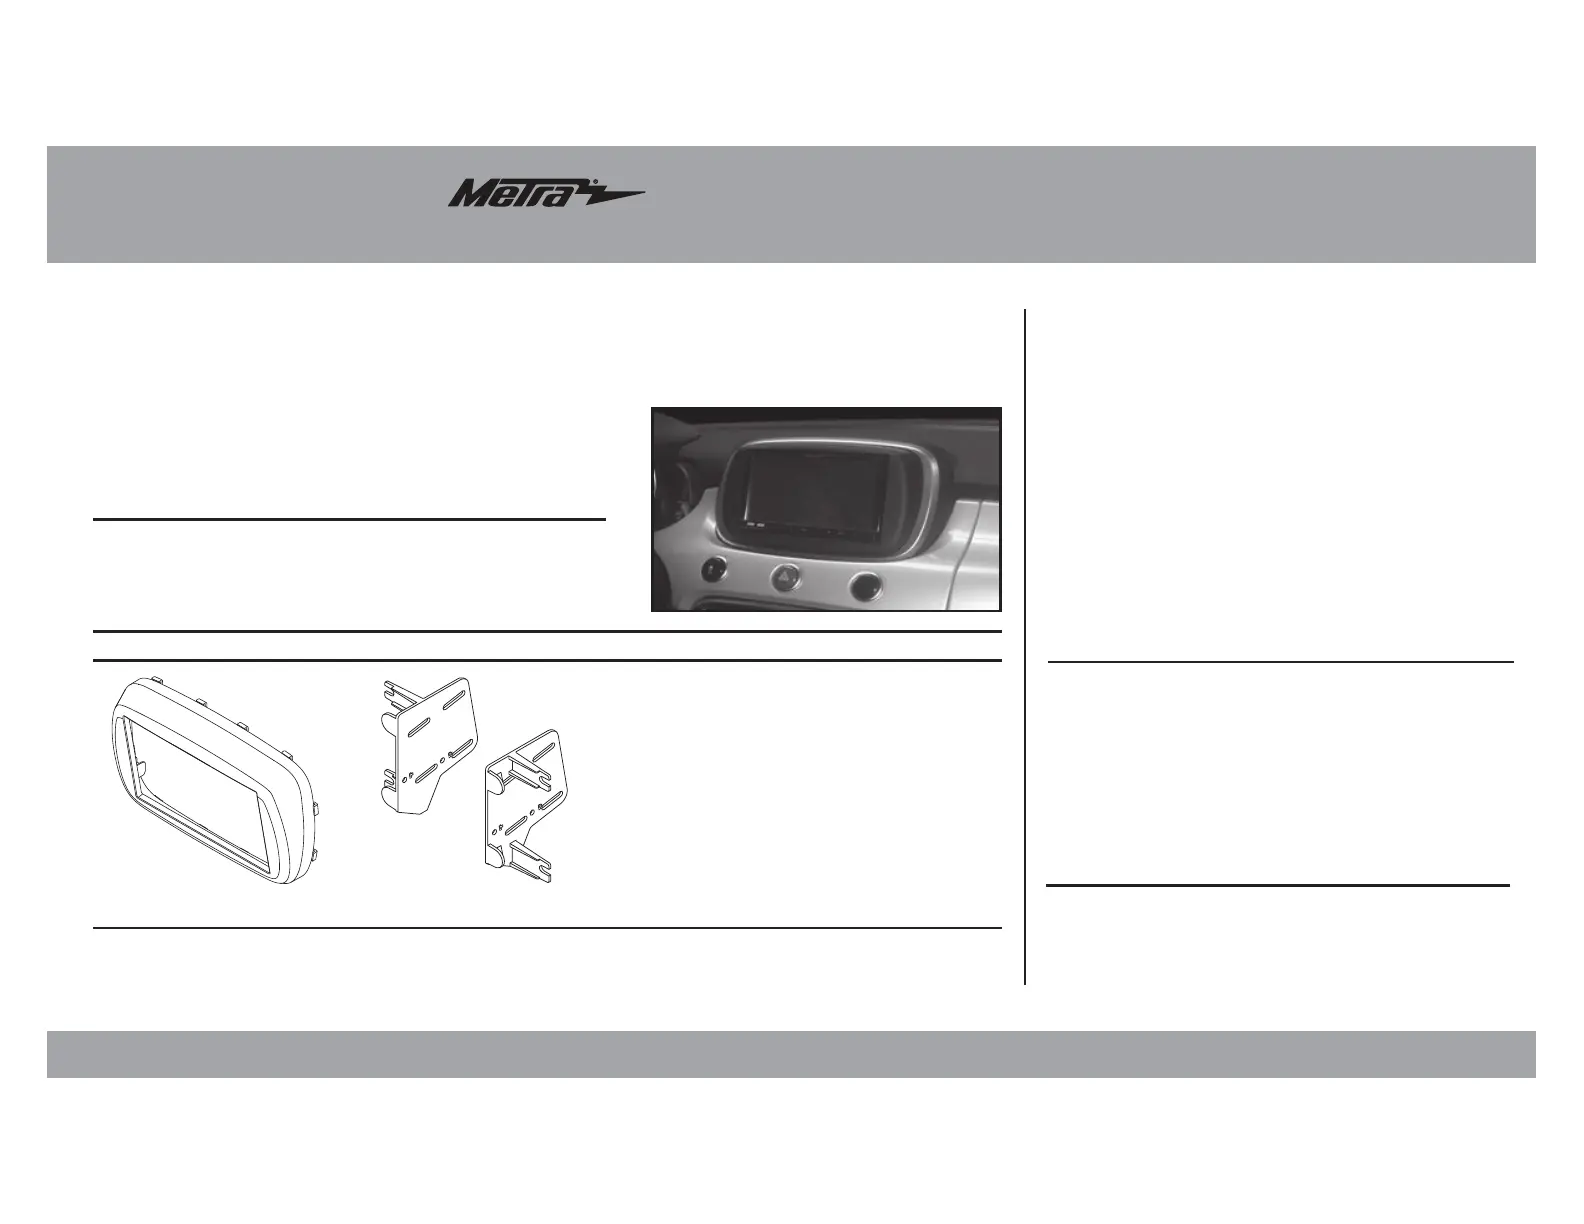
INSTALLATION INSTRUCTIONS FOR PART 95-6535B
METRA. The World’s best kits.
®
metraonline.com
© COPYRIGHT 2017 METRA ELECTRONICS CORPORATION
CAUTION!
All accessories, switches, climate controls panels,
and especially air bag indicator lights must be connected before
cycling the ignition. Also, do not remove the factory radio with
the key in the on position, or while the vehicle is running.
• ISO DDIN radio provision
• Painted matte black
• A) Radio trim panel • B) Radio brackets
20;-,(;<9,:
20;*64765,5;:
>0905.(5;,55(*655,*;065: (sold separately)
Wiring Harness: • XSVI-6523-NAV
Antenna Adapter: • 40-EU55
• Panel removal tool • Cutting tool
• T-25 Torx screwdriver
;663:9,8<09,+
Fiat 500X 2016-up
95-6535B
A
Table of Contents
B
Dash Disassembly .................................................2
Kit Assembly
–ISO DDIN radio provision ......................................3
Produktspezifikationen
| Marke: | Metra |
| Kategorie: | Nicht kategorisiert |
| Modell: | 95-6535B |
Brauchst du Hilfe?
Wenn Sie Hilfe mit Metra 95-6535B benötigen, stellen Sie unten eine Frage und andere Benutzer werden Ihnen antworten
Bedienungsanleitung Nicht kategorisiert Metra

1 November 2025
1 November 2025
31 Oktober 2025
30 Oktober 2025
29 Oktober 2025
29 Oktober 2025
8 Oktober 2025
3 Oktober 2025
3 Oktober 2025
3 Oktober 2025
Bedienungsanleitung Nicht kategorisiert
Neueste Bedienungsanleitung für -Kategorien-
3 April 2026
3 April 2026
3 April 2026
3 April 2026
3 April 2026
3 April 2026
3 April 2026
3 April 2026
3 April 2026
3 April 2026