Mimo Monitors Adapt-IQ MCT-70HPQ-POE Bedienungsanleitung
Mimo Monitors
Monitor
Adapt-IQ MCT-70HPQ-POE
Lies die bedienungsanleitung für Mimo Monitors Adapt-IQ MCT-70HPQ-POE (21 Seiten) kostenlos online; sie gehört zur Kategorie Monitor. Dieses Handbuch wurde von 4 Personen als hilfreich bewertet und erhielt im Schnitt 4.0 Sterne aus 2.5 Bewertungen. Hast du eine Frage zu Mimo Monitors Adapt-IQ MCT-70HPQ-POE oder möchtest du andere Nutzer dieses Produkts befragen? Stelle eine Frage
Seite 1/21

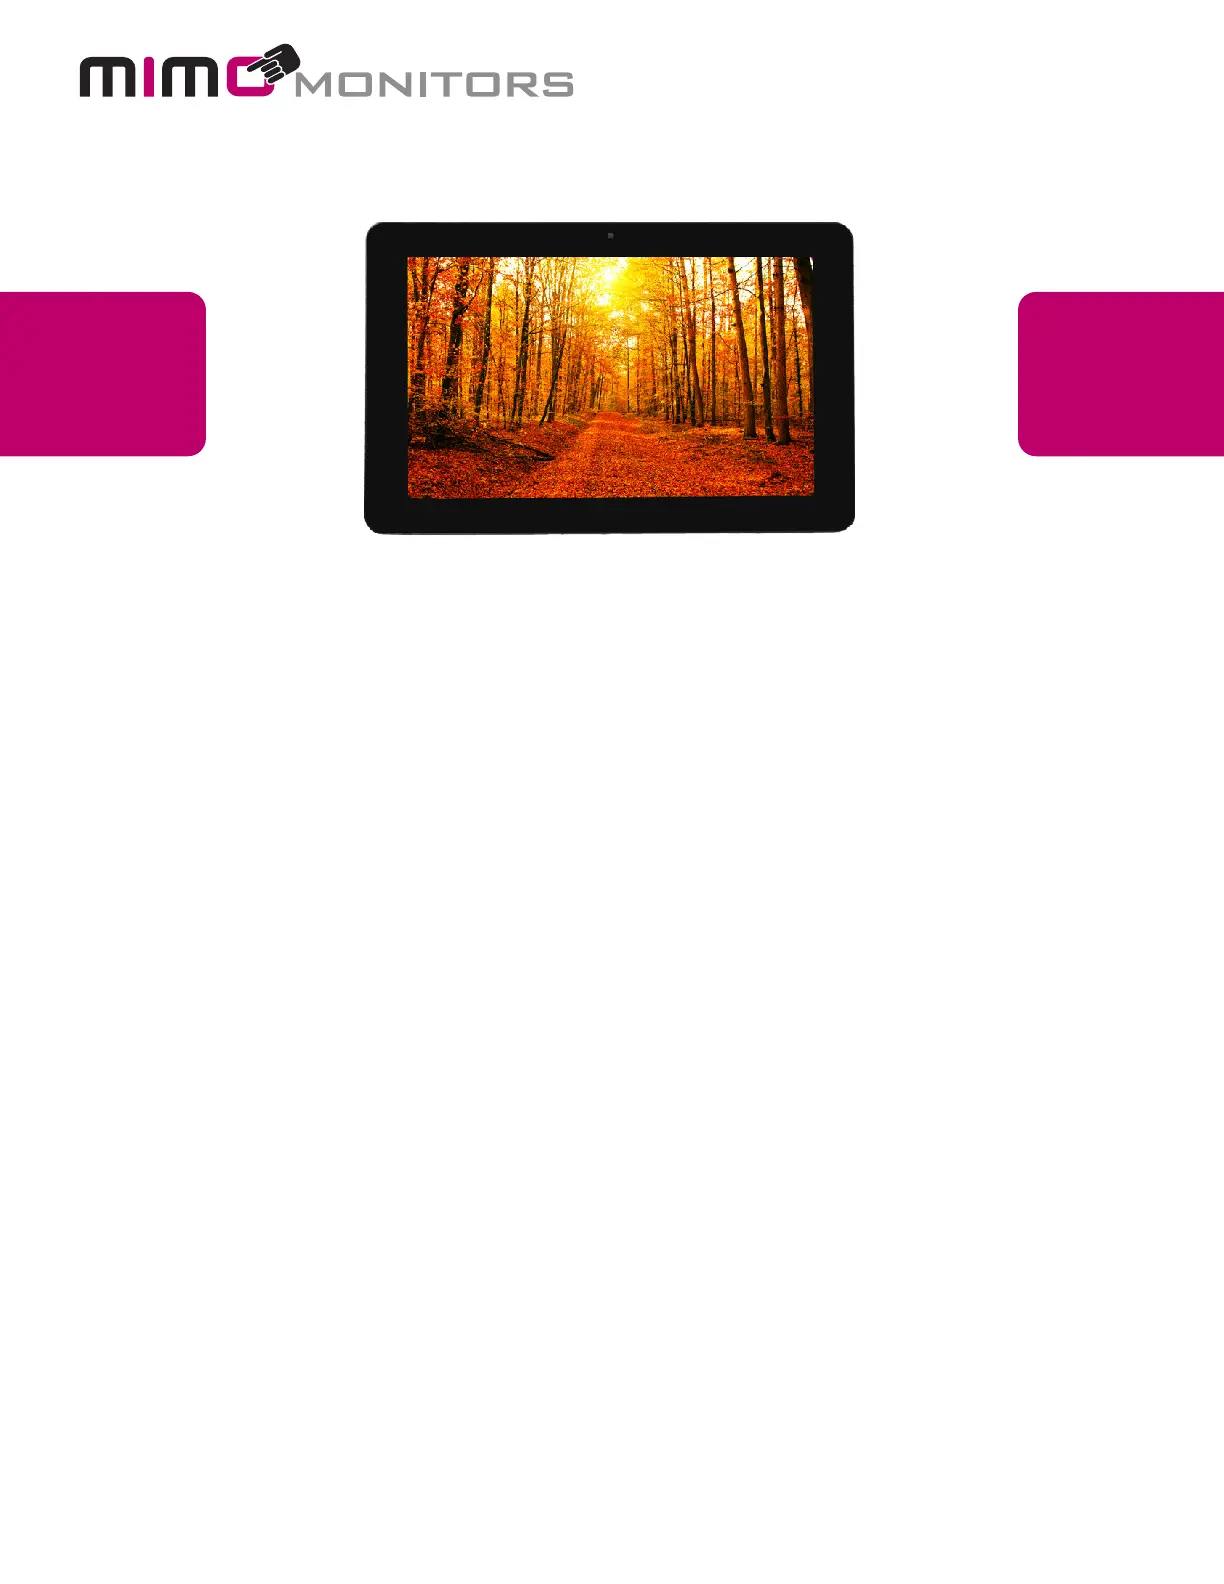
Model: MCT-70QDS, MCT-70QDS-POE, MCT-70HPQ, MCT-70HPQ-POE
Please keep this manual for future reference.
TABLE OF CONTENTS
PAGE
DECLARATION……………....…………………..............……………............…....1
PRODUCT INSTRUCTIONS……….......……..............…………………....………………1
POWERING ON THE PRODUCT………...........………………………...….....….……….2
INSERTING THE SD CARD.....………………….................………………………………3
INSERTING USB DEVICES……………..................……………......…………….……….3
HOME SCREEN.......………..…………….....................………….…......................……4
COMBINED SYSTEM BAR…....................................................................................8
USE APPS............................................................................................................…11
LANGUAGE………………......…............................................................……12
DATE & TIME……………….....….......….............................…...................................13
VOLUME………………......….......….............................…...................................14
WI-FI....................………………......….......….............................................19
ETHERNET....................………………......….......….............................................20
VIRTUAL KEYBOARD....................…....……………......…........................................23
SWITCH INPUT METHODS......................………......….......…................................24
SURF ONLINE................………………......….......….................................................29
BROWSE FILES................………………......….......…...............................................30
PLAY MEDIA................………………......….......…...................................................31
RESET TO FACTORY DEFAULT................………....................................................36
Adapt-IQ 7” User’s Manual

Mimo Monitors
info@mimomonitors.com
Sales: 1-855-YES-MIMO (937-6466)
1
7N-RK User Manual
Content
Declaration ........................................................................................................................... 0
Product Instruction.............................................................................................................. 1
Power on the Product ........................................................................................................ 2
Insert SD Card .................................................................................................................... 2
Insert USB Devices ............................................................................................................ 2
Home Screen ...................................................................................................................... 3
Combined System Bar ....................................................................................................... 5
Brightness ............................................................................................................................ 8
Use Apps .............................................................................................................................. 8
Language ............................................................................................................................. 9
Date & Time ....................................................................................................................... 10
Volume................................................................................................................................. 11
Wi-Fi ..................................................................................................................................... 11
Ethernet .............................................................................................................................. 12
Virtual Keyboard ............................................................................................................... 13
Switch Input Methods ....................................................................................................... 13
Surf Online ......................................................................................................................... 14
Browse Files ...................................................................................................................... 15
Play Media ......................................................................................................................... 17
Reset to Factory Default .................................................................................................. 17
Declaration
Please read the instructions carefully before equipment installation and
1
using the device.
Do not put the product in high temperature, humid or dusty environment.
Do not drop, crash or break down this product.
Do not power off the device when it’s formatting or upgrading, otherwise it
will cause operation system error.
This product is not waterproof.
Use only approved add-on enhancements.
Product Instruction
1. Camera (optional): 2M pixel camera
2. LED Indicator:
Red
System is booting.
Green
System is working properly.
Light Off
Power supply is off.
3. SD Card Slot / Cover: support external SD card
4. Escape Button: return to the previous page
5. Function Keys (Up / Down): select the up/down item
6. Function Keys (Vol+ / Vol-): adjust the system volume
7. Speaker: audio output
8. VESA Mount Holes: for installing the bracket
9. DC In Jack: powered by 12V/2A DC input
10. Ethernet RJ45 Port: support Ethernet connection (10/100Mbps LAN)
11. USB Port: support USB 2.0 high speed 480Mbps
12. Micro-USB Port: support USB 2.0 high speed 480Mbps
2
13. Power Switch: switch power ON/OFF
14. Add-on module slot: to put optional add-on module
15. Headset + Microphone Jack
16. WIFI: 802.11b/g/n/ac 2.4G
17. Temperature:
:
Operation: 0℃ ~ 40℃ ( 32F ~104F)
Storage: -10°C ~ 55°C (14°F ~ 131°F)
Power on the Product
Step1 Power on the power adapter that connected to this product.
Step2 Switch the power switch (#13 in Product Instruction) on the back of
this product to ON.
Insert SD Card
This product supports external SD card. Please insert your SD card into the
SD Card Slot (#3 in Product Instruction) on the top of this product.
Insert USB Devices
This product supports USB and Micro-USB to deal with your files.
USB
Plug your USB memory into the USB port (#11 in Product Instruction) on
the bottom of this product, and then you can do the file operations via the File
Browser. (See the details in Browse Files).
Micro-USB
Connect the Micro-USB port (#12 in Product Instruction) on the bottom of
this product and the USB port on your computer with a Micro-USB-to-USB
cable.
Click the “Turn on USB storage” button in the “USB mass storage” window
that pops up automatically to make the device memory visible in your
computer.
1
using the device.
Do not put the product in high temperature, humid or dusty environment.
Do not drop, crash or break down this product.
Do not power off the device when it’s formatting or upgrading, otherwise it
will cause operation system error.
This product is not waterproof.
Use only approved add-on enhancements.
Product Instruction
1. Camera (optional): 2M pixel camera
2. LED Indicator:
Red
System is booting.
Green
System is working properly.
Light Off
Power supply is off.
3. SD Card Slot / Cover: support external SD card
4. Escape Button: return to the previous page
5. Function Keys (Up / Down): select the up/down item
6. Function Keys (Vol+ / Vol-): adjust the system volume
7. Speaker: audio output
8. VESA Mount Holes: for installing the bracket
9. DC In Jack: powered by 12V/2A DC input
10. Ethernet RJ45 Port: support Ethernet connection (10/100Mbps LAN)
11. USB Port: support USB 2.0 high speed 480Mbps
12. Micro-USB Port: support USB 2.0 high speed 480Mbps
Produktspezifikationen
Marke: | Mimo Monitors |
Kategorie: | Monitor |
Modell: | Adapt-IQ MCT-70HPQ-POE |
Touchscreen: | Ja |
Bildschirmdiagonale: | 7 " |
Bildschirmtechnologie: | LCD |
Eingebaute Lautsprecher: | Ja |
Installiertes Betriebssystem: | Android 8.1 |
Anzahl Prozessorkerne: | 4 |
Unterstützte Audioformate: | AAC, ASF, MP2, OGG, WAV, WMA |
USB Anschluss: | Ja |
WLAN: | Ja |
Breite: | 188 mm |
Tiefe: | 25 mm |
Gewicht: | 450 g |
Produktfarbe: | Schwarz |
Höhe: | 120 mm |
Zweck: | Kommerziell |
Betriebstemperatur: | -10 - 50 °C |
Relative Luftfeuchtigkeit in Betrieb: | 10 - 90 % |
Zertifizierung: | FCC, CE, & RoHS |
Anzahl Ethernet-LAN-Anschlüsse (RJ-45): | 1 |
HD-Typ: | Full HD |
Natives Seitenverhältnis: | 16:9 |
Helligkeit: | 250 cd/m² |
Kontrastverhältnis: | 700:1 |
Stromverbrauch (Standby): | 7.5 W |
Ethernet LAN Datentransferraten: | 10, 100 Mbit/s |
Temperaturbereich bei Lagerung: | -15 - 65 °C |
Luftfeuchtigkeit bei Lagerung: | 10 - 90 % |
VESA-Halterung: | Ja |
DVI Anschluss: | Nein |
Unterstützte Videoformate: | 3GP, ASF, AVI, DAT, FLV, MKV, MOV, MP4, MPG, RM, TS, VOB, WMV |
Unterstützte Bildformate: | BMP, GIF, JPG |
Panel-Montage-Schnittstelle: | 75 x 75 mm |
Prozessor-Taktfrequenz: | 1.6 GHz |
Kompatible Speicherkarten: | SD |
Integrierter Kartenleser: | Ja |
LED-Hintergrundbeleuchtung: | Ja |
Eingebauter Prozessor: | Ja |
Panel-Typ: | TFT |
Touchscreen Technologie: | Kapazitiv |
Display-Auflösung: | 1024 x 600 Pixel |
Ethernet/LAN: | Nein |
Brauchst du Hilfe?
Wenn Sie Hilfe mit Mimo Monitors Adapt-IQ MCT-70HPQ-POE benötigen, stellen Sie unten eine Frage und andere Benutzer werden Ihnen antworten
Bedienungsanleitung Monitor Mimo Monitors
1 September 2025
1 September 2025
1 September 2025
1 September 2025
30 August 2024
30 August 2024
30 August 2024
30 August 2024
30 August 2024
30 August 2024
Bedienungsanleitung Monitor
- Garmin
- Shure
- AOC
- Viking
- Skytronic
- Satco
- Omron
- Avantone Pro
- GVision
- SilverCrest
- X-Rite
- Sony
- AIS
- Bearware
- Prowise
Neueste Bedienungsanleitung für -Kategorien-
1 September 2025
1 September 2025
1 September 2025
1 September 2025
1 September 2025
1 September 2025
1 September 2025
1 September 2025
1 September 2025
1 September 2025