Oliveri PE341 Bedienungsanleitung
Oliveri Spülbecken PE341
Lies die bedienungsanleitung für Oliveri PE341 (2 Seiten) kostenlos online; sie gehört zur Kategorie Spülbecken. Dieses Handbuch wurde von 48 Personen als hilfreich bewertet und erhielt im Schnitt 4.1 Sterne aus 9 Bewertungen. Hast du eine Frage zu Oliveri PE341 oder möchtest du andere Nutzer dieses Produkts befragen? Stelle eine Frage
Seite 1/2
INSTALLER - PLEASE READ & FOLLOW THESE
INSTALLATION INSTRUCTIONS
Please retain for owner as care instructions are included.
FOR TOPMOUNT OR ‘DROP-IN’ SINKS
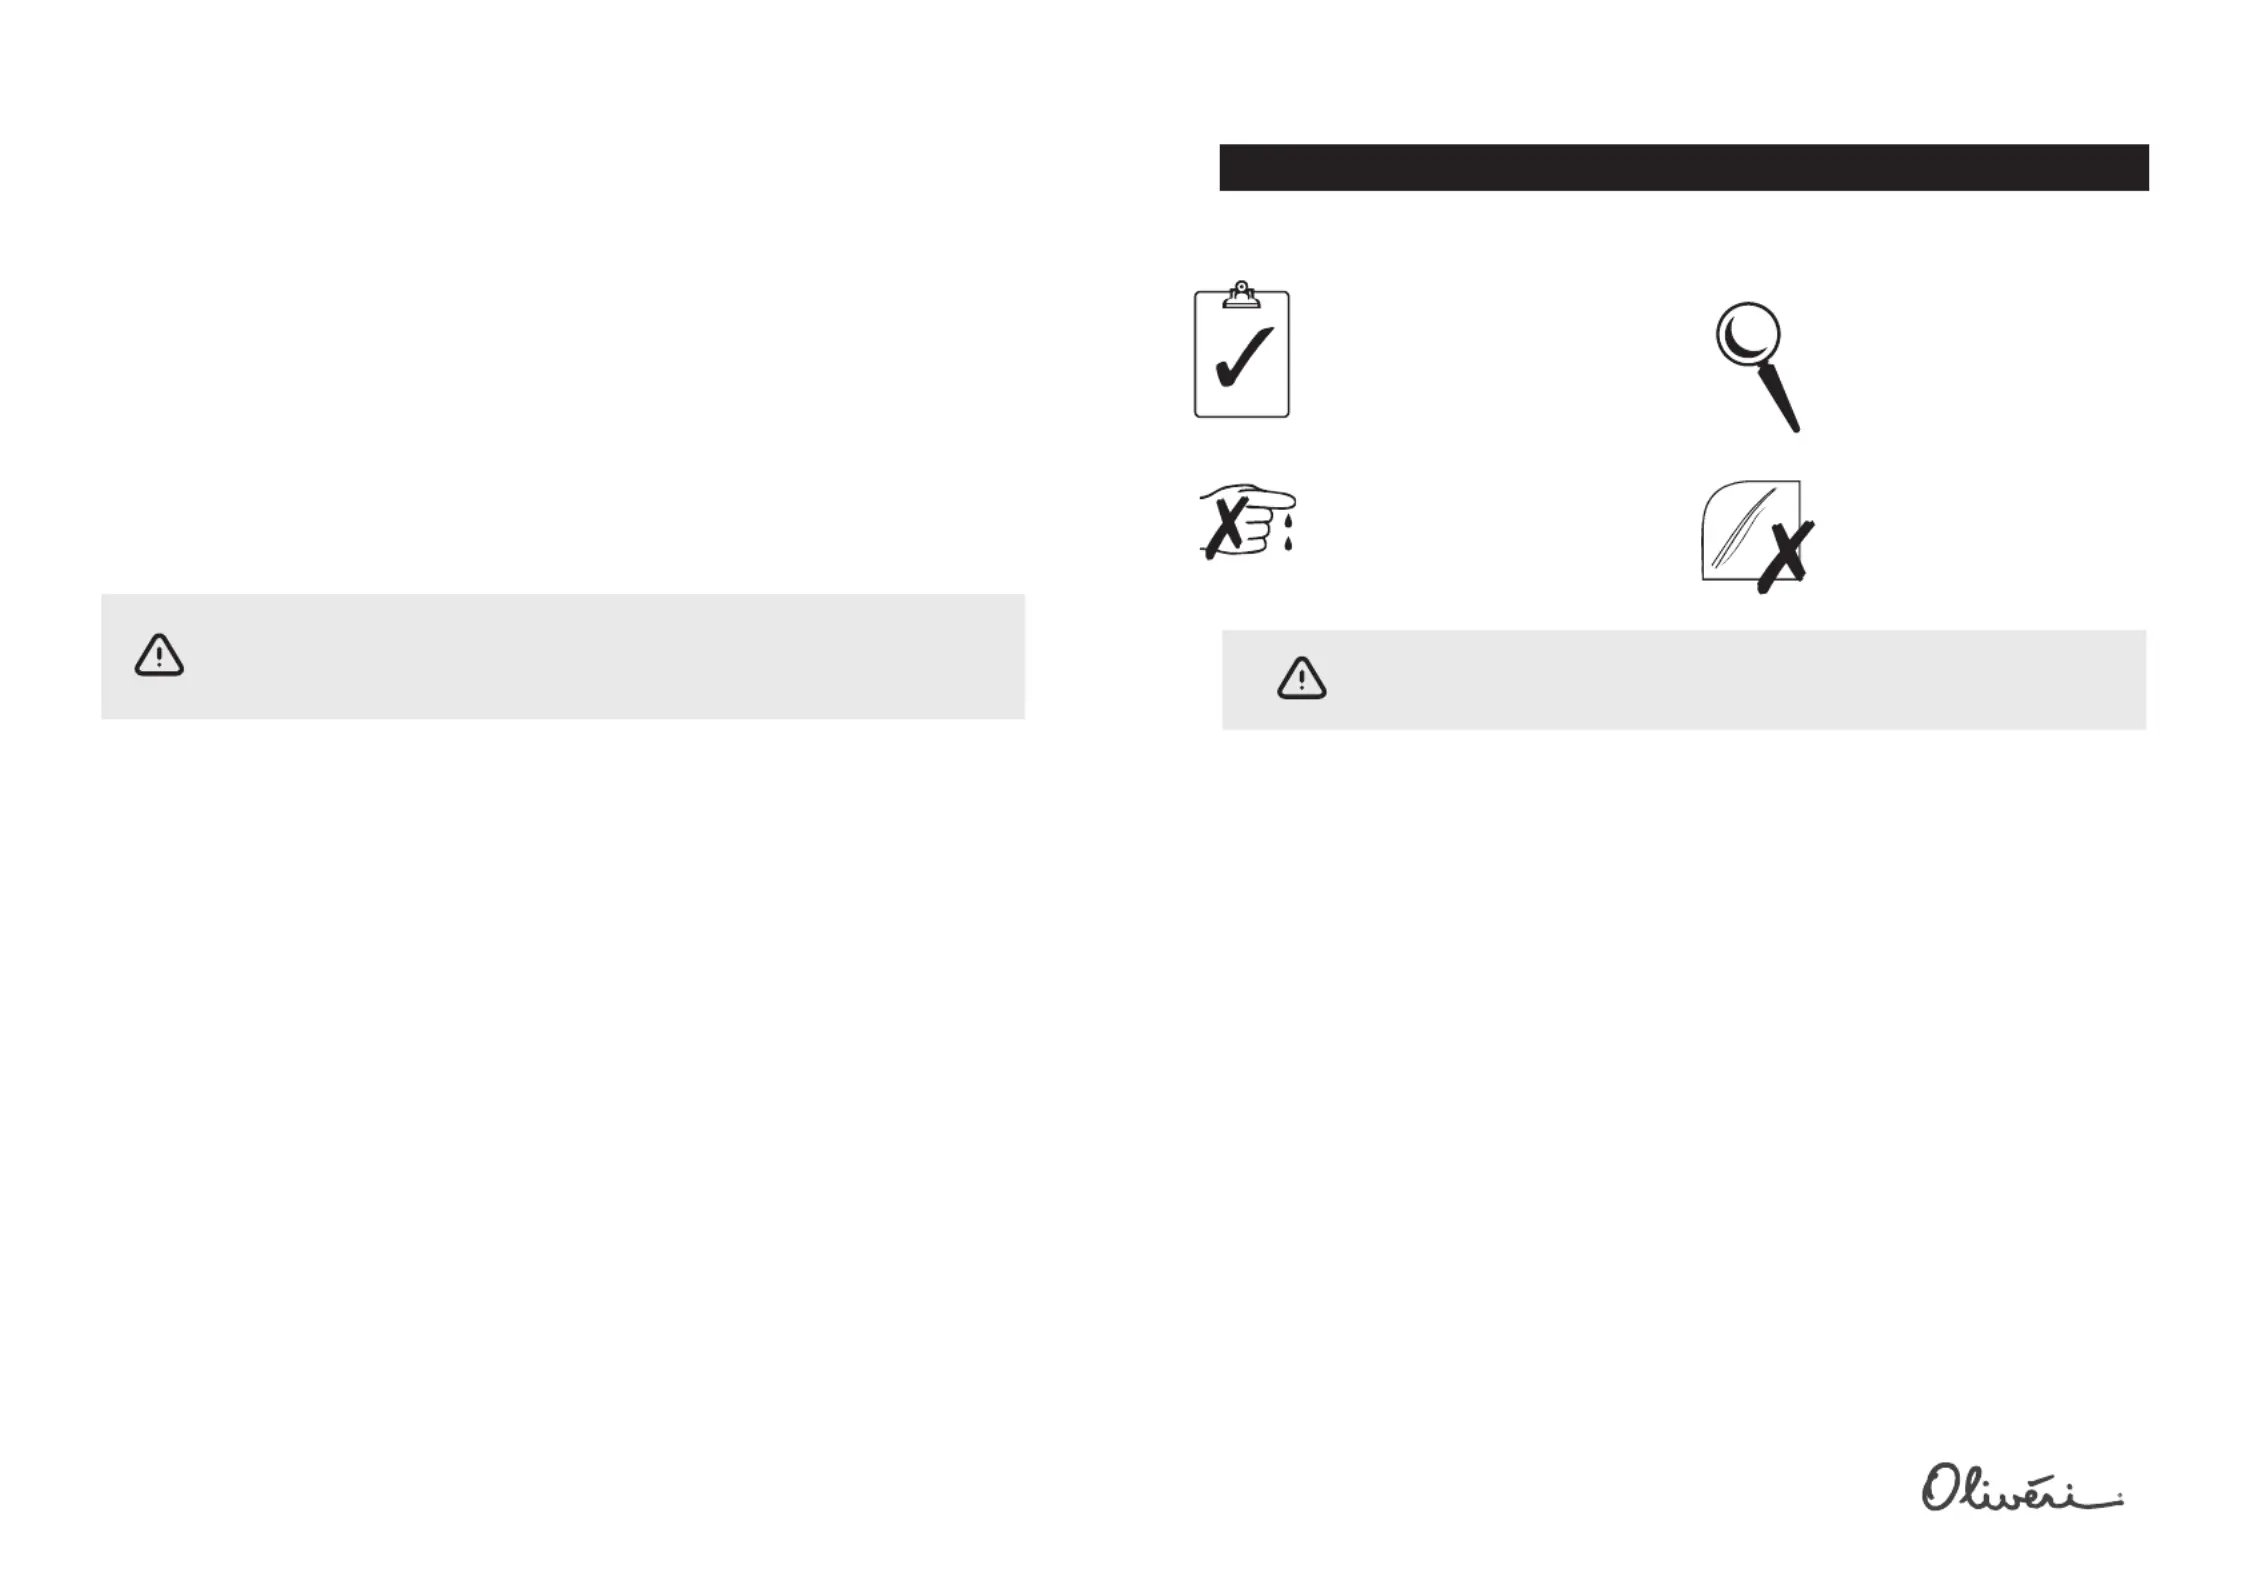
CHECK MODEL
The model number on the sink
packaging must match the model
of sink the customer ordered.
Do not install if incorrect.
AVOID CUTS
The perimeter and punch-outs on
the sink may contain sharp edges.
Handle the sink carefully to avoid
personal injury.
TF08g - Topmount Installation and Care Instructions
Oliveri Solutions Pty Ltd
51 Naweena Rd, Regency Park SA 5010 Phone: +61 8 8348 6444 Email: [email protected]
oliveri.com.au
CARE INSTRUCTIONS FOR YOUR OLIVERI STAINLESS STEEL SINK
AVOID CONTACT WITH ROUGH OR DIRTY SURFACES.
Manufactured from genuine 18/10, 304-grade stainless steel, Oliveri stainless steel sinks offer
optimum hygiene and durability. Your sink will continue to shine for many years with regular care.
• Clean daily with soap and water and then towel dry
• Always clean in the direction of the grain of the Stainless Steel surface
• Use a soft brush or sponge (old tooth brush)
• Wipe over with a glass cleaner (Windex is very good)
• Polish with a metal polish paste (Autosol / Brasso)
• Use a Liquid cleaner (Bon-Ami or Jiff)
IT IS IMPORTANT TO NOTE THE FOLLOWING:
• NEVER use steel wool
• Beware of harsh liquid cleaners
• Beware of grit within cloths and mineral deposits within water
• Avoid prolonged exposure to acids from fruit, fruit juices, salts, spirits, bleach, tea-bags
• Avoid prolonged contact with ordinary steel such as tin cans or steel wool (rust stains may result)
• Do not keep harsh (acids or chlorine) chemicals under the sink / laundry tub
• Do not leave chlorine/chloride chemicals on the stainless steel surface
• Do not leave liquid soaps & cleaners to dry on stainless steel
• Do not use bleaches
AVOID SCRATCHES
Stainless steel can be scratched if
proper care is not taken during
installation.
CHECK CONDITION OF THE SINK
Inspect the sink for any visible
defects. Do not install the sink if
defects are found. Contact your
sink retailer/point of purchase.
CLAIMS FOR DAMAGE WILL NOT BE ACCEPTED AFTER INSTALLATION.
Any advice, recommendation, information, assistance or service provided by Oliveri Solutions in
relation to goods manufactured by it or their use and installation, is given in good faith and is believed
by Oliveri Solutions to be appropriate and reliable. However, any advice, recommendation,
information, assistance or service is provided by Oliveri Solutions without responsibility or liability.
IT IS HIGHLY RECOMMENDED THE ACTUAL SINK BE PRESENT WHEN THE
COUNTER/BENCHTOP IS CUT OUT AS A REFERENCE FOR ACCURACY
Downloadable cut-out template files and/or cut-out dimensions are available from our website.
MATERIALS FOR FITTING THE TOPMOUNT SINK:
• including mounting clips, basket waste(s) and accessories (depending on model).Oliveri sink
• These installation instructions
• (refer website)Cut-out template and/or dimensions
• to check counter/benchtop and sink is installed levelLevel
• (#2 - to tighten mounting clips)Phillips head screwdriver
• (large - to tighten basket wastes)Flat head screwdriver
• (neutral-cure silicone sealant or equivalent)Suitable sealant
• Additional mounting hardware if fitting into thinner material. The clamps included with
the sink require a minimum counter/benchtop thickness of 25mm ( 1”). Different hardware or
packing materials will be needed for thin counter/benchtops.
Polished stainless steel will show scratches! Scratches, rust or normal wear
and tear are not manufacturing faults and are not covered under warranty.
SPECIAL INSTRUCTIONS
Unequal bowl depths Sinks that combine different sized bowls may also have unequal bowl
depth. Waste plumbing will need to accommodate this variance. All sinks have a height adaptor
included with the sink where needed.
Solitaire models LR510 & LR515 may be top mounted, each using a circular cutout 466mm in
diameter. LR515 comes with a 32mm diameter taphole pre-cut in the tap landing. Mark the
location of this taphole when trial fitting the sink. Then, drillout the counter/benchtop in the
appropriate location so that the mixer tap can be solidly installed through both the sink and the
counter/benchtop. LR510 may also be under mounted in a solid-surface counter/benchtop using a
circular cut out 454mm in diameter after edges are smoothed. Refer Oliveri undermount
instructions for recommended installation methods.
Produktspezifikationen
| Marke: | Oliveri |
| Kategorie: | Spülbecken |
| Modell: | PE341 |
Brauchst du Hilfe?
Wenn Sie Hilfe mit Oliveri PE341 benötigen, stellen Sie unten eine Frage und andere Benutzer werden Ihnen antworten
Bedienungsanleitung Spülbecken Oliveri

25 August 2025
29 Juli 2025
29 Juli 2025
21 Juni 2024
21 Juni 2024
21 Juni 2024
17 Mai 2024
30 April 2024
Bedienungsanleitung Spülbecken
Neueste Bedienungsanleitung für -Kategorien-
31 März 2026
30 März 2026
30 März 2026
28 März 2026
25 März 2026
25 März 2026
25 März 2026
25 März 2026
24 März 2026
24 März 2026