Princeton Tec Charge X Bedienungsanleitung
Princeton Tec Nicht kategorisiert Charge X
Lies die bedienungsanleitung für Princeton Tec Charge X (8 Seiten) kostenlos online; sie gehört zur Kategorie Nicht kategorisiert. Dieses Handbuch wurde von 27 Personen als hilfreich bewertet und erhielt im Schnitt 4.5 Sterne aus 5 Bewertungen. Hast du eine Frage zu Princeton Tec Charge X oder möchtest du andere Nutzer dieses Produkts befragen? Stelle eine Frage
Seite 1/8
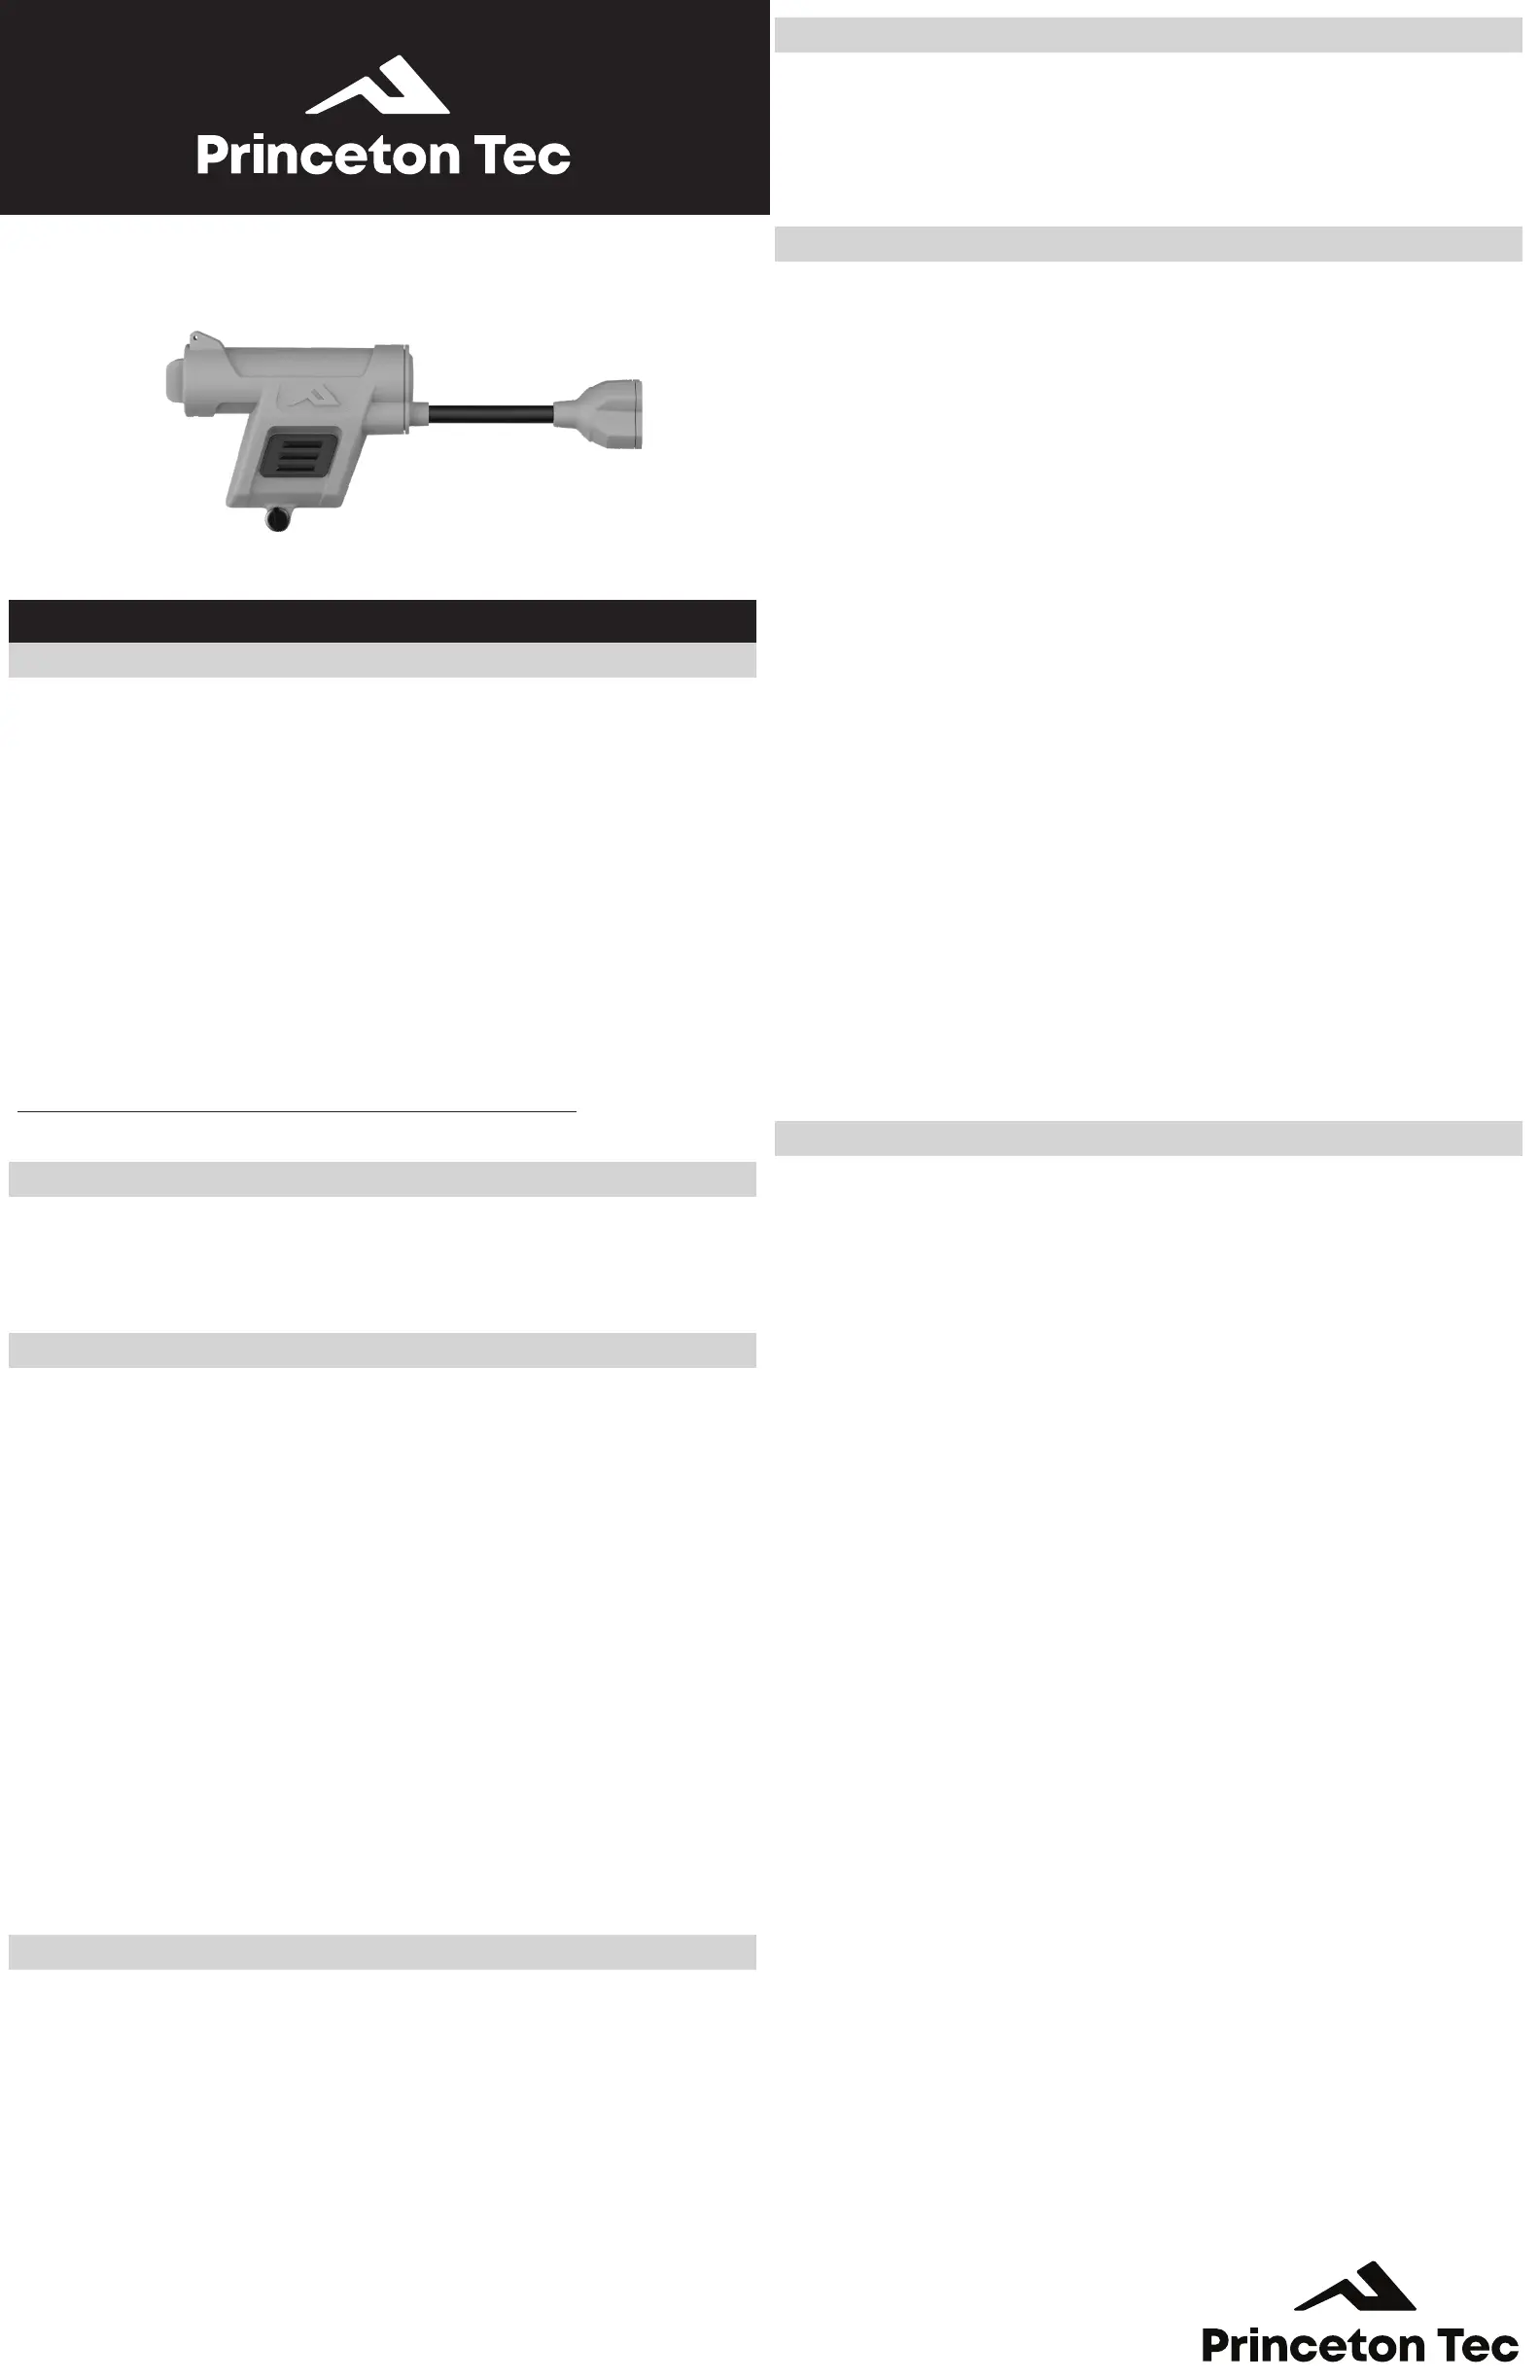
CHARGE
X
®
MPLS HELMET LIGHT
Operating and Maintenance Instructions
English
Battery Installation
See Figure 1
(1)CR123 Lithium Battery or (1) AA Lithium or (1) AA Alkiline.
Lithium preferred for better performance
To install battery, grip the light in either hand with the battery door
facin
g straight up. Slide battery door latch forward with your thumb
and use your free hand to open the battery door. With a battery
installed, spring tension will make this operation possible with one
hand. To close the battery door, push it closed and then slide the
latch toward you to lock.
Princeton Tec cares about the environment and recommends recycling
batteries. For more information about battery recycling, please go to:
https://www.epa.gov/recycle/used-household-batteries
WARNING !
•Always remove drained batteries immediately.
•Remove batteries during long periods of storage.
Switch Operation
See Figure 2
Charge X ships with red light selected rst.
Press 1x: Red
Press 2x: Green
Press 3x: Blue
Press 4x: Off
Press & Hold from color mode: White 80%
Press & Hold from white: Dimming
Next Press: Off
Press & Hold 2s from off: IR
Press & Hold 1s: IR strobe
Press & Hold 5s: Lock / unlock
Lock indicated by 3 ashes from red LED. While locked, any press
yields one red blink
Programming Mode
See Figure 3
The Charge X ships with red light selected rst. The user can program
the order in which the 3 color LEDs activate.
Press & Hold 8s from off Programming mode
Current color LED will blink rapidly.
1x press: cycle through red, green, or blue
Press & Hold 8s on desired color: locks in selection & exits mode
Troubleshooting
If the Charge X fails to light:
• Check the battery for proper installation.
• Replace battery if proper installation is conrmed.
USA– International 1-Year Warranty
WARRANTY – Princeton Tec warrants this product to be free from
defects in workmanship and materials under normal use for one year.
This warranty covers all of the component parts of the product except
batteries. This warranty does not cover deterioration due to normal
wear or damage due to misuse, alteration, negligence, accidents, or
unauthorized repair. Princeton Tec will repair or replace parts which are
defective in workmanship or materials. Your authorized Princeton Tec
Dealer and Princeton Tec are the only facilities authorized to repair the
product. After (3) unsuccessful attempts (within the warranty
period) to repair the product, you have the right to elect replacement
of the product or a refund of the purchase price less allowance for use
of the product. NO INCIDENTAL OR CONSEQUENTIAL DAMAGES
ARE INCLUDED IN THIS WARRANTY. (Some states do not allow the
exclusion or limitation of incidental or consequential damages, so the
above limitations or exclusions may not apply to you.) This warranty
gives you specic legal rights, and you may also have other rights which
vary from state to state.
Princeton Tec reserves the right to change product specications
without notice.
FOR CALIFORNIA RESIDENTS
WARNING: This product contains Bisphenol A (BpA) a chemical
known to the State of California to cause birth defects or other
reproductive harm.
Return Policy
If your light fails to operate, follow these simple steps:
1.Check batteries. Replace if necessary.
2.To send your light in for repair or replacement, rst contact
Princeton Tec customer service on
1-800-257-9080 to request an RMA number. Please have your
light model, date of purchase and a brief description of the fault
your are experiencing. No warranty repairs will be accepted
without an RMA number.
3.Return the light to: Princeton Tec, PO Box 8057 Trenton NJ
08650. Postage due and freight collect items will not be accepted.
4.Upon receipt your light will be processed in about two weeks.
Please allow additional time for return transportation from NJ.
Princeton Tec
PO Box 8057, Trenton, NJ 08650
Phone: 609-298-9331
Fax: 609-298-9601
princetontec.com
© 2023 Princeton Tec
Produktspezifikationen
| Marke: | Princeton Tec |
| Kategorie: | Nicht kategorisiert |
| Modell: | Charge X |
Brauchst du Hilfe?
Wenn Sie Hilfe mit Princeton Tec Charge X benötigen, stellen Sie unten eine Frage und andere Benutzer werden Ihnen antworten
Bedienungsanleitung Nicht kategorisiert Princeton Tec

30 Juli 2025
29 Juli 2025
29 Juli 2025
30 August 2024
Bedienungsanleitung Nicht kategorisiert
Neueste Bedienungsanleitung für -Kategorien-
3 April 2026
3 April 2026
3 April 2026
3 April 2026
3 April 2026
3 April 2026
3 April 2026
3 April 2026
3 April 2026
3 April 2026