Rane GE 130 Bedienungsanleitung
Lies die bedienungsanleitung für Rane GE 130 (4 Seiten) kostenlos online; sie gehört zur Kategorie Mischer. Dieses Handbuch wurde von 16 Personen als hilfreich bewertet und erhielt im Schnitt 4.2 Sterne aus 6 Bewertungen. Hast du eine Frage zu Rane GE 130 oder möchtest du andere Nutzer dieses Produkts befragen? Stelle eine Frage
Seite 1/4
Manual-1
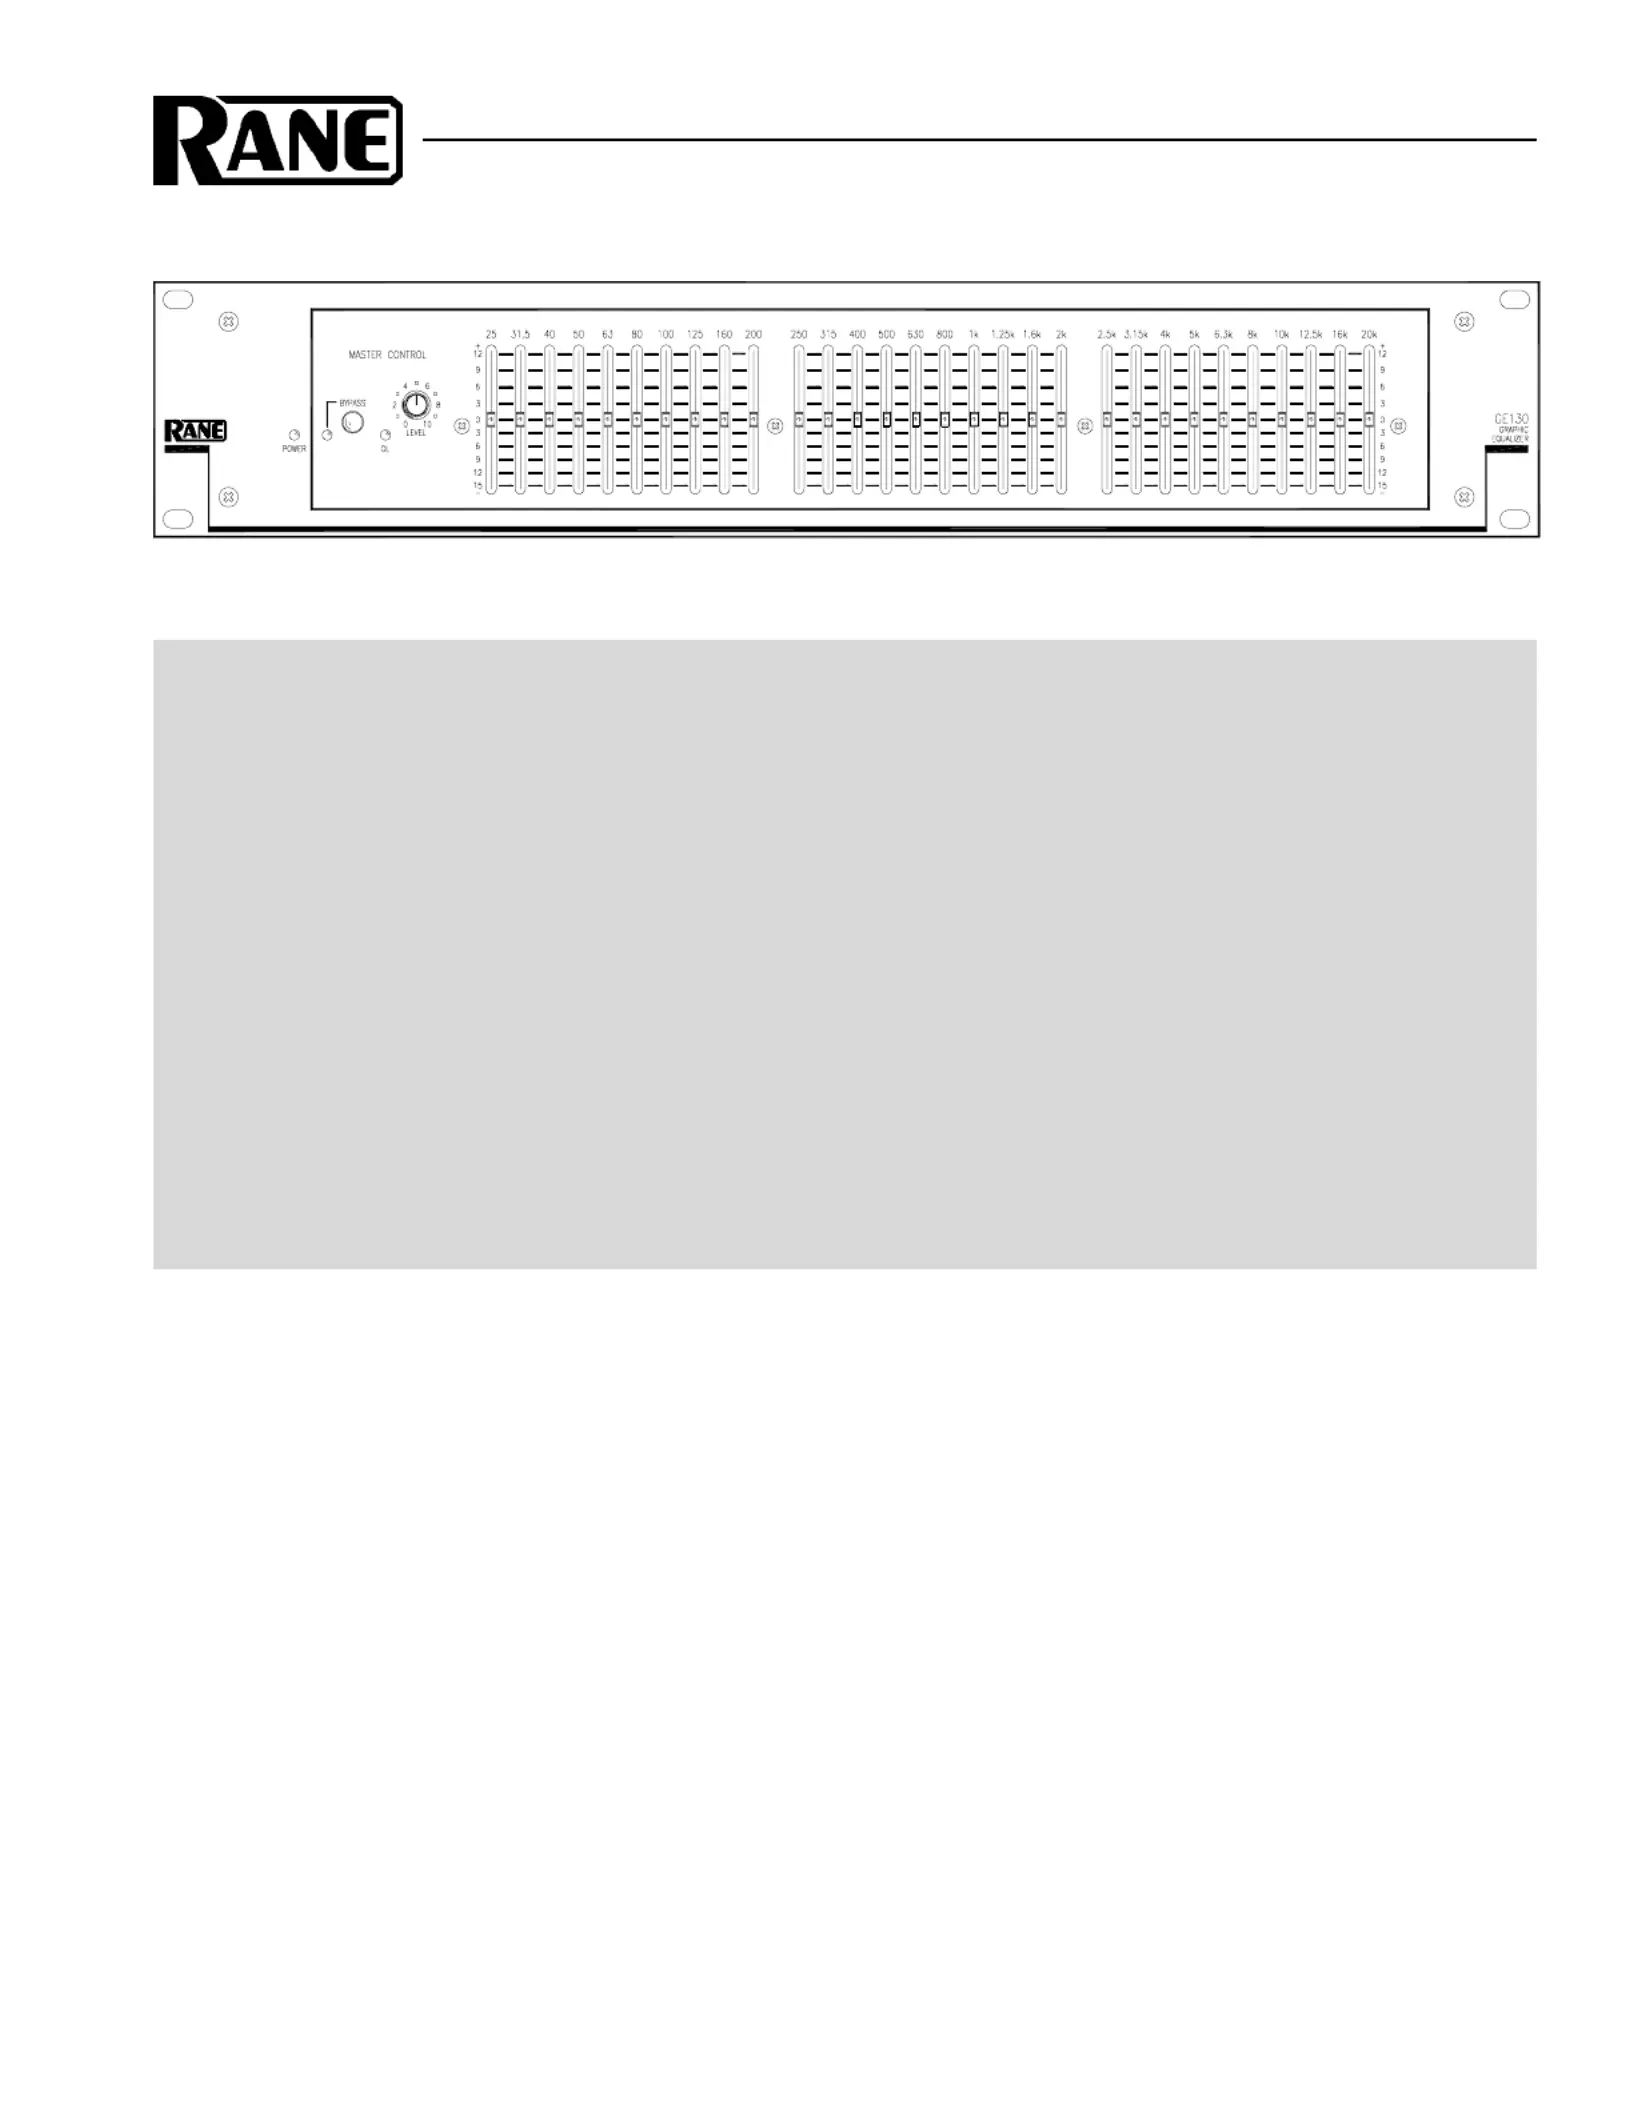
OPERATORS MANUALGE 130
GRAPHIC EQUALIZER
GE 130 CONNECTION
When first connecting the GE 130 to other components,
leave the power supply for last. This gives you a chance to
make mistakes and correct them without damaging your
fragile speakers, ears and nerves.
INPUTS
Both XLR and Euroblock Inputs are wired in parallel and
are actively balanced. Each works equally well. Choose
strictly from a required hardware point-of-view, there will be
no performance trade-offs. The wiring convention adheres to
American, British and International standards of pin 2 (+) hot,
pin 3 (–) return, and pin 1 shield. Unbalanced operation
involves using only pin 2 or “+” as signal, and pin 1 as shield
or ground. It is not necessary to short any inputs to ground—
it doesn’t hurt, it’s just not necessary. Use pin 1, or the shell,
for shield ground.
QUICK START
So tell me honestly, do you actually read the manuals or do you just want to connect the thing and go? If you are one
of the “gotta go now” crowd please read this short section. Even if you read slowly so as to savor every syllable, it only
takes a couple of minutes and may save more of your valuable time later. The rest of this manual is dedicated to those who
really want to know all the nitty-gritty details.
Wait a minute before plugging in the power supply. Hopefully the equipment to and from the GE 130 is balanced, with
pin 2 “hot.” From the line level output preceding the GE 130, connect a XLR male connector to the INPUT jack on the rear
of the GE 130. Connect a female XLR connector to the OUTPUTjack on the rear of the GE 130, to the next line level
device in the signal chain.
Now plug in the power supply. The yellow POWERLED should illuminate, and if you have an audio source working
and the rest of the signal chain completed, you will hear audio. With sliders centered and the LEVELcontrol at “7”
(corresponds to about 2 o’clock), depress the BYPASSswitch. If any difference in level exists, adjust the LEVELcontrol
so the same volume exists whether BYPASSis in or out. You now have an expensive jumper wire. Fully utilizing the
capabilities of the GE 130 requires moving some of the sliders, but you already knew that. To make best use of the GE 130,
use some sort of an analyzer to adjust the sliders properly.
Never connect anything except an RS 1 or other approved Rane AC power supply to the thing that looks like a
telephone jack on the rear of the unit.This is an AC supply and requires some special attention if you do not have an
operational power supply exactlylike the one that was originally packed with your unit.
OUTPUTS
The Outputs mimic the Inputs. Balanced output requires
using pin 2 or “+”, and pin 3 for the signal ground. It does not
require pin 1 or shield. The signal exists differentially
between the two balanced leads; ground is not involved. For
hum-free systems ground is used only for shielding.
SIGNAL LEVELS
Signal levels from -10 dBV to +4 dBu are considered
normal and within range (at least 20 dB of headroom exists
above these levels). Do not directly connect microphones
into the GE 130. These require a mic preamp.
WEAR PARTS:This product contains no wear parts.
Produktspezifikationen
| Marke: | Rane |
| Kategorie: | Mischer |
| Modell: | GE 130 |
Brauchst du Hilfe?
Wenn Sie Hilfe mit Rane GE 130 benötigen, stellen Sie unten eine Frage und andere Benutzer werden Ihnen antworten
Bedienungsanleitung Mischer Rane

8 Juli 2025
6 Juli 2025
6 Juli 2025
6 Juli 2025
6 Juli 2025
6 Juli 2025
6 Juli 2025
6 Juli 2025
6 Juli 2025
6 Juli 2025
Bedienungsanleitung Mischer
Neueste Bedienungsanleitung für -Kategorien-
3 April 2026
2 April 2026
1 April 2026
1 April 2026
26 März 2026
26 März 2026
25 März 2026
20 März 2026
14 März 2026
13 März 2026