SilverStone Nitrogon NT09-115X Bedienungsanleitung
SilverStone PC Kühlventilator Nitrogon NT09-115X
Lies die bedienungsanleitung für SilverStone Nitrogon NT09-115X (2 Seiten) kostenlos online; sie gehört zur Kategorie PC Kühlventilator. Dieses Handbuch wurde von 15 Personen als hilfreich bewertet und erhielt im Schnitt 4.8 Sterne aus 9 Bewertungen. Hast du eine Frage zu SilverStone Nitrogon NT09-115X oder möchtest du andere Nutzer dieses Produkts befragen? Stelle eine Frage
Seite 1/2
This product has a limited 3 year warranty in North America, Europe, and Australia.
For information on warranty periods in other regions, please contact your reseller or SilverStone authorized distributor.
1. Product component defects or damages resulted from defective production is covered under warranty.
Defects or damages with the following conditions will be xed or replaced under SilverStone Technology’s jurisdiction.
a) Usage in accordance with instructions provided in this manual, with no misuse, overuse, or other inappropriate actions.
b) Damage not caused by natural disaster (thunder, re, earthquake, ood, salt, wind, insect, animals, etc…)
c) Product is not disassembled, modied, or xed. Components not disassembled or replaced.
d) Warranty mark/stickers are not removed or broken.
Loss or damages resulted from conditions other than ones listed above are not covered under warranty.
2. Under warranty, SilverStone Technology’s maximum liability is limited to the current market value for the product (depreciated value, excluding
shipping, handling, and other fees). SilverStone Technology is not responsible for other damages or loss associated with the use of product.
3. Under warranty, SilverStone Technology is obligated to repair or replace its defective products. Under no circumstances will SilverStone
Technology be liable for damages in connection with the sale, purchase, or use including but not limited to loss of data, loss of business, loss of
prots, loss of use of the product or incidental or consequential damage whether or not foreseeable and whether or not based on breach of warranty,
contract or negligence, even if SilverStone Technology has been advised of the possibility of such damages.
4. Warranty covers only the original purchaser through authorized SilverStone distributors and resellers and is not transferable to a second hand
purchaser.
5. You must provide sales receipt or invoice with clear indication of purchase date to determine warranty eligibility.
6. If a problem develops during the warranty period, please contact your retailer/reseller/SilverStone authorized distributors or SilverStone
. http://www.silverstonetek.com
Please note that: (i) You must provide proof of original purchase of the product by a dated itemized receipt; (ii) You shall bear the cost of shipping
(or otherwise transporting) the product to SilverStone authorized distributors. SilverStone authorized distributors will bear the cost of shipping
(or otherwise transporting) the product back to you after completing the warranty service; (iii) Before you send the product, you must be issued a
Return Merchandise Authorization (“RMA”) number from SilverStone. Updated warranty information will be posted on SilverStone’s ofcial website.
Please visit for the latest updates.http://www.silverstonetek.com
Warranty terms & conditions
Additional info & contacts
For North America ([email protected])
SilverStone Technology in North America may repair or replace defective product with refurbished product that is not new but has been functionally tested.
Replacement product will be warranted for remainder of the warranty period or thirty days, whichever is longer. All products should be sent
back to the place of purchase if it is within 30 days of purchase, after 30 days, customers need to initiate RMA procedure with SilverStone Technology
in USA by rst downloading the “USA RMA form for end-users” form from the below link and follow its instructions.
http://silverstonetek.com/contactus.php
For Australia only ([email protected])
Our goods come with guarantees that cannot be excluded under the Australian Consumer Law.
You are entitled to a replacement or refund for a major failure and for compensation for any other reasonably foreseeable loss or damage.
You are also entitled to have the goods repaired or replaced if the goods fail to be of acceptable quality and the failure does not amount to a major failure.
Please refer to above “Warranty terms & conditions” for further warranty details.
SilverStone Technology Co., Ltd. 12F No. 168 Jiankang Rd., Zhonghe Dist., New Taipei City 235 Taiwan R.O.C. + 886-2-8228-1238
(standard international call charges apply)
For Europe ([email protected])
For all other regions ([email protected])
NO.G11225420
SPECIAL FEATURES
INTRODUCTION
SPECIFICATIONS
2015
Warranty Information
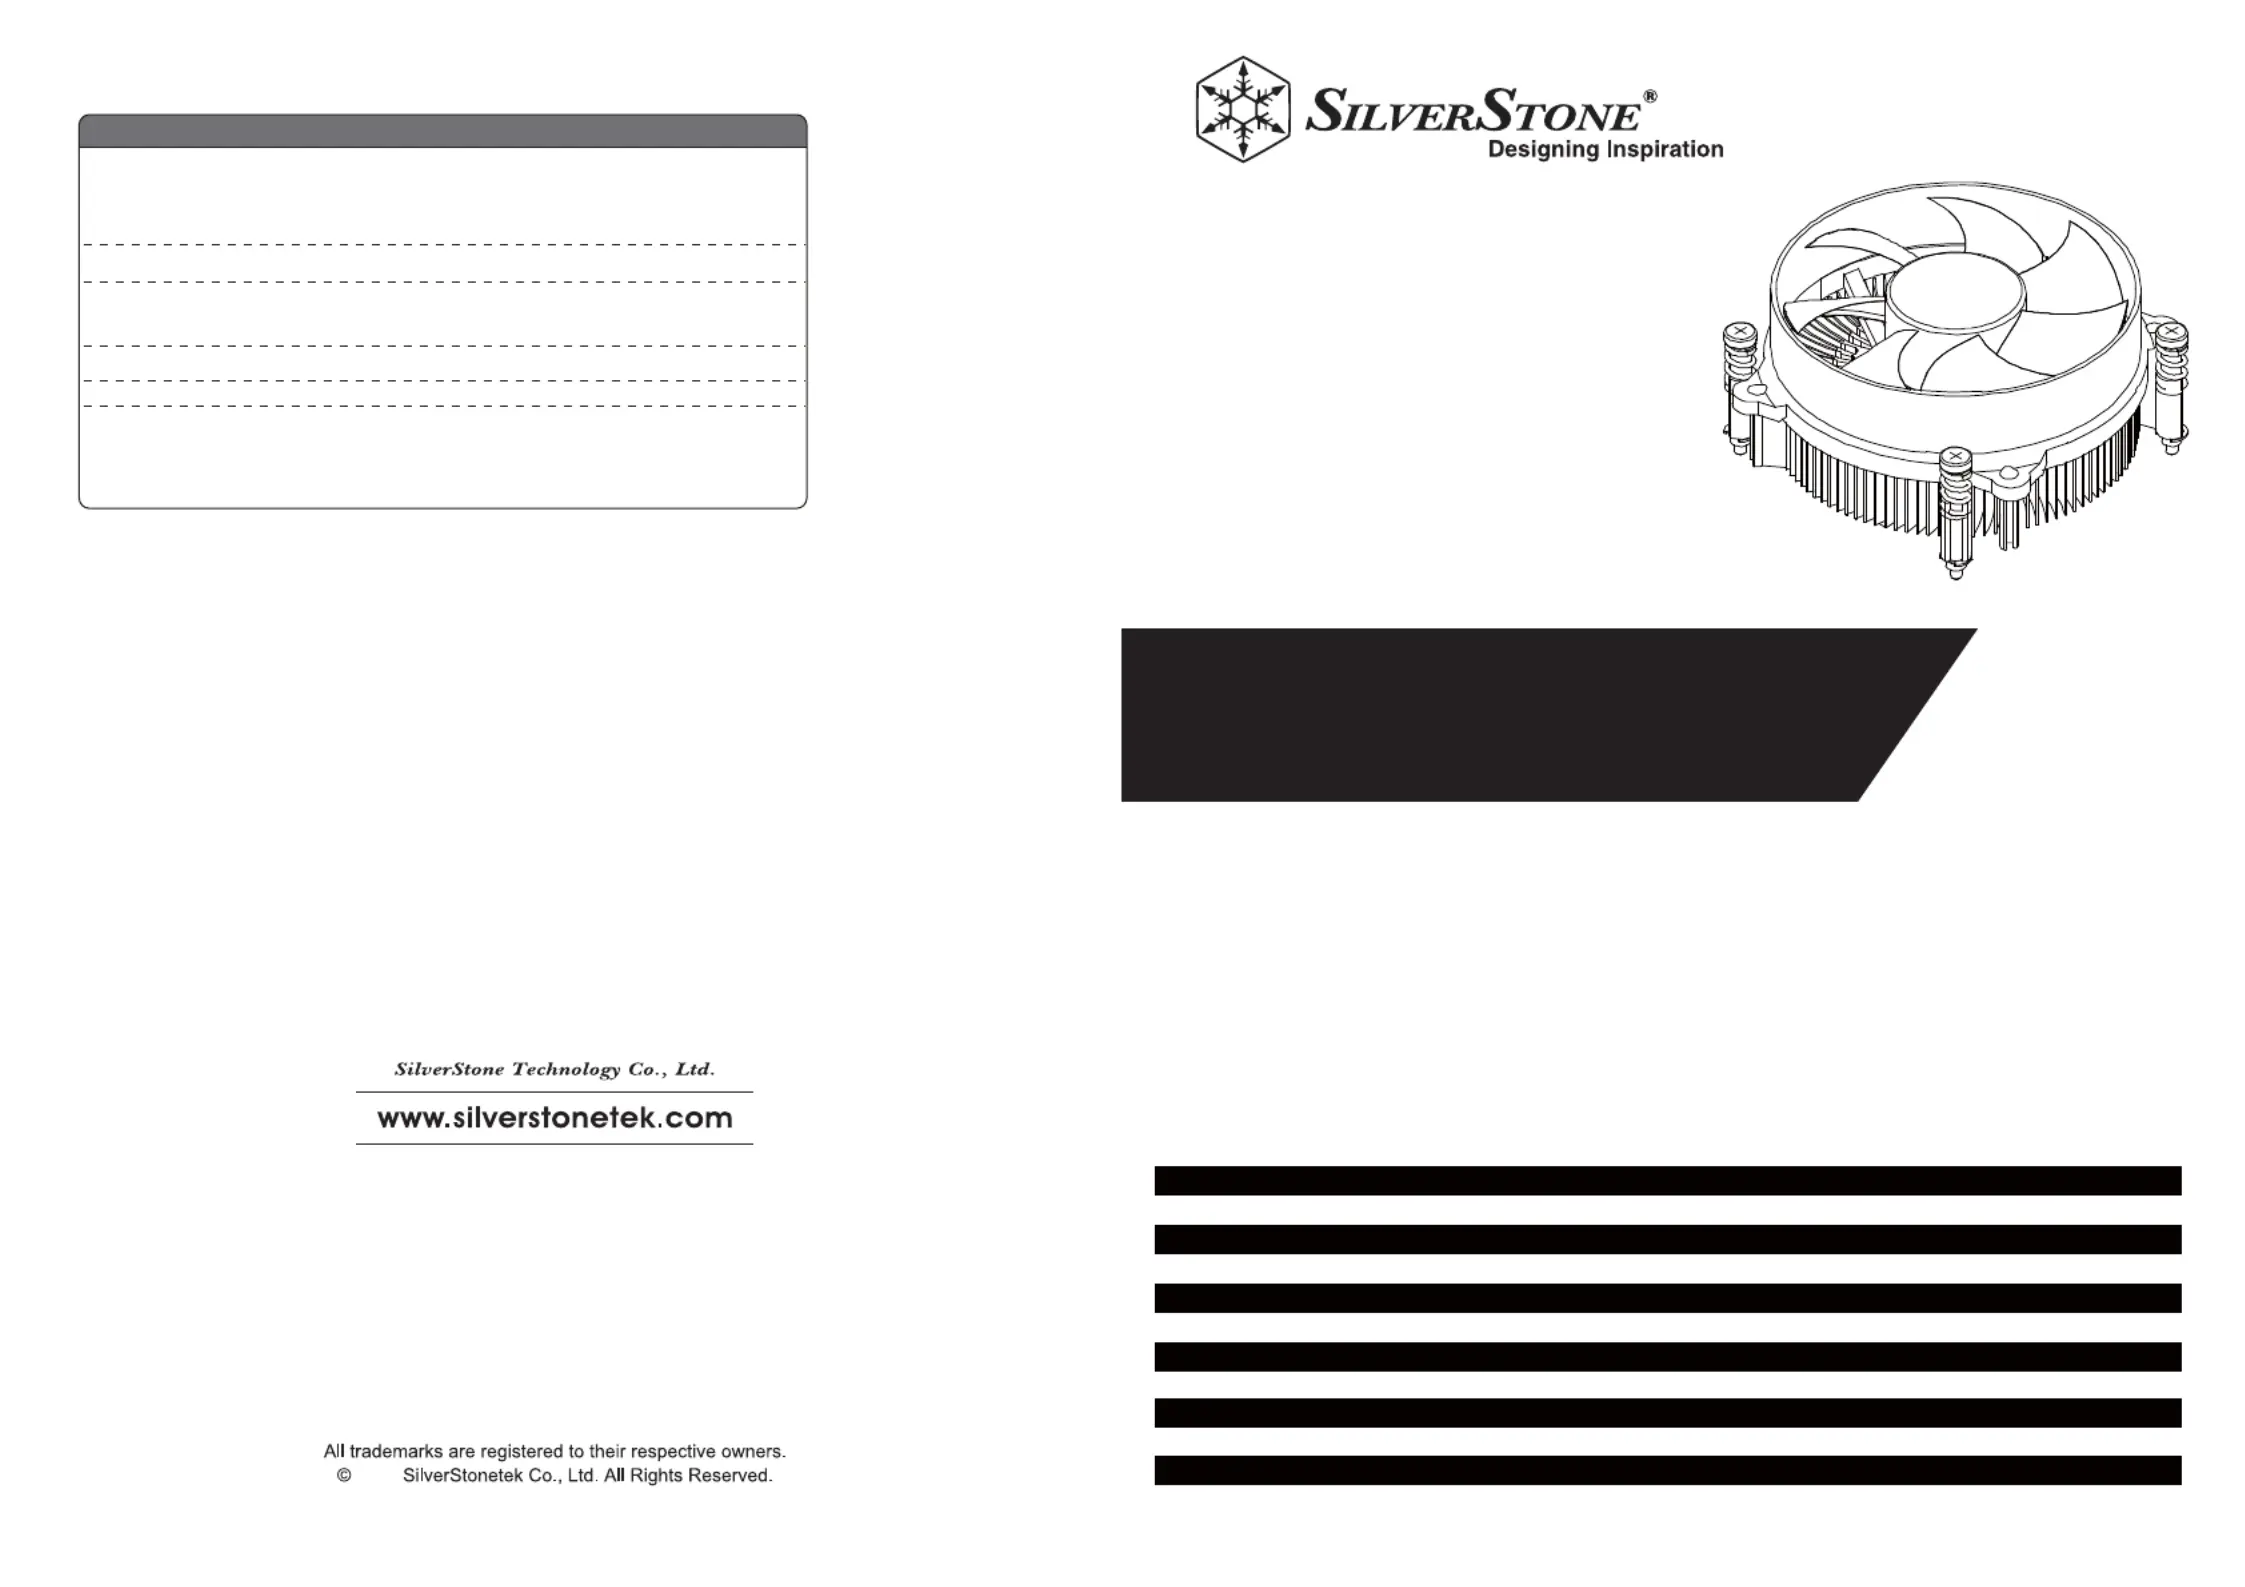
NT09-115X
Low-profile CPU heatsink for
Intel LGA1156 /LGA1155/LGA1150/LGA1151
SilverStone Technology’s Nitrogon NT09-115X is a slim profile CPU cooler designed for space limited applications
that utilizes LGA 1156/1155/1150/1151 platforms. It has an extruded aluminum fins for excellent thermal conductive. In
addition, NT09-115X is equipped with a custom PWM 92mm silent fan that is staggered against the aluminum fins for
better airflow focus and enhanced heat dissipation. Measuring only 45mm tall, the NT09-115X is a premier choice for
slim cases utilizing LGA 1156/1155/1150/1151 processors.
Nitrogon Series
65w65W
▓ Supports Intel LGA1156/1155/1150/1151 processors
▓ Designed for low profile systems at only 45mm tall
▓ Custom quiet 92mm fan for excellent cooling and low noise
▓ Extruded aluminum fins for good heat dissipation
▓ Reinforced back plate design reduces motherboard bending to provide tighter
CPU contact
Model No.
Material
Application
Cooling fan
Fan blade size
Fan speed
Air pressure
Airow
Noise
CPU TDP
Net Weight
Dimension w/fan
SST-NT09-115X
Aluminum center, extruded aluminum fins
Intel Socket LGA1156/1155/1150/1151
92mm PWM
92mm (W) x 25mm (H) x 92mm (D)
550 ~ 2500 RPM
0.136 ~ 2.8mmH
2O
10.34 ~ 47.0CFM
18.5 ~32.0dBA
65W
213.5g (with fan)
96mm (W) x 45mm (H) x 96mm (D)
Produktspezifikationen
| Marke: | SilverStone |
| Kategorie: | PC Kühlventilator |
| Modell: | Nitrogon NT09-115X |
Brauchst du Hilfe?
Wenn Sie Hilfe mit SilverStone Nitrogon NT09-115X benötigen, stellen Sie unten eine Frage und andere Benutzer werden Ihnen antworten
Bedienungsanleitung PC Kühlventilator SilverStone

19 März 2026
12 März 2026
28 Februar 2026
25 Februar 2026
23 Februar 2026
22 Februar 2026
21 Februar 2026
17 Februar 2026
16 Februar 2026
2 Februar 2026
Bedienungsanleitung PC Kühlventilator
Neueste Bedienungsanleitung für -Kategorien-
30 März 2026
27 März 2026
25 März 2026
24 März 2026
21 März 2026
16 März 2026
15 März 2026
15 März 2026
15 März 2026