Thetford N4000 Bedienungsanleitung
Thetford Kühlschrank N4000
Lies die bedienungsanleitung für Thetford N4000 (2 Seiten) kostenlos online; sie gehört zur Kategorie Kühlschrank. Dieses Handbuch wurde von 77 Personen als hilfreich bewertet und erhielt im Schnitt 4.8 Sterne aus 2 Bewertungen. Hast du eine Frage zu Thetford N4000 oder möchtest du andere Nutzer dieses Produkts befragen? Stelle eine Frage
Seite 1/2
SL
PRIROČNIKZANAMESTITEV
Uvod
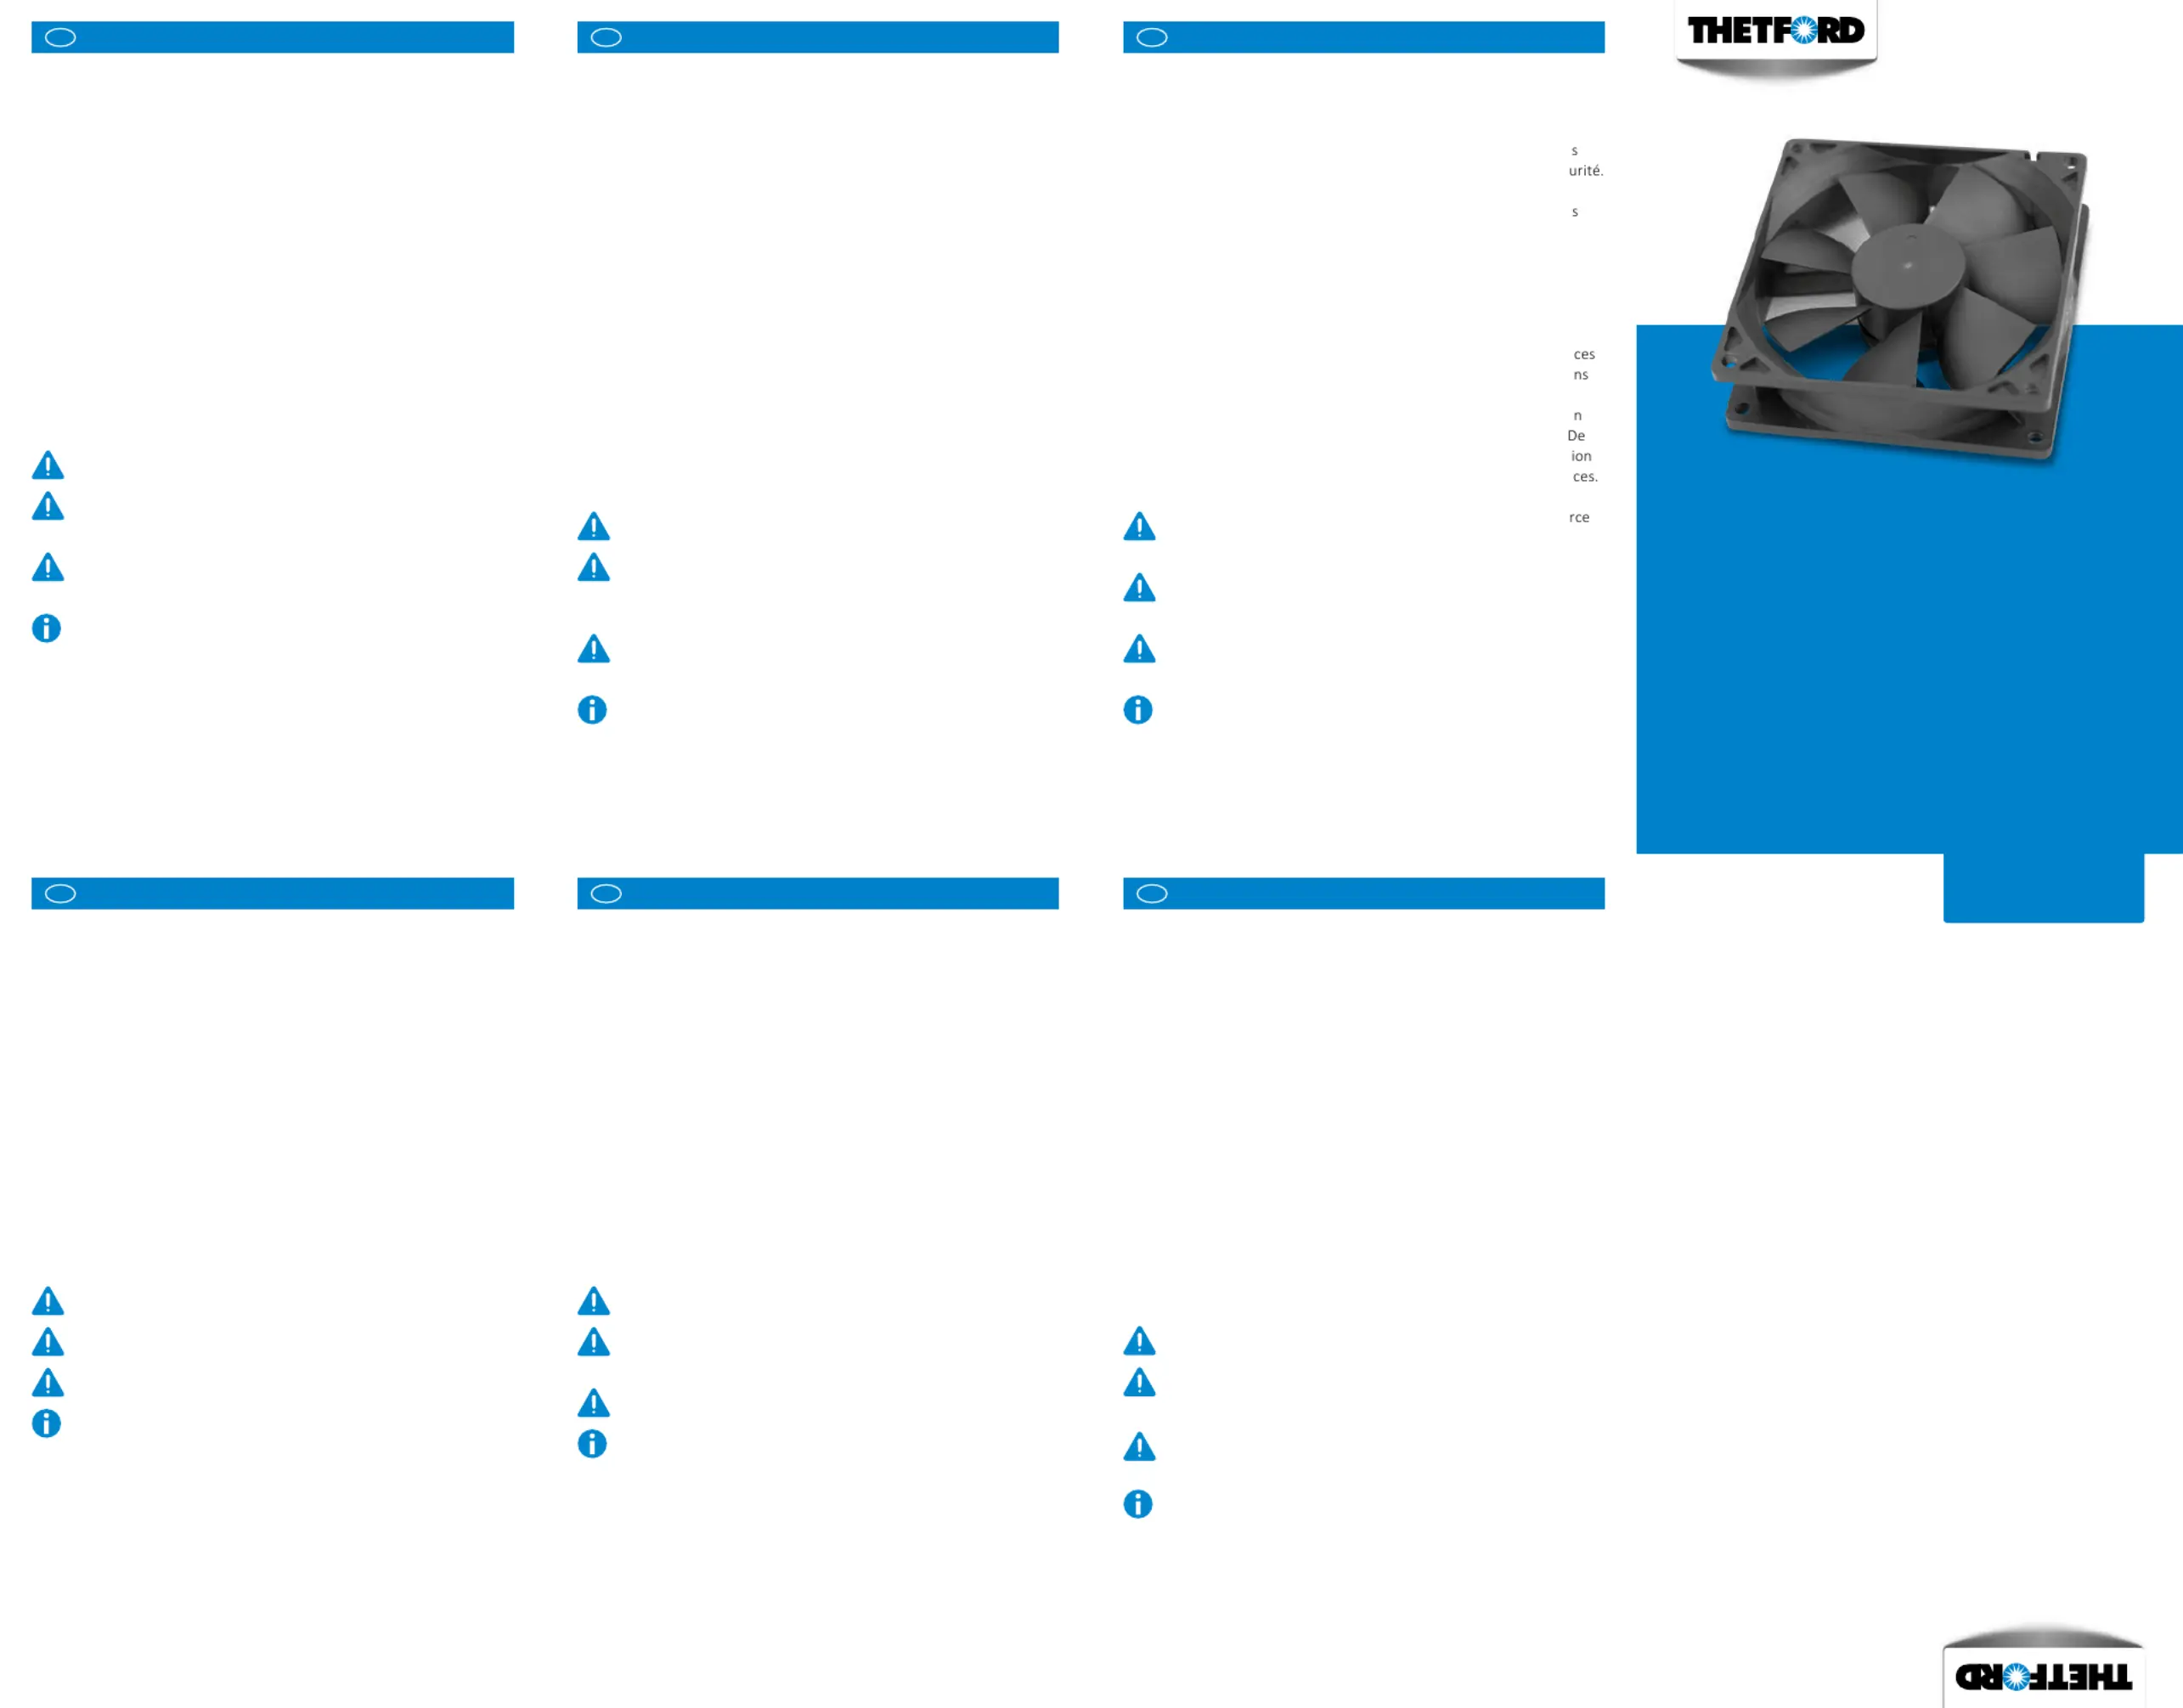
To je priročnik za namestitev sestava ventilatorja Thetford za hladilnike.
Priročnik je namenjen inštalaterjem, ki bodo ta sestav ventilatorja
Thetford namestili na hladilnik Thetford. Podrobno preberite navodila
in informacije ter jim natančno sledite, da boste varno in pravilno
namestili ta izdelek. Glavno vodilo naše družbe je nenehni razvoj in
izpopolnjevanje. Tehnični podatki in slike se lahko po objavi spremenijo.
Najnovejša različica teh navodil je na voljo na spletnem mestu
www.thetford.com
Namen uporabe
Sestav ventilatorja se lahko namesti za povečanje zmogljivosti hlajenja
hladilnika Thetford v težjih razmerah, na primer, če je temperatura
okolice zelo visoka. Sestav ventilatorja bo pomagal odvajati topel zrak iz
območja zgorevanja za hladilnikom skozi zgornji zračnik. Tako bo skozi
spodnji zračnik lažje vstopil hladen zrak, kar bo izboljšalo delovanje.
Ventilator je mogoče namestiti na vse hladilnike Thetford.
Med nameščanjem sestava ventilatorja hladilnik izklopite iz vira
napajanja.
Zaradi notranjega ožičenja je zelo pomembno, da vijake privijete
izključno na navedenih mestih in tako preprečite škodo in
morebiten kratki stik notranjega ožičenja.
Če naprava ni nameščena skladno z državnimi in evropskimi
predpisi, pravilniki in standardi, to razveljavi garancijo.
Če hladilnik nima vgrajenega napajanja z napetostjo 12 V in nizkim
tokom, se obrnite na družbo Thetford.
Garancija
Garancijske pogoje najdete v garancijski izjavi na naslovu
www.thetford.com
SV
MONTERINGSANVISNING
Inledning
Detta är monteringsanvisningen för Thetfords fläktsats för kylskåp.
Anvisningarna är avsedda för dig som monterar fläktsatsen i ett
Thetford-kylskåp. Läs informationen och anvisningarna noggrant. Det är
mycket viktigt att följa anvisningarna för att installera produkten på ett
säkert och riktigt sätt. Fortlöpande produktutveckling och -förbättring är
vår policy. Specifikationer och illustrationer kan ändras efter utgivningen.
Den senaste versionen av denna handbok finns på www.thetford.com
Arbetsprincip
Denna fläktsats kan installeras för att förbättra kylningen av ditt
Thetford-kylskåp under svåra omständigheter som mycket höga
temperaturer. Fläktsatsen hjälper till att driva ut den varma luften
i förbränningsområdet bakom kylskåpet via den övre ventilen.
Då kan kallare luft komma in i förbränningsområdet via den nedre
ventilen och förbättra prestandan. Fläktsatsen kan installeras i
alla Thetford-kylskåp.
Se till att kylskåpet inte är anslutet till en kraftkälla vid montering
av fläktsatsen.
För att inte den interna kabeldragningen ska skadas samt för att
förhindra kortslutning får du endast skruva på angivna platser.
Om satsen inte monteras enligt nationella och europeiska
föreskrifter, regler och standarder blir garantin ogiltig.
Kontakta Thetford om kylskåpet inte är utrustat med
svagströmsförsörjning (12 V).
Garanti
Villkoren som nämns i våra garantibestämmelser finns på
www.thetford.com
FR
MANUELD’INSTALLATION
Introduction
Ce manuel d’installation concerne le kit de ventilateur pour
réfrigérateurs Thetford. Ce manuel est destiné aux personnes qui
installent ce kit de ventilateur en plus d’un réfrigérateur Thetford.
Lisez attentivement et suivez scrupuleusement les informations et le
instructions, afin d’installer ce produit correctement et en toute séc
Nous appliquons une politique d’amélioration et de développement
continus. Les spécifications et les illustrations peuvent être modifiée
après publication.
Pour la dernière version de ce manuel, consultez le site
www.thetford.com
Principe de fonctionnement
Ce kit de ventilateur peut être installé afin d’améliorer les performan
de refroidissement de votre réfrigérateur Thetford dans des conditio
difficiles, comme des températures ambiantes très élevées. Le kit de
ventilateur contribue à chasser l’air chaud dans la zone de combustio
derrière le réfrigérateur à travers la grille de ventilation supérieure.
cette façon, de l’air plus frais peut pénétrer dans la zone de combust
à travers la grille de ventilation inférieure et améliorer les performan
Le ventilateur peut être installé sur tous les réfrigérateurs Thetford.
Assurez-vous que le réfrigérateur n’est connecté à aucune sou
d’alimentation électrique pendant l’installation du
kit de ventilateur.
En raison du câblage interne, il est obligatoire de visser uniquement
aux endroits spécifiés, afin d’éviter d’endommager et de court-
circuiter ce câblage interne.
Si l’équipement n’est pas installé conformément aux
réglementations et normes nationales et européennes,
cela pourra annuler la garantie.
Si le réfrigérateur n’est pas équipé de faible courant 12 V, veuillez
contacter Thetford.
Garantie
Veuillez consulter les conditions de notre clause de garantie sur
www.thetford.com
DE
INSTALLATIONSHANDBUCH
Einführung
Dies ist das Installationshandbuch für das Thetford-Lüfterkit für
Kühlschränke. Das Handbuch ist für Personen bestimmt, die dieses
Lüfterkit zusätzlich zu einem Thetford-Kühlschrank installieren. Lesen
Sie die Informationen und Anweisungen sorgfältig durch und befolgen
Sie sie genau, um dieses Produkt sicher und sachgerecht zu installieren.
Wir lassen uns durch das Prinzip der kontinuierlichen Entwicklung und
Verbesserung leiten. Spezifikationen und Illustrationen können sich nach
der Veröffentlichung ändern.
Die aktuelle Version dieses Benutzerhandbuchs finden Sie auf
www.thetford.com
Funktion
Dieses Lüfterkit kann installiert werden, um die Kühlleistung Ihres
Thetford-Kühlschranks unter anspruchsvollen Bedingungen, z. B. bei
sehr hohen Umgebungstemperaturen, zu verbessern. Das Lüfterkit
unterstützt die Verdrängung der warmen Luft durch die obere
Lüftungsöffnung in den Verbrennungsbereich hinter dem Kühlschrank.
Damit kann „kühlere“ Luft durch die untere Lüftungsöffnung in den
Verbrennungsbereich eintreten und die Leistung verbessern. Der Lüfter
kann auf allen Thetford-Kühlschränken montiert werden.
Stellen Sie sicher, dass der Kühlschrank während der Installation
des Lüfterkits nicht an eine Stromversorgung angeschlossen ist.
Aufgrund der internen Verkabelung ist es erforderlich, die
Verschraubung nur an den angegebenen Positionen durchzuführen,
um Beschädigungen und einen Kurzschluss der internen
Verkabelung zu vermeiden.
Wenn das Gerät nicht in Übereinstimmung mit den nationalen und
europäischen Vorschriften, Regeln und Standards installiert wird,
führt dies zu einem Erlöschen der Garantie.
Wenn der Kühlschrank nicht mit 12 V Niederspannung ausgeführt
ist, wenden Sie sich bitte an Thetford.
Garantie
Unsere Garantiebedingungen finden Sie auf www.thetford.com
EN
ORIGINALINSTALLATIONMANUAL
Introduction
This is the installation manual for the Thetford Ventilator Kit for
refrigerators. The manual is meant for those installing this Ventilator
Kit in addition to a Thetford refrigerator. Read the information and
instructions carefully and follow them strictly to install this product
safely and correctly. Our policy is one of continuous development and
improvement. Specifications and illustrations may change subsequent to
publication.
For the latest version of this manual please visit www.thetford.com
Working principle
This Ventilator Kit can be installed to enhance the cooling performance
of your Thetford refrigerator in difficult circumstances like very high
ambient temperatures. The Ventilator Kit will help to force out the warm
air in the combustion area behind the refrigerator through the upper
vent. That way, ‘cooler’ air can enter the combustion area through the
lower vent and enhance the performance. The ventilator can be installed
on all Thetford refrigerators.
Make sure the refrigerator is not connected to any power source
while installing the Ventilator Kit.
Because of internal wiring it is mandatory to only screw on the
specified places, in order to prevent damage and short-circuiting
the internal wiring.
If the appliance is not installed in accordance with national
and European regulations, rules and standards this will void
the warranty.
If the refrigerator is not equipped with low current 12V,
please contact Thetford.
Warranty
For our warranty clause, please refer to the conditions mentioned on
www.thetford.com
IT
MANUALEDIINSTALLAZIONE
Introduzione
Questo è il manuale di installazione del kit ventilatore Thetford per
frigoriferi. Il manuale è destinato a coloro che installano questo kit di
ventilazione in aggiunta a un frigorifero Thetford. Leggere attentamente
le informazioni e le istruzioni e seguirle rigorosamente per installare
questo prodotto in modo sicuro e corretto. La nostra politica è di
continuo sviluppo e miglioramento. Le specifiche e le illustrazioni
possono cambiare dopo la pubblicazione.
Per l’ultima versione di questo manuale, visitare www.thetford.com
Principio di funzionamento
Questo kit di ventilazione può essere installato per migliorare le
prestazioni di raffreddamento del vostro frigorifero Thetford in
circostanze difficili come temperature ambiente molto elevate. Il Kit
Ventilatore aiuta a far fuoriuscire l’aria calda nella zona di combustione
dietro il frigorifero attraverso la griglia di ventilazione superiore. In
questo modo, l’aria “più fredda” può entrare nell’area di combustione
attraverso la griglia di ventilazione inferiore e migliorare le prestazioni. Il
ventilatore può essere installato su tutti i frigoriferi Thetford.
Assicurarsi che il frigorifero non sia collegato a nessuna fonte di
alimentazione durante l’installazione del kit di ventilazione.
A motivo del cablaggio interno è obbligatorio avvitare solo nei
punti specificati, al fine di evitare danni e cortocircuiti del cablaggio
interno.
Se l’apparecchio non è installato in conformità con le norme
nazionali e i regolamenti, le norme e gli standard europei la
garanzia non è valida.
Se il frigorifero non è dotato di 12V a bassa corrente, si prega di
contattare Thetford.
Garanzia
Per la nostra clausola di garanzia, fare riferimento alle condizioni
menzionate su www.thetford.com
VENTILATORKIT
INSTALLATIONMANUAL
N3000-N4000REFRIGERATORS
www.thetford.com
EUROPEANHEADQUARTERS
Thetford B.V.
P.O. Box 169
4870 AD Etten-Leur
the Netherlands
T +31 76 504 22 00
F +31 76 504 23 00
FRANCE
Thetford S.A.R.L.
Parc BUROPLUS / Bâtiment 6
18, Boulevard de la Paix
CS 80008
95895 Cergy Pontoise Cedex
France
T +33 1 30 37 58 23
F not available
SCANDINAVIA
Thetford Scandinavia
Bangatan 6
521 43 Falköping
Sverige
T +46 31 336 35 80
F not available
Copyright 2016-2023 Thetford B.V. All rights reserved.
632850/0623-V02
UNITEDKINGDOM
Thetford Ltd.
Unit 6
Brookelds Way
Manvers, Rotherham
S63 5DL, England
United Kingdom
T +44 844 997 1960
F +44 844 997 1961
ITALY
Thetford Italy c/o Tecma s.r.l.
Via Flaminia
Loc. Castel delle Formiche
05030 Otricoli (TR)
Italia
T +39 0744 709071
F +39 0744 719833
AUSTRALIA
Thetford Australia Pty. Ltd.
130-132 Freight Drive
Somerton VIC 3062
Australia
T +61 3 9358 0700
F not available
www.thetford.com.au
GERMANY
Thetford GmbH
Schallbruch 14
D-42781 Haan
Deutschland
T +49 2129 94250
F +49 2129 942525
SPAINANDPORTUGAL
Mercè Grau Solà
Agente para España y Portugal
C/Castellet, 36 bxs 2a
08800-Vilanova i la Geltrú
Barcelona
España
T +34 (9) 3815 4389
F not available
CHINA
Thetford China
Rm. 1207, Coastal Building
(East Block)
Haide 3rd Road, Nanshan District
Shenzhen, 518054
China
T +86 755 8627 1393
F +86 755 8627 1673
www.thetford.cn
Produktspezifikationen
| Marke: | Thetford |
| Kategorie: | Kühlschrank |
| Modell: | N4000 |
Brauchst du Hilfe?
Wenn Sie Hilfe mit Thetford N4000 benötigen, stellen Sie unten eine Frage und andere Benutzer werden Ihnen antworten
Bedienungsanleitung Kühlschrank Thetford

3 Oktober 2025
9 August 2025
24 August 2024
20 August 2024
10 August 2024
5 August 2024
3 August 2024
2 August 2024
20 Juli 2024
15 Juli 2024
Bedienungsanleitung Kühlschrank
Neueste Bedienungsanleitung für -Kategorien-
3 April 2026
2 April 2026
2 April 2026
2 April 2026
2 April 2026
2 April 2026
2 April 2026
1 April 2026
1 April 2026
31 März 2026