Akai ACR-3888 Bedienungsanleitung
Akai Armbanduhr ACR-3888
Lies die bedienungsanleitung für Akai ACR-3888 (21 Seiten) kostenlos online; sie gehört zur Kategorie Armbanduhr. Dieses Handbuch wurde von 33 Personen als hilfreich bewertet und erhielt im Schnitt 4.1 Sterne aus 3 Bewertungen. Hast du eine Frage zu Akai ACR-3888 oder möchtest du andere Nutzer dieses Produkts befragen? Stelle eine Frage
Seite 1/21
USER MANUAL
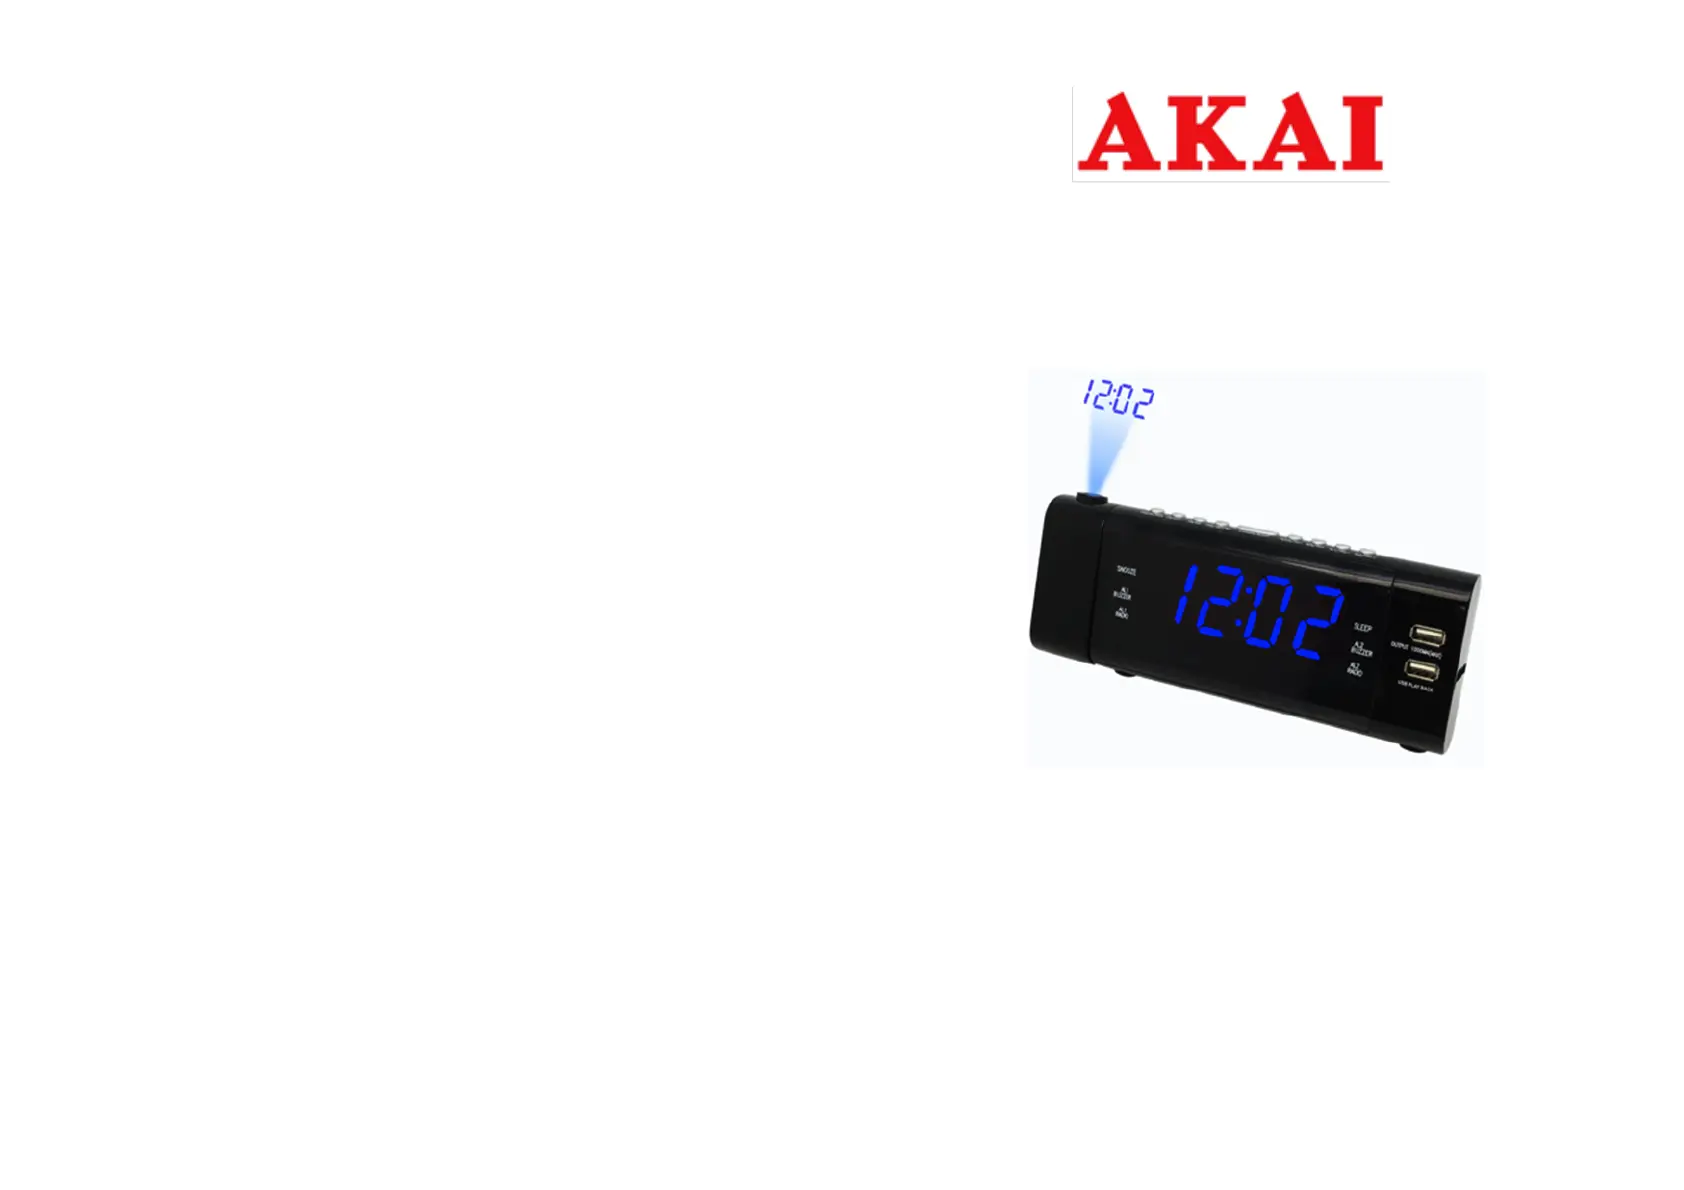
ACR-3888
+$6=1È/$7,.e=,.g1<9
,16758.&-$2%6à8*,
UŽIVATELSKÁ PŘÍRUČKA
UŽÍVATEĽSKÁ PRÍRUČKA
BEDIENUGANLEITUNG
INSTRUCTION MANUAL
MA
N
UAL DE I NTRUCTIUNI
ȅǻǾīǿǼȈȁǼǿȉȅȊȇīǿǹȈ
НАРЪЧНИКЗАИЗПОЛЗВАНЕ
Produktspezifikationen
| Marke: | Akai |
| Kategorie: | Armbanduhr |
| Modell: | ACR-3888 |
| Display-Typ: | LED |
| Bildschirmdiagonale: | 1.2 " |
| USB Anschluss: | Ja |
| Breite: | 215 mm |
| Tiefe: | 80 mm |
| Produktfarbe: | Schwarz |
| Akku-/Batterietyp: | AAA |
| Höhe: | 95 mm |
| Energiequelle: | DC / Batterie |
| Radiotyp: | Uhr |
| Tunertyp: | Digital |
| Unterstützte Bänder: | AM, FM, PLL |
| Anzahl voreingestellter Stationen: | 10 |
| RMS-Leistung: | - W |
| AC Eingangsspannung: | 100 - 240 V |
| AC Eingangsfrequenz: | 50 - 60 Hz |
| DC input Spannung: | 3 V |
| Eingebautes Display: | Ja |
| Anzahl USB 2.0 Anschlüsse: | 2 |
| Playback MP3: | Ja |
| Projektion: | Ja |
| Anzahl unterstützter Akkus/Batterien: | 2 |
| USB-Ladeport: | Ja |
| Akku-/Batteriespannung: | 1.5 V |
| PLL-Synthesizer: | Ja |
Brauchst du Hilfe?
Wenn Sie Hilfe mit Akai ACR-3888 benötigen, stellen Sie unten eine Frage und andere Benutzer werden Ihnen antworten
Bedienungsanleitung Armbanduhr Akai

27 Juli 2025
27 Juli 2025
27 Juli 2025
27 Juli 2025
27 Juli 2025
27 Juli 2025
Bedienungsanleitung Armbanduhr
Neueste Bedienungsanleitung für -Kategorien-
26 März 2026
17 Februar 2026
14 Februar 2026
3 Februar 2026
2 Februar 2026
2 Dezember 2025
14 November 2025
14 November 2025
13 November 2025
13 November 2025