Comelec SA1216 Bedienungsanleitung


Lies die bedienungsanleitung für Comelec SA1216 (6 Seiten) kostenlos online; sie gehört zur Kategorie Sandwich Clip. Dieses Handbuch wurde von 4 Personen als hilfreich bewertet und erhielt im Schnitt 4.6 Sterne aus 2.5 Bewertungen. Hast du eine Frage zu Comelec SA1216 oder möchtest du andere Nutzer dieses Produkts befragen? Stelle eine Frage

Seite 1/6
MANUAL DE INSTRUCCIONES
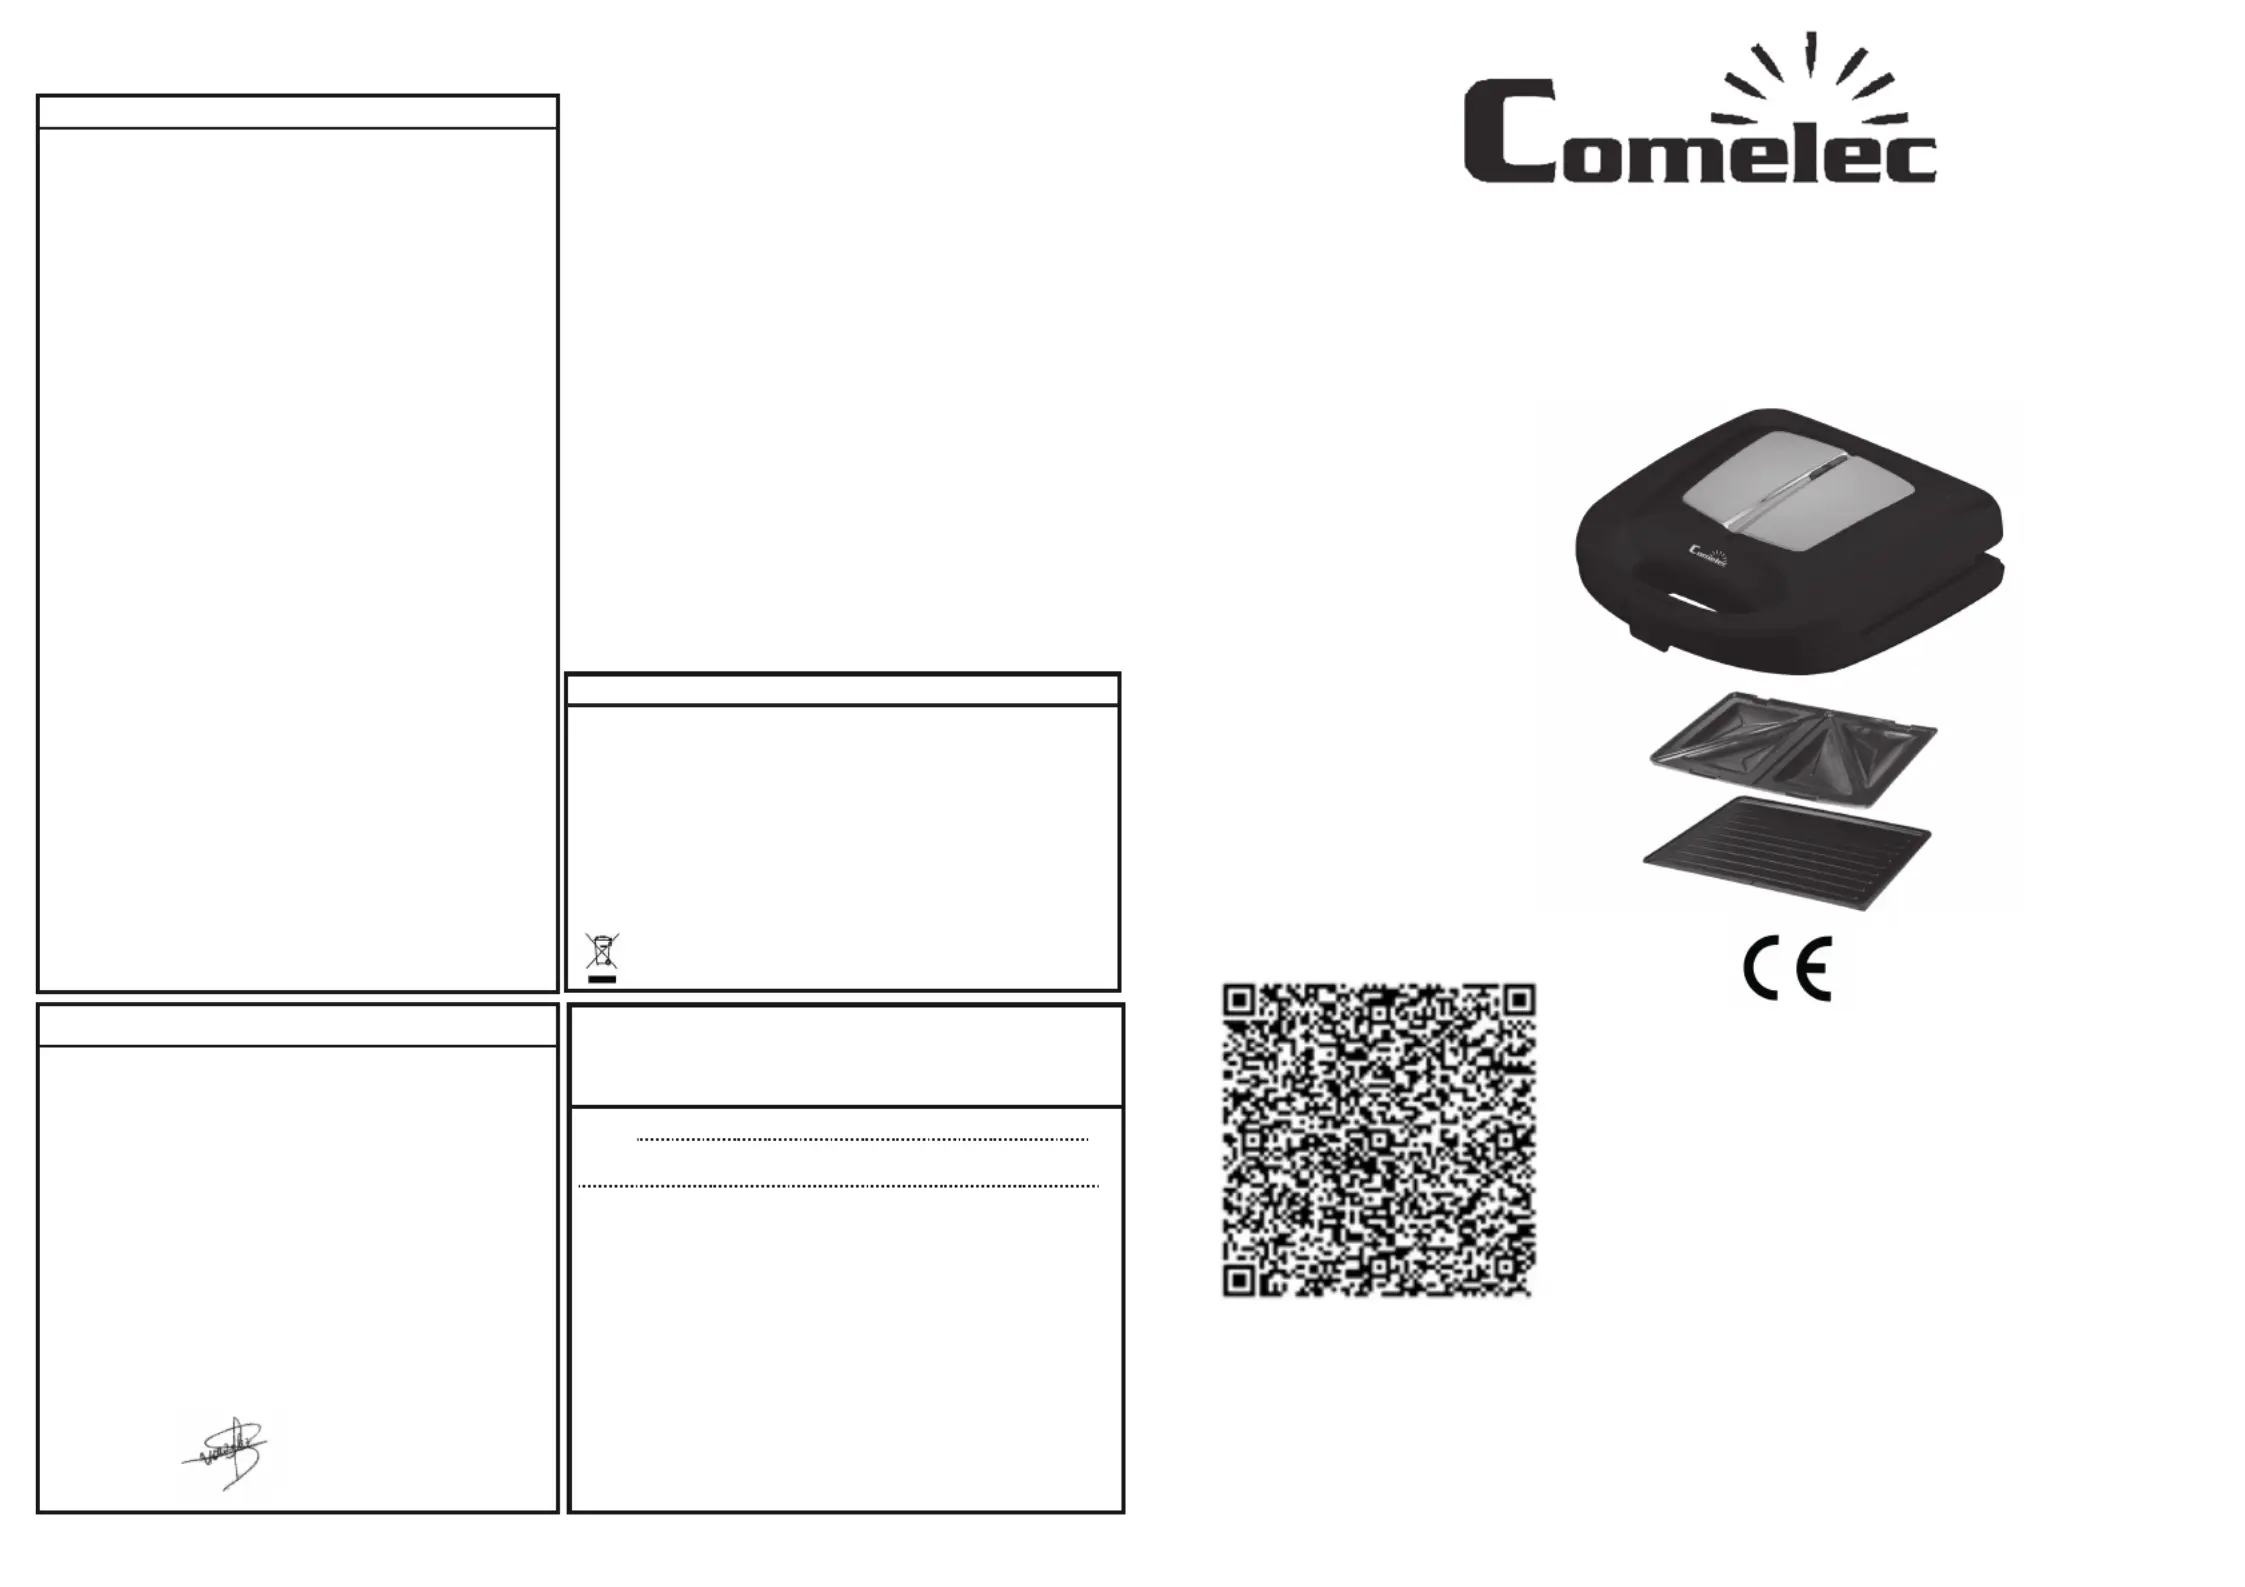
SANDWICHERA ELECTRICA
MODELO SA 1216
PLACAS INTERCAMBIABLES
CARACTERISTICAS TÉCNICAS
Modelo : SA 1216
Voltaje: 220-240 V ~
Frecuencia : 50 Hz
Placas tipo : 1 Grill + 1 Cuadradas
POR FAVOR LEA ATENTAMENTE LAS INSTRUCCIONES DE ESTE MANUAL ANTES DE
PONER EN MARCHA.
NO MANIPULE ESTA SANDWICHERA INTERNAMENTE.
Los textos, fotos, colores figuras y datos corresponden al nivel actual técnico del momento en que se
han impreso. Nos reservamos el derecho a modificaciones motivadas por el desarrollo permanente de
la técnica en nuestros productos
ADECUADO PARA USO FAMILIAR.
Este producto es solo para uso doméstico
1
12
GUARANTEE DOCUMENT
DECLARATION OF CONFORMITY
Manufacturer PRAGMATICA GRUPO EUROPEO, S.L
Adress: Tapissers 10 Poligono Industrial Els Mollons
Post Code, 46970 City: Alaquas VALENCIA
We declare under our responsibility that the product:
Product Description: Sandwich Maker
Model ; SA 1216
Brand: COMELEC
It complies with the European Union legislation in com-
pliance with the 2004/108 / EU guidelines
The standards apply:
EN 55014-1: 2006+A1:+A2:
EN 55014-2: 1997+A1:+A2:
EN 61000-3-2:2006+A1:+A2:
EN 61000-3-3:2013
Name: Pablo Gonzalez
Position : Administrador
Date: 30 Julio 2021
Signature:
Thank you for purchasing this COMELEC product,
this device has been checked in all its components
meticulously, so we guarantee the correct operation,
but for this to be the case we need that YOU read
the instruction book carefully, as this will contribute
to the best performance of this article. P.G.E, S.L
guarantees to the buyer of this product, a total gua-
rantee of TWO YEARS, governed by the established
conditions whose regulation is found in Royal Legis-
lative Decree 1/2007 of 16 December, which appro-
ves the revised text of the General Law for the De-
fense of Consumers andUsers, (articles 114 to 127)
P.G.E, S.L is committed to repairs are completely
free, labor and spare parts, including. The Techni-
cal Assistance Service will resolve any repairs that
may be required by this apparatus. Carefully review
the INSTRUCTION BOOK included, on the use,
maintenance and conservation of the device. Any
anomaly that could occur due to the non-observan-
ce of such instructions will not be protected for the
guarantee. The date of sale of the device, for the
purposes of warranty period, will be that which
appears on the purchase invoice. Guarantee ope-
ration: As regards all those compliance defects de-
tected by the technical assistance, which are mani-
fested within six months of the delivery of the goods,
it is assumed that they already existed on that date,
the intervention will be completely free, (unless this
hypothesis is incompatible with the nature or nature
of the conformity defect). During the following eigh-
teen months, it must be the user who demonstrates.
That the lack of conformity It was coming at the time
of delivery.
USER
DATE OF SALE
Seller's signature and stamp
IMPORTANT: To make the guarantee effective, the SE-
LLER must fill out, sign and stamp this Certificate.
To receive assistance under the conditions set forth in this
certificate, please submit to the Technical Service Autho-
rized, this document next to the Purchase Invoice.
MANUFACTURED CHINA FOR COMELEC
Disposal of the old appliance, the European Directive 2002/96 /
EC on waste equipment Electrical and Electronic (WEEE), esta-
blishes that old appliances can not be thrownas municipal waste
without normal classification. Appliances have to be collected se-
parately with theto optimize the recovery and recycling of the ma-
terials they contain and reduce the impact on human health and
the environment.
The symbol "container with wheels" crossed out on the product
reminds you of obligation, that when you dispose of the device
must be collected separately. Consumers should contact the local
or retailvauthority to obtain information about the correct
disposal of your old device.
PRAGMATICA GRUPO EUROPEO, S.L
Tapissers 10 Poligono Industrial Els Mollons
46970 Alaquas VALENCIA Tfno. 963 313 252
INFORMATION ON RECYCLING.
ADVERTENCIAS DE SEGURIDAD:Siempre que use aparatos eléctricos, debe observer unas míni
mas precauciones de seguridad,como las siguientes:*No toque las superficies calientes.Use siem
pre los botones y asas.*Para prevenir electroschocks,no sumerja el aparato o el cable en agua ni en
ningún otro líquido.*No coloque la mano cerca del aparato cuando esté funcionando.*Observe un cui
dado especial cuando utilice el aparato cerca de niños.*Este aparato puede ser utilizado por ni
ños de 8 años o más y personas con capacidades físicas, sensoriales o mentales reducidas o
falta de experiencia y conocimiento si se les ha dado supervisión o instrucción sobre el uso
del aparato de una manera segura y comprender los peligros involucrados.los niños no ju
garán con el aparato, la limpieza y el mantenimiento del usuario no serán realizados por niño
a menos que sean mayores de 8 años y estén supervisados.*Mantenga el aparato y su cable
fuera del alcance de los niños menores de 8 años.*Si el cable de suministro está dañado, debe
ser reemplazado por el fabricante o su agente de servicio o una persona calificada de manera simi
lar para evitar un peligro.*El dispositivo no está diseñado para ser operado por medio de un tempo
rizador externo o un sistema de control remoto separado.*La temperatura de las superficies acce
sibles puede ser alta cuando el aparato está en funcionamiento.*Las superficies son susceptibles de
calentarse durante el uso.*La limpieza y el mantenimiento del usuario no serán realizados por niños
sin supervisión.*Antes de conectar el aparato asegúrese de que la indicación de voltaje de la parte
inferior del aparato se corresponde con el voltaje de la red en su hogar.*Conecte el dispositivo a un
enchufe de pared con conexióna tierra.*Coloque el dispositivo de modo que el cable de alimentación
no está colgando sobre el borde de la mesa o el fregadero; está de pie sobre una superficie plana
con suficiente espacio libre a su alrededor.*Nunca coloque el cable de alimentación cerca o en con
tacto con la superficie caliente del aparato.*Desconecte el aparato después de usarlo.*Nunca use
elementos afilados o abrasivos en contacto con la placa de cocción, p2-ya que esto dañará la superficie
antiadherente.*Siempre limpie el aparato después de usar. Primero desenchufe y permita que el apa
rato se enfríe.Nunca sumerja el aparato en agua.Evite que el agua entre en el aparato.
USO DE SU SANDWICHERA:
Antes de su primer uso, lea atentamente las
instrucciones,conservelas por si necsita con
sultarlas posteriormente.Conecte el enchufe
a una toma de red con el voltaje adecuado.
Cierre la Sandwichera y enciéndela, mientras
tanto vaya preparando el sandwich.Coloque los sándwiches,aplicando un poco de mantequilla sobre
el pan y cierre la tapa bloqueándola con el cierre.El piloto luminoso (color verde) se encenderá cuan
do la Sandwichera esté lista, aproximadamente 3 minutos después de enchufarla.Durante el proceso
de tostado,la luz puedes apagarse y encenderse debido a la acción del termostato.Su Sandwich es
tará listo en aproximadamente 3 minutos,extráigalo con la ayuda de una pinzas de plástico o espátu
la de madera,nunca use cuchillos ni objetos metálicos,podría dañar el revestimiento antiadherente
de la Sandwichera.Cierre la Sandwichera,así la mantendrá lista para los siguientes Sandwiches, pue
de preparar los siguientes Sandwiches mientras se hacen los anteriores.Cuando termine de usarla
desconéctela de la red eléctrica.HACER SÁNDWICH TOSTADO: Poner el enchufe de red en el en
chufe de pared.La luz de energía roja y la luz de energía verde se iluminarán para mostrar que la
sandwichera se está calentando.Prepare el pan y el relleno para su sándwich mientras que la sand
wichera está preca lentando.Espere hasta que se apague la luz verde del piloto, la sandwichera está
entonces a la temperatura correcta para su uso.Para obtener un resultado marrón dorado uniforme,
puede mantecar ligeramente el lado del pan en contacto con el plato.
1. Asa
2. Cuerpo superior
3. Luz de puesta en marcha
4. Luz de sandwich listo
5. Placas antiadherentes
6. Cuerpo inferior
7. Cierre de sellado
6
2
IMPORTANT SAFEGUARDS: When using this electrical appliance, basic safety precautions
should always be followed, including the following:*Read these directions for use carefully before
using the appliance and save them for future reference.*This appliance can be used by chil
dren aged from 8 years and above and persons with reduced physical, sensory or mental
capabilities or lack of experience and knowledge if they have been given supervision or
instruction concerning use of the appliance in a safe way and understand the hazards in
volved.children shall not play with the appliance. cleaning and user maintenance shall not
be made by children unless they are older than 8 and supervised.*Keep the appliance and
its cord out of reach of children less than 8 years.*If the supply cord is damaged, it must be
replaced by the manufacturer or its service agent or a similarly qualified person in order to avoid a
hazard.*The appliance is not intended to be operated by means of an external timer or separate
remote control system.*The temperature of accessible surfaces may be high when the appliance
is operating.*The surfaces are liable to get hot during use.*Cleaning and user maintenance shall
not be made by children without supervision.*Before connecting the appliance ensure that the
voltage indication the underside of the appliance corresponds with the mains voltage in your
home.*Connect the appliance to an earthed wall socket.*Position the appliance so that: the power
cord is not hanging over the edge of the table or sink; it is standing on a flat surface with sufficient
free space around it.*Never put the power cord near to or in contact with the hot surface of the
appliance.*Always preheat the cooking plate before starting to cook.*Unplug the appliance after
use.*Avoid touching the metal parts as they become very hot.*Never use sharp or abrasive items
in contact with the cooking plate as this will damage the non stick surface.*Always clean the app
liance after use first unplug and allow the appliance to cool down. Never immerse the appliance
into water. Avoid water running into the appliance.*If the mains cord of this appliance is damaged,
it must only be replaced by their service representative, as special tools and/or parts are required.
*The appliance is not intended to be operated by means of an external timer or separate remote
control system.
USE OF SANDWICH MAKER:
Before your first use,read carefully the instru
ctions,keep them in case I need to consult
them later.Connect the plug to a power outlet
With the right voltage.Close the sandwich ma
ker and turn it on, while preparing the sandwich.
Place the sandwiches,applying a little butter on the bread and close the lid blocking it with the clo
sure.The light (green) will light when the sandwich maker is ready, approximately 3 minutes after
plugging in.During the roasting process, the light can be turned off and on due to the action of the
thermostat.Your Sandwich will be ready in about 3 minutes, remove it with the help of a tweezers
Plastic or wooden spatula,never use knives or metal objects,it could damage the non-stick coating
of the sandwich maker.Close the Sandwich maker,so it will keep it ready for the following Sand
wiches,you can prepare the next Sandwiches while doing the above.When finished using it,discon
nect it from the mains.SAVE THESE INSTRUCTIONS: This appliance is for household use only.
No user-serviceable parts inside.Return the appliance to the nearest authorized service center for
examination,repair or adjustment.HOW TO MAKE TOASTED SANDWICHES: When using for the
first time,wipe the surface of the platens with a piece of damp cloth,dry cloth or tissue.Then smear
the platen with butter, margarine or cooking fat.Fit the plug into the socket.Close the sandwich ma
ker and prepare sandwich while toaster is heating.When the sandwich maker is ready after about
3 minutes the temperature indicator light (the green one) will be on.
1. Asa
2. Superior body
3. Starting light
4. Sandwich light ready
5. Anti-adherent plates
6. Lower body
7. Sealing closure
37
SUGERENCIAS PARA OBTENER MEJORES RESULTADOS: Precaliente siempre la Sand
wichera para obtener mejores resultados.Según el contenido del Sandwich puedes usar pan blan
co,pan moreno o incluso pan tostado.A fin de mejorar el sabor de sus Sandwiches también pue
de usar mantequilla de distintos sabores.También puede añadir a sus Sandwiches tiras de bacon
previamente asadas a fín de darle a sus Sandwiches un toque especial.Le sugerimos ponga en
sus Sandwiches a fin de hacerlos mas sabrosos, condimentos como, lechuga,tomate, atún, cebo
lla, aceitunaas, etc.
LIMPIEZA:Antes de limpiar su Sandwichera, no olvide desconectarla de la red eléctrica y espere
a que esté completamente fría.Limpie la superficie de las placas con un paño de cocina, papel
de cocina o cualquier trapo suave. Si tiene dificultad con alguna suciedad incrustada, use aceite
de cocinar y caliente la sandwichera durante unos 5 minutos, después vuelva a limpiarla. Limpie
el exterior de la Sandwichera con un paño suave,no use objetos metálicos o productos abrasivos
que podrían rallarla.Limpie la Sandwichera solo con agua, no use ningún producto químico.
NO SUMERJA EL APARATO EN AGUA NI EN NINGUN OTRO LIQUIDO
Fully open the sandwich maker.Place a slice of bread in the bottom half with the buttered side
against the platen.Fill the sandwich, pressing the bottom half into the platen.Place a slice of bread in
the top half with the buttered side up and carefully close the two parts of the toaster together.Do not
force shut.Steam will be ejected from the opening between the platens while making sandwiches.Ca
re must be taken to ensure the fingers do not come into contact with hot surfaces and steam.Lock
the two half with the wire clip while toasting is taking place.NOTE:
During toasting the temperature
indicator light will cycle on and off while the thermostat keeps the appliance at the right temperature.
Cook only with metal platen closed.Your sandwich will be toasted in 2-3 minutes or longer to suit
your taste. Open the toaster and remove the sandwich using plastic or wooden spatula.Never use
metal knife as this may damage the non-sticking coating.Close the lid to preserve the heat until rea
dy to toast the next sandwich. Prepare further sandwiches if required while one is cooked. After use,
remove the plug from the socket. SUGGESTIONS FOR BEST RESULTS: Always preheat before
use. Plug in socket outlet while preparing the fillings.For soft or liquid sandwich fillings use medium
slice of bread, white or brown. If small amounts of filling, use toasted bread.Flavored butter may also
be used.For added flavor use bacon dripping,brush the dripping on the outside surface of the bread.
Suggested garnishes for savory sandwiches,lettuce,mint,cress,stuffed olive halves onion,tomato,etc.
A teaspoon of sugar sprinkled on the outside surface of bread makes the sandwich crisper (espe
cially with fruit fillings). After use and before cleaning, remove the plug from the socket CLEANING :
and wait for the appliance cool down. Wipe the inside and the edges of the platen with kitchen roll,
absorbent paper towel or a soft cloth. Should any filling be difficult to remove, pour a little cooking oil
onto the platen and wipe off after 5 minutes when the filling is softened.Wipe the outside with only a
slightly moistened cloth to ensure that no moisture,oil or grease enter the cooling slots.Do not clean
the inside and outside surface with any abrasive scouring pad or steel wool as this will damage the
finish.Use only water or recommended liquid to clean the appliance.Do not use any other chemical
solution to clean the appliance.
DO NOT IMMERSE IN WATER OR ANY LIQUID.


Produktspezifikationen

Marke: Comelec
Kategorie: Sandwich Clip
Modell: SA1216

Brauchst du Hilfe?

Wenn Sie Hilfe mit Comelec SA1216 benötigen, stellen Sie unten eine Frage und andere Benutzer werden Ihnen antworten