Garde XL 181XLDC12 Bedienungsanleitung
Garde XL Schneidemaschine 181XLDC12
Lies die bedienungsanleitung für Garde XL 181XLDC12 (1 Seiten) kostenlos online; sie gehört zur Kategorie Schneidemaschine. Dieses Handbuch wurde von 11 Personen als hilfreich bewertet und erhielt im Schnitt 4.2 Sterne aus 8 Bewertungen. Hast du eine Frage zu Garde XL 181XLDC12 oder möchtest du andere Nutzer dieses Produkts befragen? Stelle eine Frage
Seite 1/1
QUICK START GU
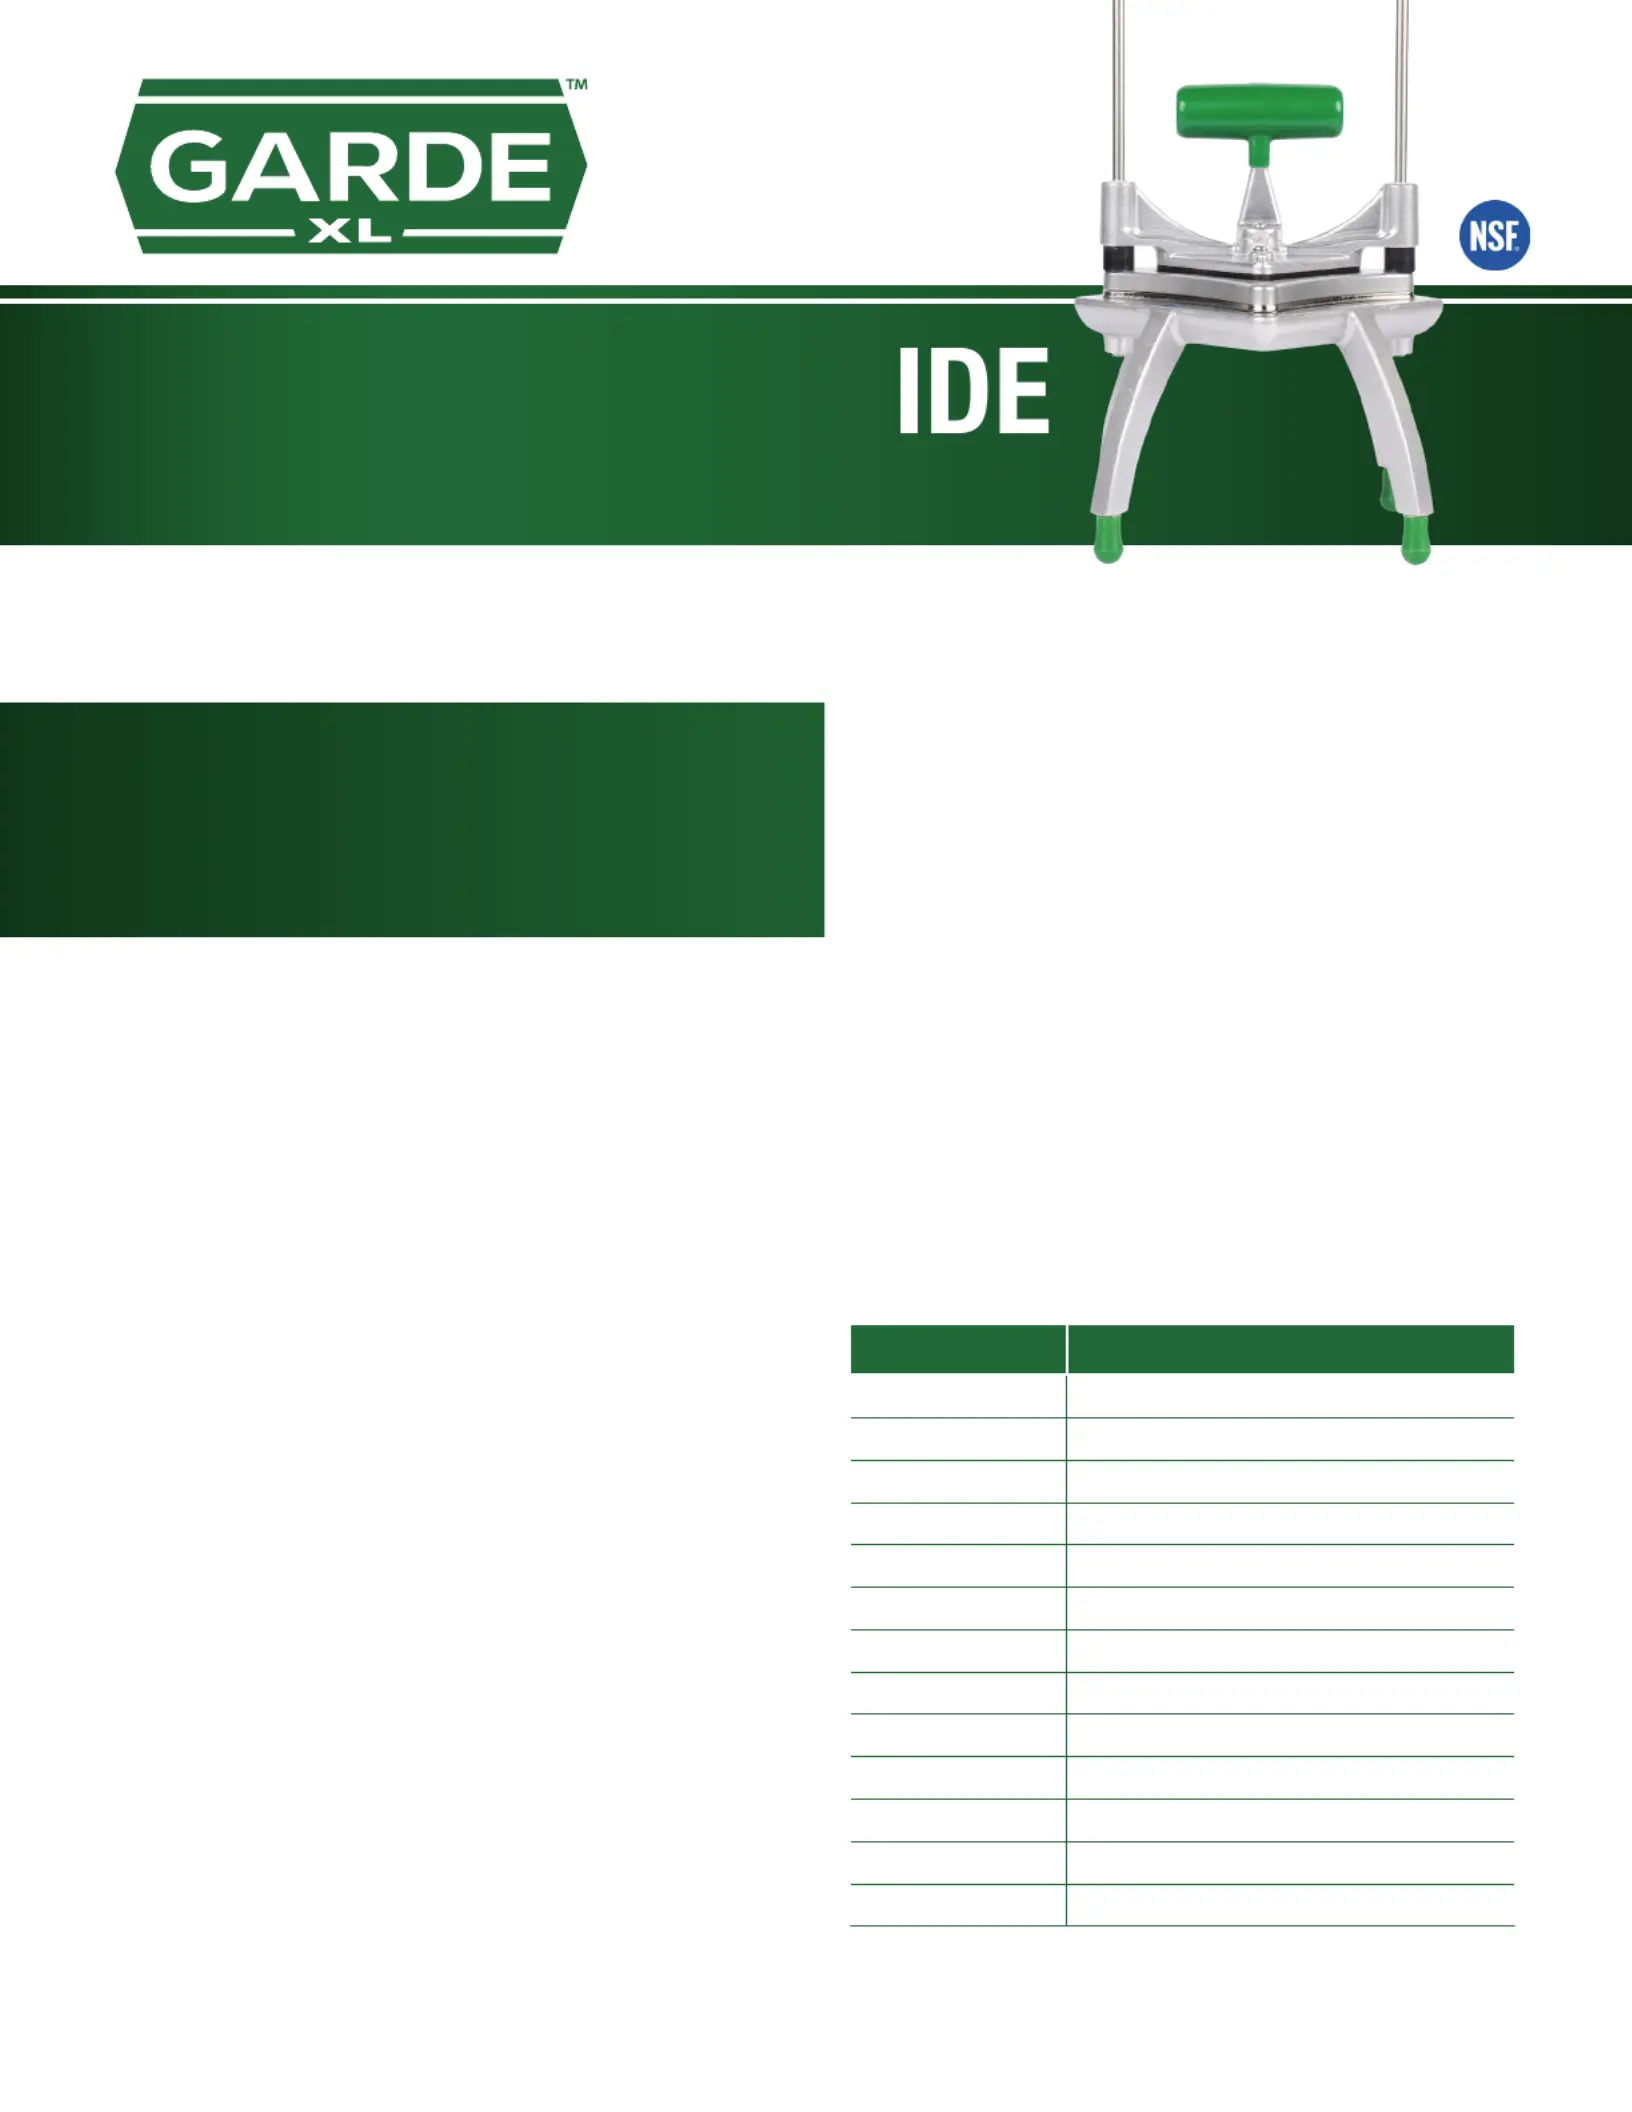
XL VEGETABLE DICERS
MODELS
181XLDC14 - ¼", 181XLDC38 - ⅜", 181XLDC12 - ½", 181XLDC1 - 1"
Please read and comply with the instructions listed on this
document. To get the best service life and performance from your
machine, clean it thoroughly before and after use by following the
instructions listed below. Minimize the use of alkaline cleaners as
they may dull the finish and cause pitting.
SAFETY INSTRUCTIONS
CAUTION
Be careful when handling and operating the machine, as
the blades are very sharp. Always keep your hands away
from the blades.
OPERATION
1. Place the unit on a sturdy work surface.
2. Core, slice, or cut the produce to prepare it for
chopping.
3. Lift the handle and place the produce on the blades.
4. Remove hands from the cutting area.
5.Inoneuidmotion,bringthepushblockdowntoforce
the produce through the blades.
6. Lift push block and repeat as needed.
7. Clean the machine after chopping is complete using
the cleaning instructions below.
8. Do not chop produce larger than the opening in the
blade holder.
Note: to cut ¼" and ½", use ¼" push block. To cut ⅜", use
the push block. To cut 1, use the 1⅜""" push block.
CLEANING AND MAINTENANCE
1. Remove the handle, push block guide, bumpers, and
bladeandholderassemblyotheguiderods.
2. Wash the push block guide, push block, blade and
holder assembly, and frame thoroughly.
a. The push block can be removed from the push block
guide by removing the thumbscrews.
3. To disassemble the blade and holder assembly for
further cleaning:
a. Remove the screws and the blade holder plate.
b. Gently tap the blades and the blade spacers from
the blade holder.
4. To reassemble:
a. Place the blade holder on a sturdy surface with the
blade spacer pockets facing upward.
b. Insert the 4 blade spacers with their slots toward the
inner opening of the blade holder.
c. Insert blades with the sharp edge downward and
slots upward.
d. Insert blades with sharp edge and slots downward.
e. Reposition the blade holder plate and secure it
with screws.
f. Reposition the blade and holder assembly, bumpers,
push block, push block guide, and handle on
the frame.
5. When needed, lubricate the guide rods with mineral oil,
foodgradegreaseorparan.Do not use cooking oil.
REPLACEMENT PARTS
These parts can be purchased from the same location as the dicer.
ITEM NUMBERDESCRIPTION
181BAXL141/4" Blade Assembly
181BAXL383/8" Blade Assembly
181BAXL121/2" Blade Assembly
181BAXL11" Blade Assembly
181BL14XL1/4" Blade (26 Blades)
181BL38XL3/8" Blade (18 Blades)
181BL12XL1/2" Blade (12 Blades)
181BL1XL1" Blade (6 Blades)
181PBXL38Pusher Block for 3/8"
181PBXL1412Pusher Block for 1/4" & 1/2"
181PBXL1Pusher Block for 1"
181FT1Feet
181BUMPERBumper
07/2023
Produktspezifikationen
| Marke: | Garde XL |
| Kategorie: | Schneidemaschine |
| Modell: | 181XLDC12 |
Brauchst du Hilfe?
Wenn Sie Hilfe mit Garde XL 181XLDC12 benötigen, stellen Sie unten eine Frage und andere Benutzer werden Ihnen antworten
Bedienungsanleitung Schneidemaschine Garde XL

25 September 2025
25 September 2025
25 September 2025
25 September 2025
21 August 2025
21 August 2025
6 August 2025
6 August 2025
6 August 2025
6 August 2025
Bedienungsanleitung Schneidemaschine
Neueste Bedienungsanleitung für -Kategorien-
26 März 2026
24 März 2026
13 März 2026
12 März 2026
12 März 2026
11 März 2026
28 Februar 2026
20 Februar 2026
10 Februar 2026
3 Februar 2026