Goldtouch Go!2 GTP-0044 Bedienungsanleitung
Lies die bedienungsanleitung für Goldtouch Go!2 GTP-0044 (4 Seiten) kostenlos online; sie gehört zur Kategorie Tastatur. Dieses Handbuch wurde von 26 Personen als hilfreich bewertet und erhielt im Schnitt 4.5 Sterne aus 3 Bewertungen. Hast du eine Frage zu Goldtouch Go!2 GTP-0044 oder möchtest du andere Nutzer dieses Produkts befragen? Stelle eine Frage
Seite 1/4
Go!
2
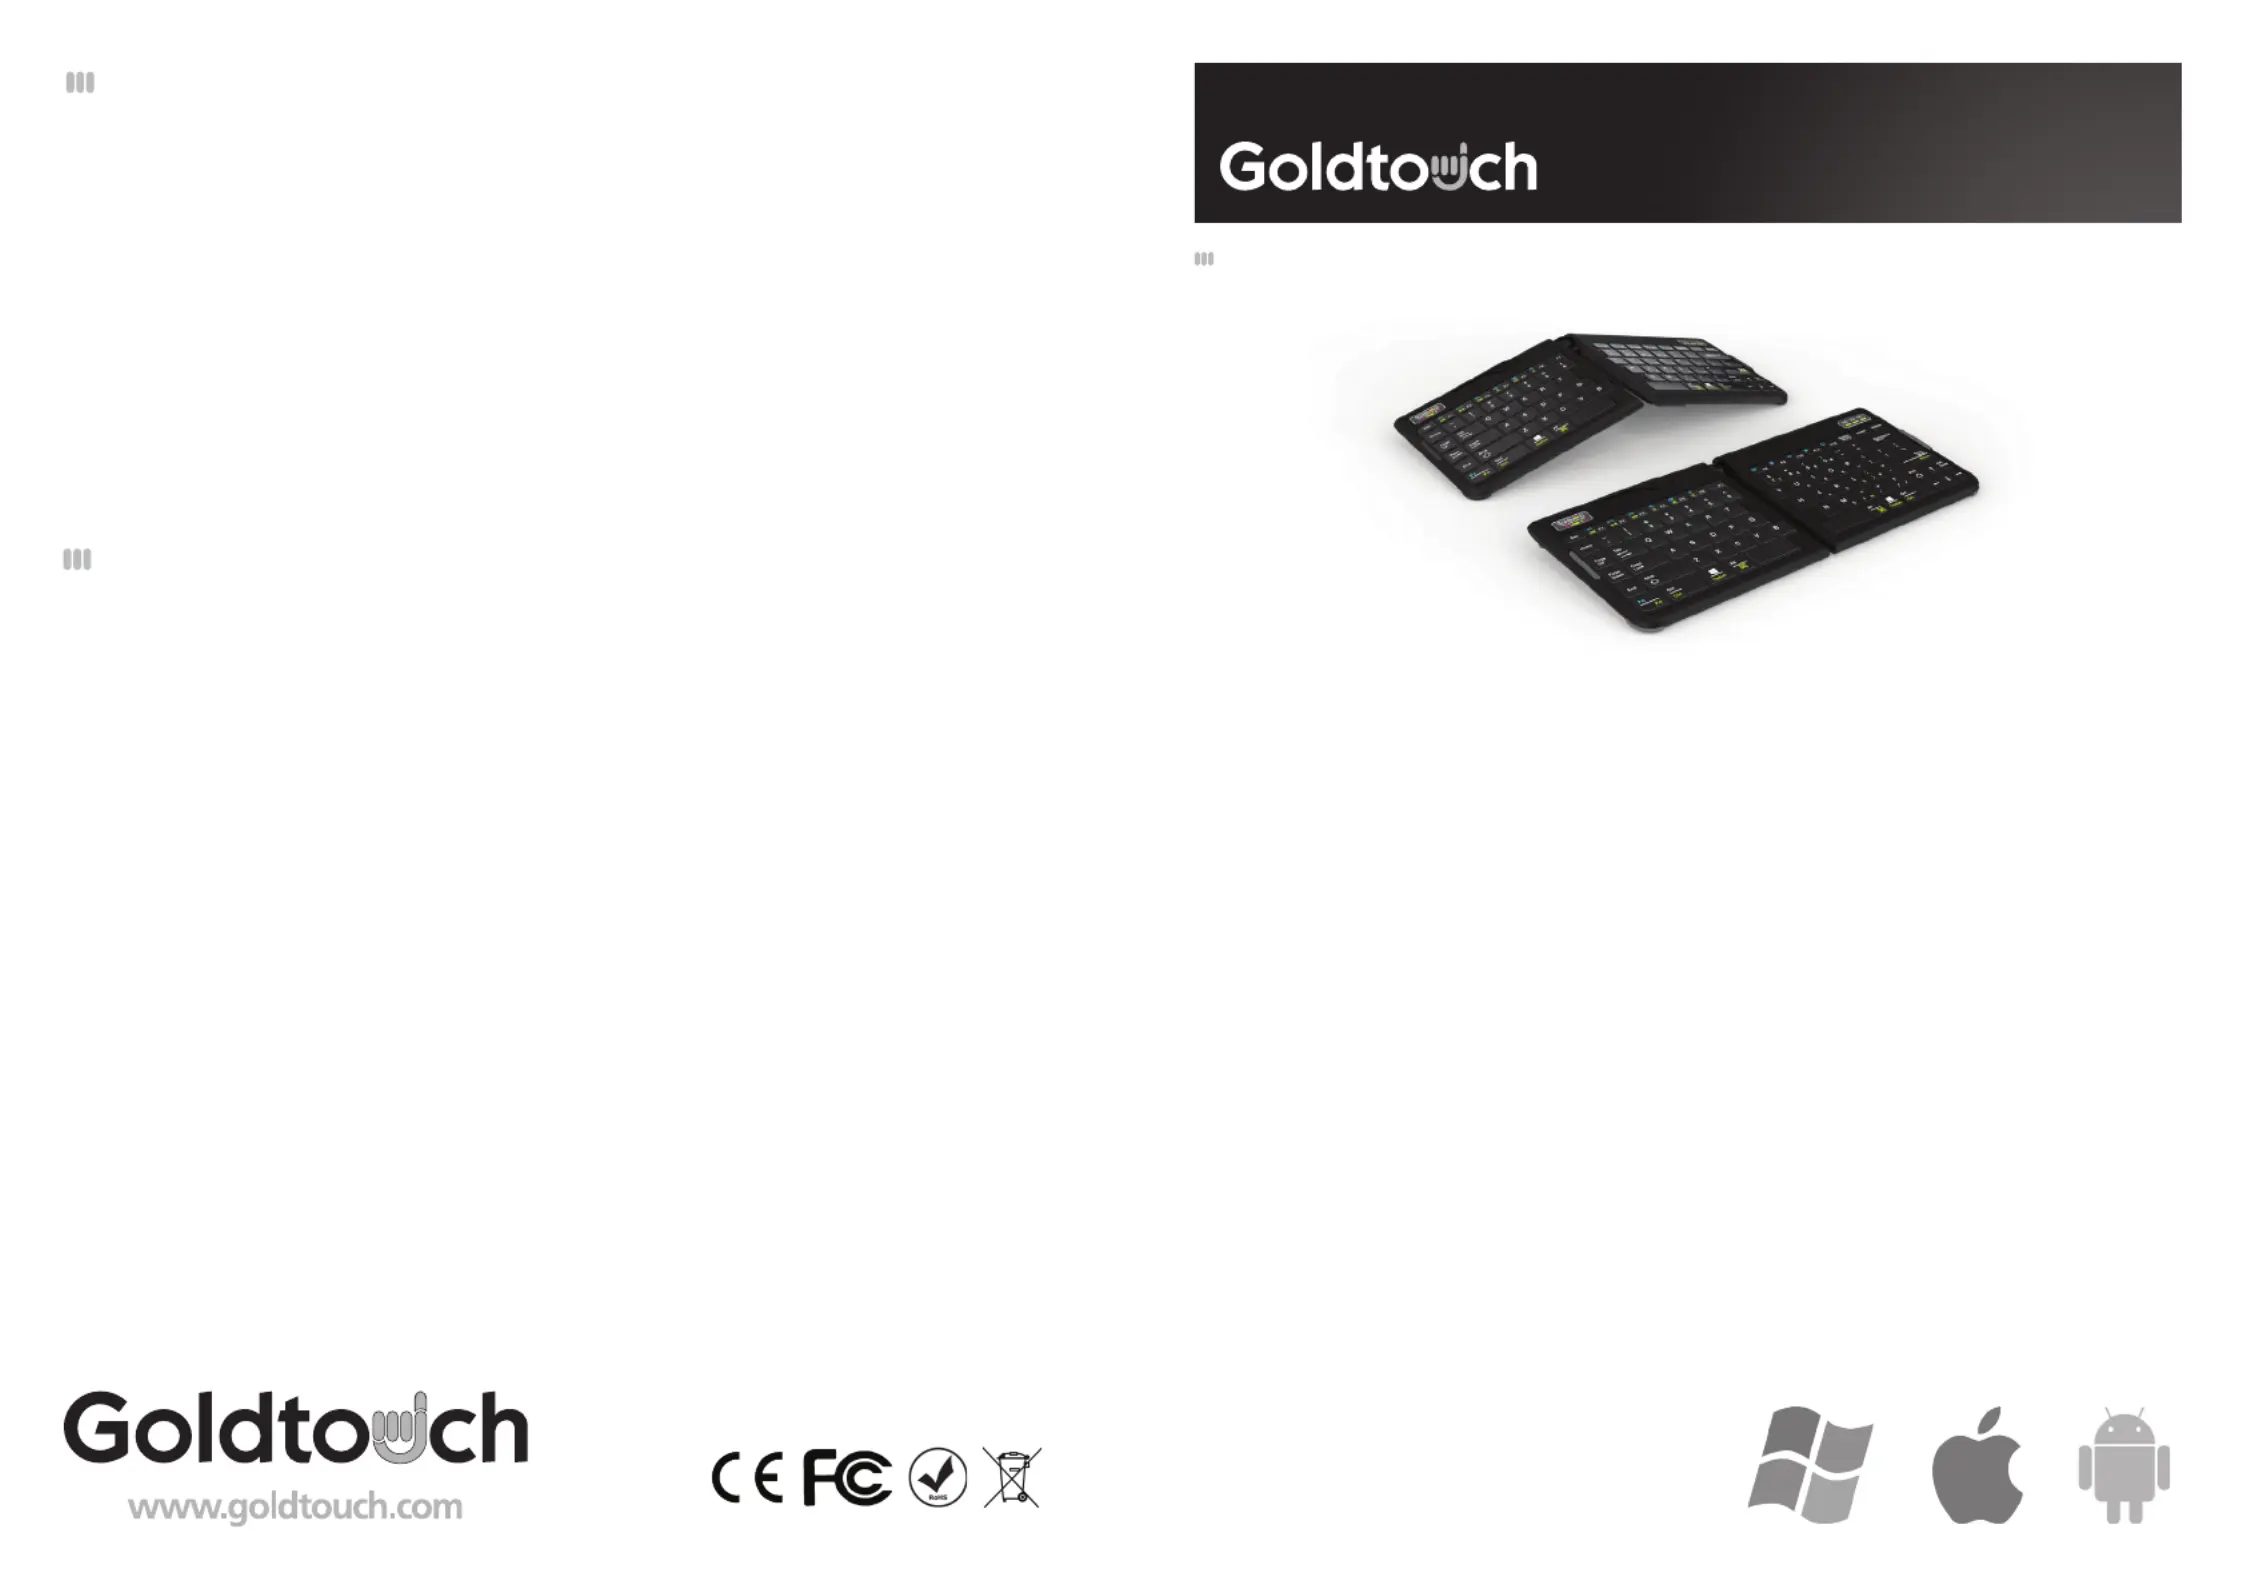
Travel Keyboard
GTP-0044 GOLDTOUCH Go!
2
MOBILE USB KEYBOARD
You’re about to join the tens of thousands of people who’ve traded in their OEM keyboards for
the most innovative, comfortable ergonomic keyboards ever designed.
The technology behind the Goldtouch ergonomic keyboard is one that recognizes the unique
needs of every individual, which vary according to body type, height, weight, shoulder width,
hand position, and other health and lifestyle factors. Goldtouch believes that ergonomic
keyboards should t the individual, not force the individual to conform to the keyboard.
Utilizing our patented ball and lever locking mechanism, our new Goldtouch Go!
2
Mobile
Keyboard oers you personalized adjustments for customized comfort that can signicantly
improve personal productivity and mitigate the risks associated with computer-related
repetitive strain injuries. Ergonomic keyboards are meant to be adjustable. If It Isn’t Adjustable,
It Isn’t Ergonomic.™
From the quality of our components to driver-free setup; every Goldtouch keyboard is designed
for business. Our Go!
2
Mobile Keyboard is light and compact for easy storage, and features
universal PC and Mac compatibility. Every Goldtouch keyboard is created to enhance your
personal productivity and deliver a speedy return on investment.
We thank you for your purchase and wish you years of personal comfort and productivity.
Congratulations on your purchase of a Goldtouch Go!
2
Mobile Keyboard.
User Manual
© 2021 Key Ovation, LLC. All rights reserved.
Goldtouch, the Goldtouch logo and Productivity
through Prevention® are registered trademarks of Key
Ovation, LLC. All other trademarks are copyright their
respective owners. All rights reserved.
Mac OS X 10.4+
Windows XP SP2+
Windows Vista
Windows 7
Windows 8
Windows 10
As mobile devices continue to expand in the marketplace, the
Goldtouch Go!
2
will endeavor to support all possible devices
through compliance with hardware standards.
To obtain support, download guides, and to learn about
additional ergonomic and mobile ergonomic products from
goldtouch, please visit our website at:
www.goldtouch.com.
Device Support
Maintaining Your Keyboard
Like all electronic equipment you need to avoid getting it wet, dropping it, or using un-
due force to depress the keys or operate the latch handle.
Do not subject the keyboard to extremes in temperature. Your keyboard will operate best
in temperatures of - 5° C to 50° C (23°F to 122°F). Keep the surface of your keyboard clean
by wiping with a soft cloth that is dampened with a mild cleaning solutions; preferably
water and mild soap.
Important: Do not attempt to adjust the keyboard without releasing the latch handle
and DO NOT PLACE ANY LUBRICATION or CLEANING FLUID IN THE BALL JOINT. THIS WILL
VOID YOUR WARRANTY.
Produktspezifikationen
| Marke: | Goldtouch |
| Kategorie: | Tastatur |
| Modell: | Go!2 GTP-0044 |
Brauchst du Hilfe?
Wenn Sie Hilfe mit Goldtouch Go!2 GTP-0044 benötigen, stellen Sie unten eine Frage und andere Benutzer werden Ihnen antworten
Bedienungsanleitung Tastatur Goldtouch

28 Juli 2025
1 Oktober 2024
Bedienungsanleitung Tastatur
Neueste Bedienungsanleitung für -Kategorien-
2 April 2026
31 März 2026
26 März 2026
25 März 2026
25 März 2026
24 März 2026
19 März 2026
9 März 2026
8 März 2026