Hartell LTA-1 Bedienungsanleitung
Hartell Wasserpumpe LTA-1
Lies die bedienungsanleitung für Hartell LTA-1 (2 Seiten) kostenlos online; sie gehört zur Kategorie Wasserpumpe. Dieses Handbuch wurde von 19 Personen als hilfreich bewertet und erhielt im Schnitt 4.7 Sterne aus 10 Bewertungen. Hast du eine Frage zu Hartell LTA-1 oder möchtest du andere Nutzer dieses Produkts befragen? Stelle eine Frage
Seite 1/2
Literature # 900334 2019
READ ALL INSTRUCTIONS
BEFORE STARTING INSTALLATION
❖
❖
❖
❖❖General Information
The model pump is a completely self-contained unit HARTELL LTA-1
designed to remove wastewater from sinks when a traditional gravity drain
line is not available. Popular applications include; wet bar sinks, kitchenettes,
utility sinks, and laundry tray sinks.
Lightweight and compact, the pump mounts directly to the drain LTA
tailpiece of your sink, eliminating all traps and inlet piping.
The LTAdesign any connection to the main stack ventdoes not require
1
which is common with other types of drain pump systems.
TheLTA pump’s rugged construction, automatic operation, and ease of
installation provides the best value in a drain pump that will provide many
years of trouble free service.
Proper installation practices will ensure virtually maintenance free operation
and extend the life of your pump.
Installation Note:All pumping and piping systems will fail at some point due
to a variety of reasons including power failures, foreign objects, neglect, or
“old age”. Proper safeguards, and precautions such as alarms, safety
switches, drain pans, etc. should be installed with any system when system
failure will result in damages to nished living spaces. It is the responsibility
of the installer to make appropriate provisions for system failure consistent
with each specic installation.
Risk of electrical shock. This pump is supplied with a
grounding type cord and plug. Do not modify cord or plug. Plug pump
into a properly grounded, grounding type, GFCI receptacle, following
all local codes.
Risk of electrical shock.Do not handle pump, cord, or plug
with wet hands, or when standing in water or on a damp surface, when pump
is plugged in. Unplug pump before servicing or performing any maintenance.
Do not work with energized electrical equipment in a wet area. Reasonable
care and safe practices should be exercised during installation and
maintenance.
1
National Standard Plumbing Code Section 11.7.9
! WARNING
! WARNING
❖
❖
❖
❖❖Troubleshooting
Condition Probable Cause
Pump does not run when water is added to
the sink.
-Check that pump is plugged in.
-Check power to outlet or circuit.
-Pump plugged into a switched outlet.
-Fuse/breaker blown or trippe d.
-Foreign object lodged in pump chamber.
Pump runs but does not empty sink.
-Sink drain screen clogged.
-Sink stopper inserted in drain.
-Clogged check valve.
-Clogged discharge line.
-Shut-o (balancing) valve closed or not
adjusted properly.
-“System” lift too high or piping run too long.
Pump turns on and off (“cycles”) when no
water is in the sink.
-Check valve or back ow preventer not
installed in discharge line.
-Dirt in check valve is allowing water to ow
back into pump from drain line.
Pump turns on and off (“cycles”) rapidly
when sink is full or at maximum water ow.
-Balancing / shut-o valve not installed in drain
line.
-Balancing valve not adjusted properly.
❖
❖
❖
❖❖Service and Maintenance
The pump is designed to be virtually maintenance free when used in LTA
accordance with the installation guidelines specied in these instructions.
Installation and preservation of an inlet screen will prevent excessive
accumulation of material in the pump chamber and possible obstruction of the
impeller by foreign objects such as stones, string, buttons, etc.
Before returning the unit for replacement, the pump housing should be
removed, and the impeller chamber checked for obs
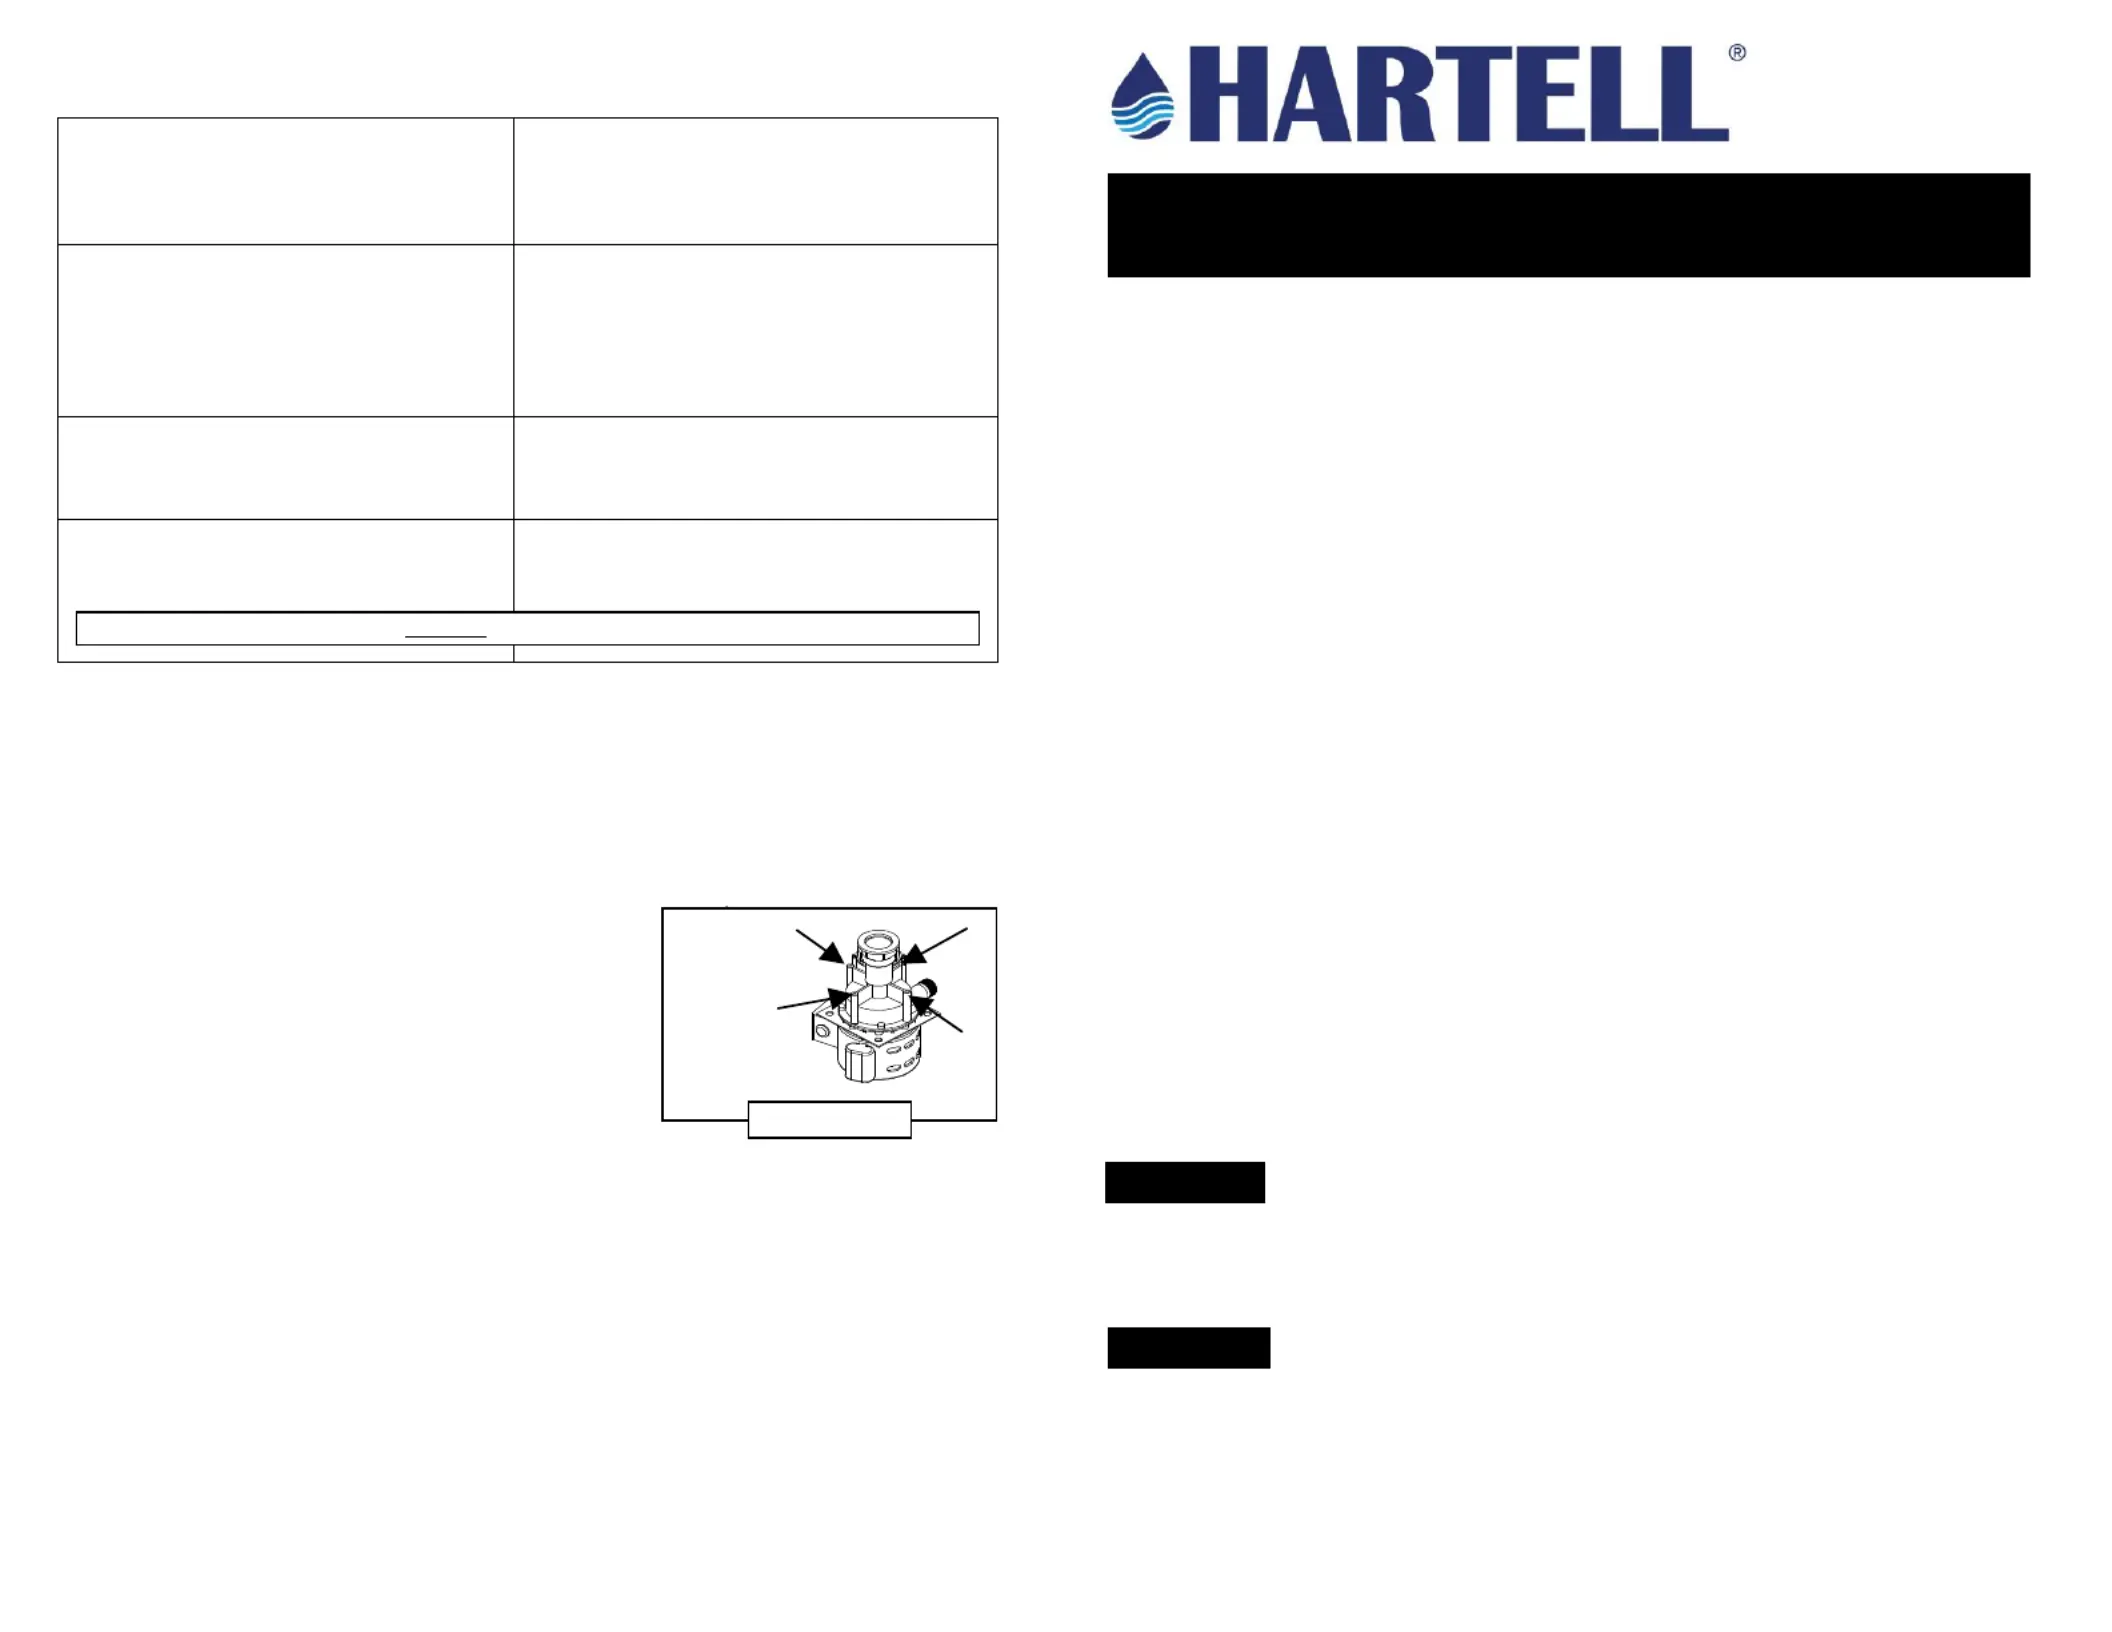
To check impeller, unplug pump and remove from
sink. Remove fou r (4) ¼” hex head screws from
the “fins” of the housing as shown in figure 2.
Separate housing from motor base plate and
inspect for obstructions. After clearing any debris,
replace housing on the base plate making sure
that the rubber “o” ring is in place around the
“step” in the base plate. Re-install pump following all instructions.
❖
❖
❖
❖❖Warranty
HARTELL products are warranted to be free from manufacturing defects, for a period of twelve (12)
months past the date of installation. Within the warranty period, HARTELL will replace or repair any
products determined to be defective by the Factory or an authorized Representative. Purchaser
must pay all labor and shipping charges necessary to replace product covered by this warranty.
HARTELL shall not be held liable for resultant damages, caused by products that have failed.
Installer must consider the safeguards necessary to protect the surrounding areas from possible
water damage should the pump or piping system fail. Warranty will be voided if product has been
subject to abuse, tampering, altering, negligence, improper installation, or mis-application.
Requests for service under this warranty shall be made by returning the product to the original
place of purchase along with dated sales receipt. Additional details of this warranty can be obtained
by contacting HARTELL.
HEX HEAD
HOUSING
SCREWS
FIGURE 2
(Pump will cycle with faucets partially on. This is normal and will not harm pump.)
MODEL LTA-1 (802210)
AUTOMATICSINKDRAINPUMP
INSTALLATION OPERATION MAINTENANCE
•
•
•
•••
•
•
••
100 East Graham Place
Burbank, CA 91502
Web: www.hartell.com
Email: info@hartell.com
Produktspezifikationen
| Marke: | Hartell |
| Kategorie: | Wasserpumpe |
| Modell: | LTA-1 |
Brauchst du Hilfe?
Wenn Sie Hilfe mit Hartell LTA-1 benötigen, stellen Sie unten eine Frage und andere Benutzer werden Ihnen antworten
Bedienungsanleitung Wasserpumpe Hartell

21 August 2025
20 August 2025
11 Juni 2025
10 Juni 2025
Bedienungsanleitung Wasserpumpe
Neueste Bedienungsanleitung für -Kategorien-
21 Januar 2026
19 Januar 2026
18 Januar 2026
14 Januar 2026
17 Dezember 2025
16 Dezember 2025
16 Dezember 2025
7 Dezember 2025
6 Dezember 2025
5 Dezember 2025