Kenmore KKELST4SS Bedienungsanleitung
Lies die bedienungsanleitung für Kenmore KKELST4SS (8 Seiten) kostenlos online; sie gehört zur Kategorie Toaster. Dieses Handbuch wurde von 31 Personen als hilfreich bewertet und erhielt im Schnitt 4.6 Sterne aus 4 Bewertungen. Hast du eine Frage zu Kenmore KKELST4SS oder möchtest du andere Nutzer dieses Produkts befragen? Stelle eine Frage
Seite 1/8
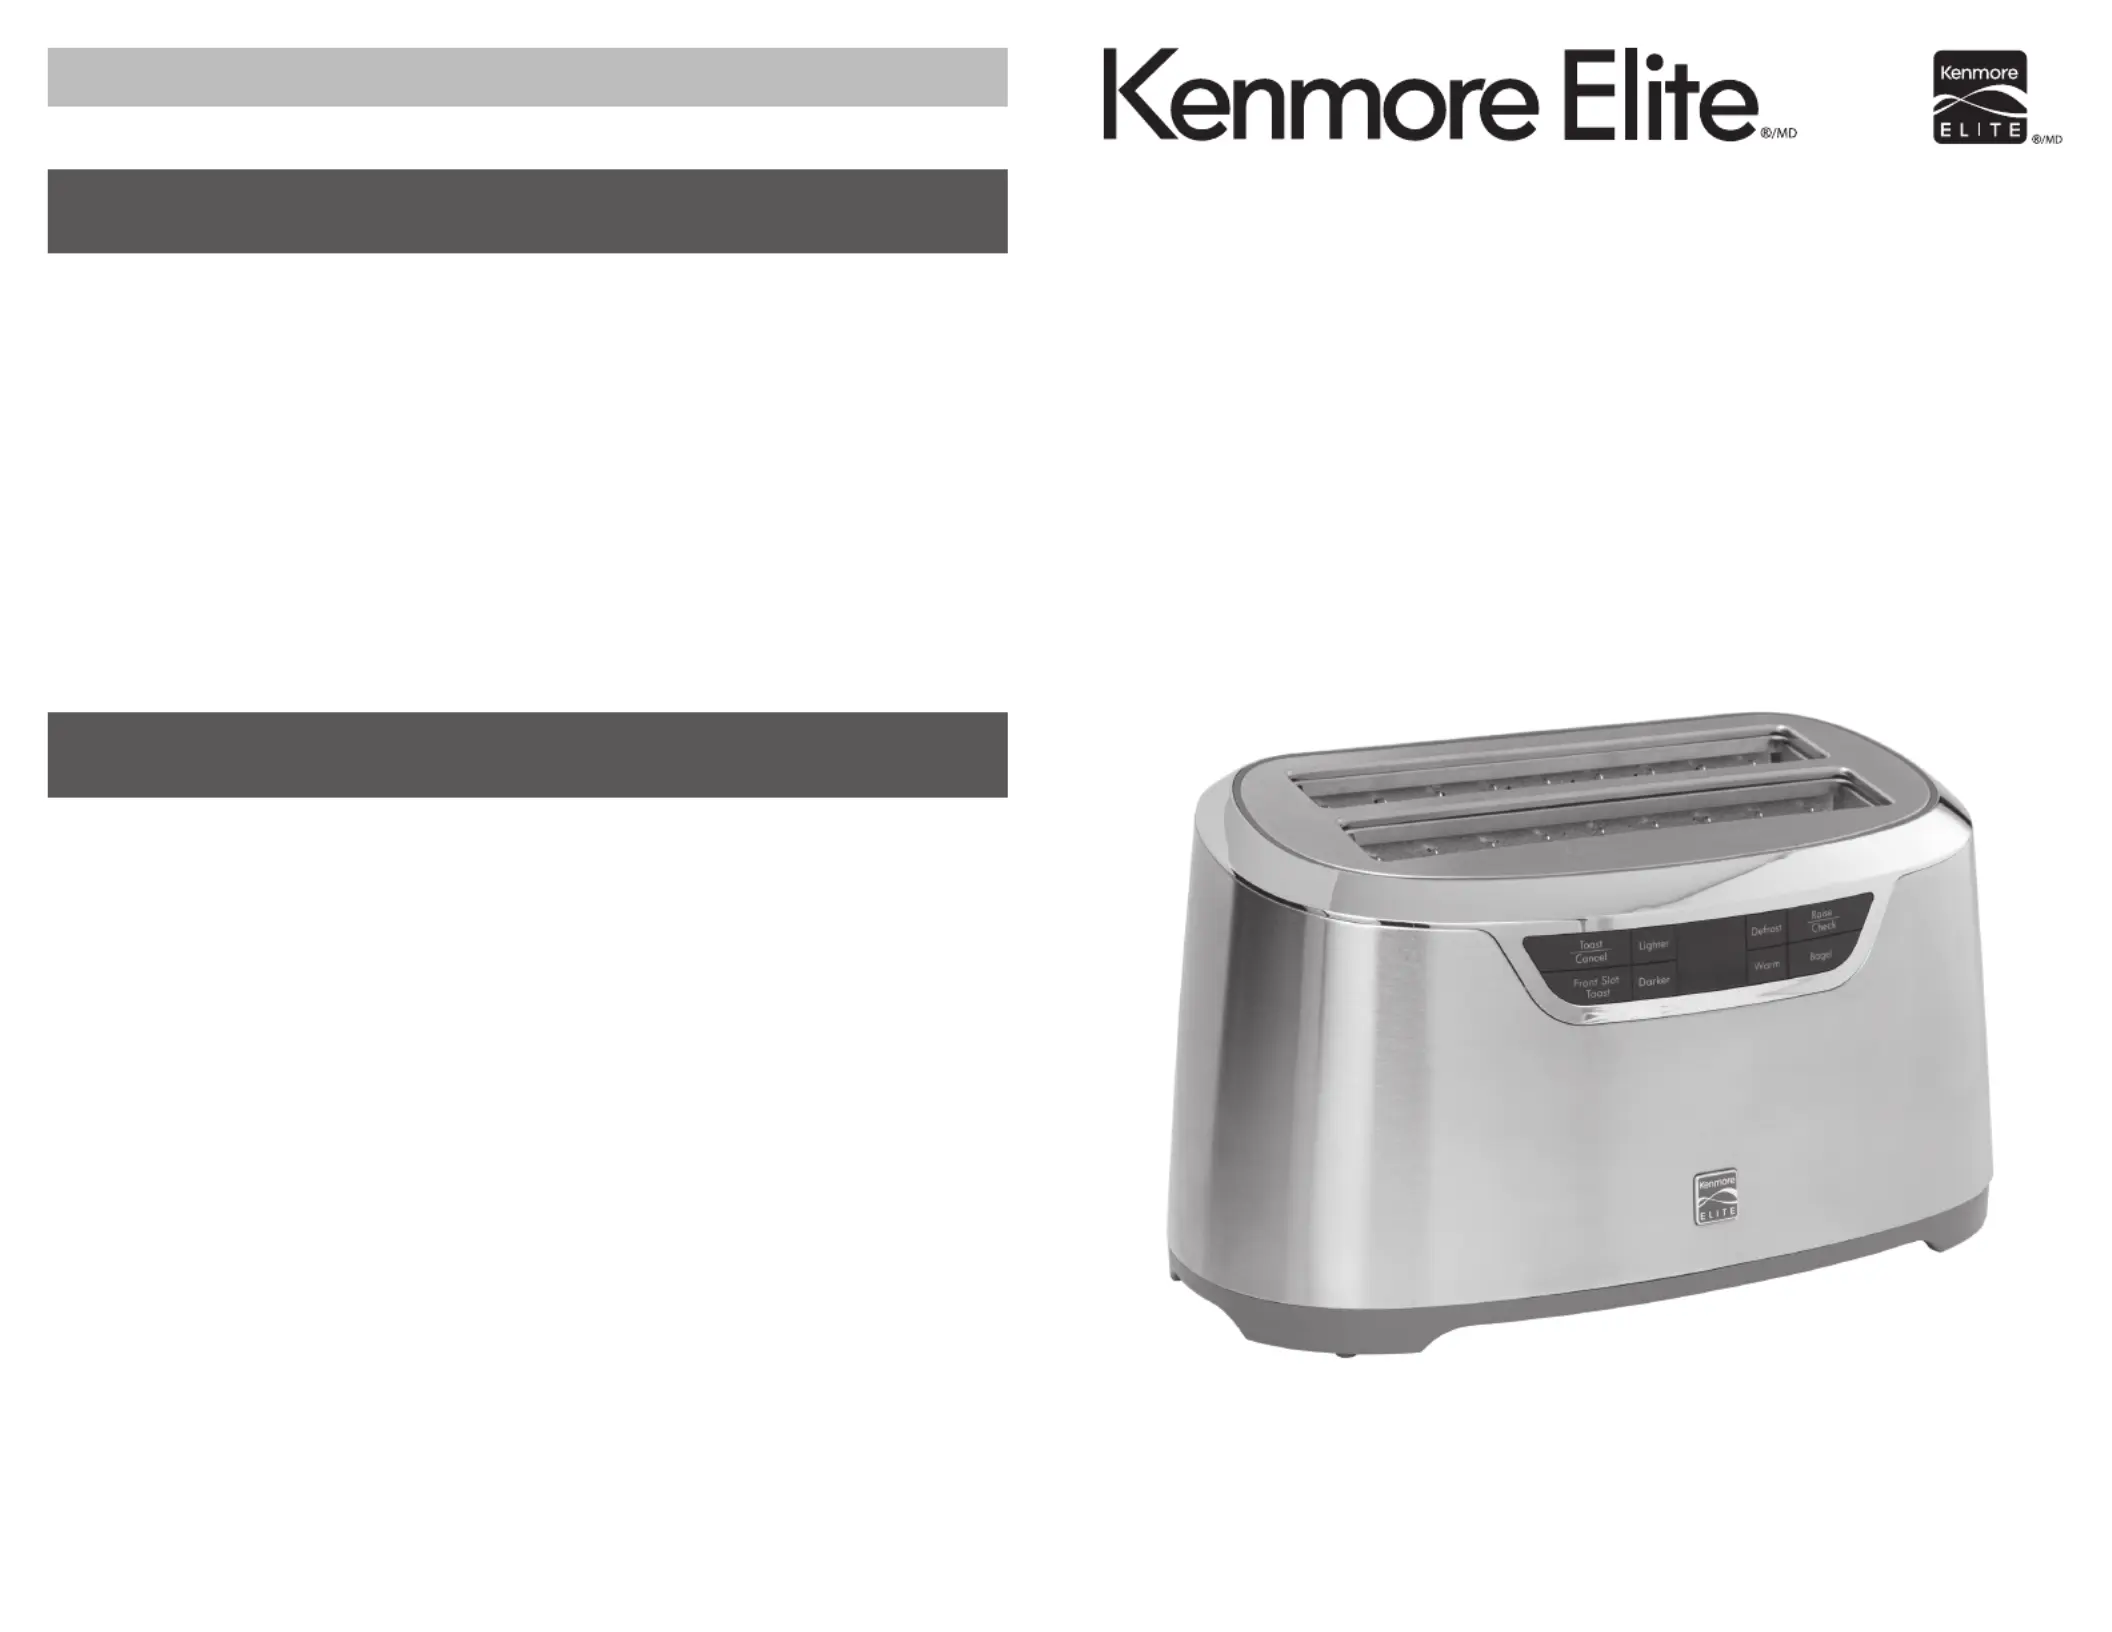
4-Slice Auto-lift
Long Slot Toaster
10/2024-v4H1S359
Grille-pain à longues fentes
pour 4 tranches
avec éjection automatique
KKELST4SS
Use & Care Guide
Guide d'utilisation et d'entretien
Customer Assistance
Service à la clientèle
1-800-265-8456
www. koolatron.com
WARRANTY / GARANTIE
Kenmore and the Kenmore logo are registered trademarks to Transform SR Brands Management LLC
and are used under license by Koolatron Corporation
Kenmore et le logo Kenmore sont des marques déposées de Transform SR Brands Management LLC
et sont utilisées sous licence par Koolatron Corporation
FOR FIVE YEARS from the date of sale this product is warranted against defects in material
or workmanship.
WITH PROOF OF SALE a defective product will be repaired or replaced free of charge.
The Kenmore brand is used under license. Direct all claims for warranty service to Koolatron
Customer Assistance, call 1-800-265-8456 or email service@koolatron.com
This warranty covers manufacturer’s defects including electrical and mechanical defects
provided the appliance is correctly assembled, operated and maintained according to the
supplied instructions. It does not cover damage caused by accident, misuse or abuse
including overheating, unauthorized repairs or alterations, or use with a voltage converter
or aftermarket accessories, and it does not apply to scratches, stains, discoloration or other
surface damage that does not impair the product function. This warranty is void if the
appliance is ever used for purposes other than private household use.
PENDANT CINQ ANS à compter de la date d’achat d’origine ce produit Kenmore sera
exempt de défauts de matériaux ou de fabrication.
Un produit défectueux sera réparé ou remplacé gratuitement, AVEC PREUVE DE VENTE.
Le nom de marque Kenmore est utilisé sous licence. Adressez toutes les demandes de
service de garantie à Koolatron, au 1-800-265-8456 ou en envoyant Service à la clientèle du
un courriel à service@koolatron.com
La présente garantie couvre les défauts de fabrication, y compris les défauts électriques et
mécaniques, à condition que l’appareil soit correctement assemblé, utilisé et entretenu
conformément aux instructions fournies. La présente garantie ne couvre pas les dommag-
es causés par un accident, une mauvaise utilisation ou un abus, y compris la surchauffe, les
réparations ou modifications non autorisées, ou l’utilisation avec un convertisseur de
tension ou des accessoires de rechange, et elle ne s’applique pas aux rayures, taches,
décoloration ou autres dommages de surface qui n’affectent pas le fonctionnement du
produit. La présente garantie est nulle si l’appareil est utilisé à des fins autres que l'usage
domestique privé.
Koolatron Corporation
4320 Federal Drive, Batavia, NY 14020 U.S.A.
139 Copernicus Blvd., Brantford, ON N3P1N4 Canada
5
Limited Warranty
Year
5
Garantie limitée
Ans
Produktspezifikationen
| Marke: | Kenmore |
| Kategorie: | Toaster |
| Modell: | KKELST4SS |
Brauchst du Hilfe?
Wenn Sie Hilfe mit Kenmore KKELST4SS benötigen, stellen Sie unten eine Frage und andere Benutzer werden Ihnen antworten
Bedienungsanleitung Toaster Kenmore

23 August 2025
23 August 2025
23 August 2025
23 August 2025
22 August 2025
8 August 2025
9 August 2024
5 Juli 2023
Bedienungsanleitung Toaster
Neueste Bedienungsanleitung für -Kategorien-
3 April 2026
2 April 2026
26 März 2026
26 März 2026
25 März 2026
21 März 2026
19 März 2026
16 März 2026
15 März 2026