Koolatron KTUF34 Bedienungsanleitung
Koolatron
Gefrierschrank
KTUF34
Lies die bedienungsanleitung für Koolatron KTUF34 (8 Seiten) kostenlos online; sie gehört zur Kategorie Gefrierschrank. Dieses Handbuch wurde von 2 Personen als hilfreich bewertet und erhielt im Schnitt 3.8 Sterne aus 1.5 Bewertungen. Hast du eine Frage zu Koolatron KTUF34 oder möchtest du andere Nutzer dieses Produkts befragen? Stelle eine Frage
Seite 1/8

H1S283
www.koolatron.com
©2019 Koolatron, Inc. All rights reserved.
All specification are subject to change without notice.
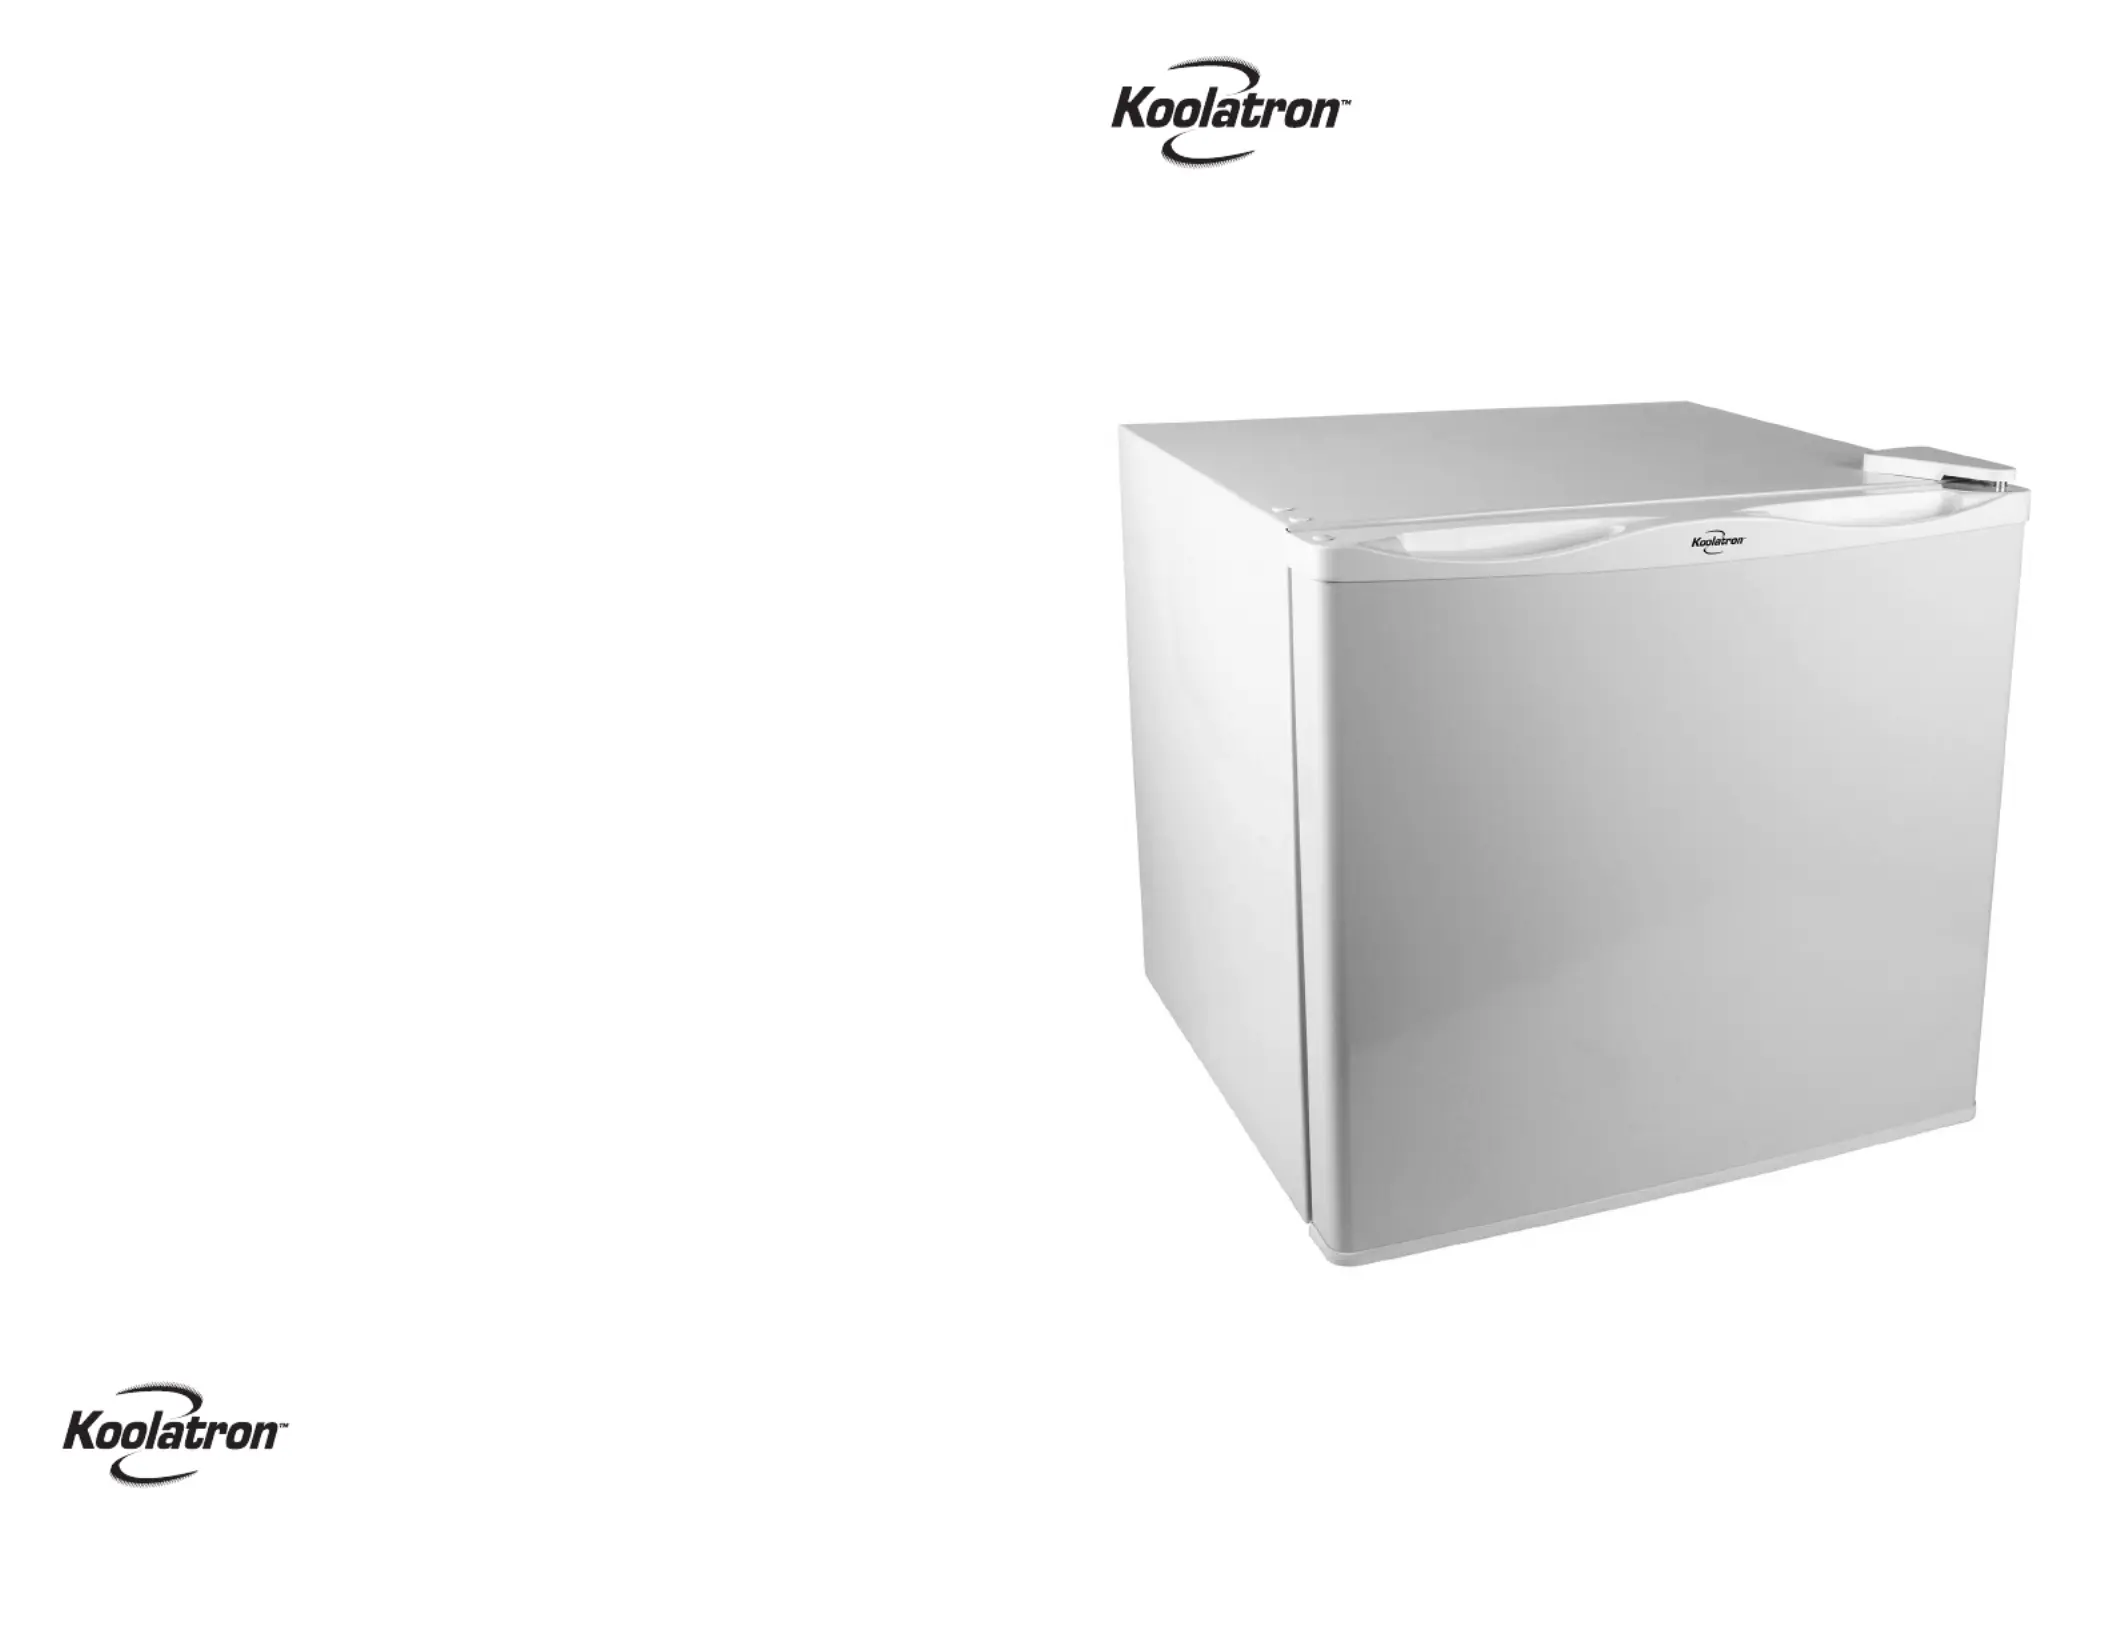
CUBE FREEZER
1.2 cu.ft. upright freezer
KTUF34
User Manual
Please Read These Instructions Carefully Before Use!04/2019-v1
WARRANTY
This product is warranted to the retail customer for 90 days from date of retail purchase, against
defects in material and workmanship.
WHAT IS COVERED
• Replacement parts and labour.
• Transportation charges to customer for the repaired product.
WHAT IS NOT COVERED
• Damage caused by abuse, accident, misuse, or neglect.
• Transportation of the unit or component from the customer to Koolatron.
IMPLIED WARRANTIES
Any implied warranties, including the implied warranty of merchantability are also limited
to the duration of 90 days from the date of retail purchase.
WARRANTY
Keep the original, dated, sales receipt with this manual.
WARRANTY AND SERVICE PROCEDURE
If you have a problem with your unit, or require replacement parts, please telephone the following
numbers for assistance:
North America 1-800-265-8456
Koolatron has Master Service Centres at these locations:
U.S.A.
4330 Commerce Dr., Batavia, NY 14020-4102
Canada
139 Copernicus Blvd., Brantford, ON N3P1N4
A Koolatron Master Service Centre must perform all warranty work.

Before the appliance is used, it must be properly positioned and installed as per the instruction in
the section. To reduce the risk of fire, electric shock or injury, follow basic INSTALLATION
precautions including the following:
1. Read all instructions before using the appliance.
2. Plug into a grounded 3-prong outlet, do not remove grounding prong, do not use an adapter, and
do not use an extension cord.
3. Do not place any other household appliances on top of the unit.
4. It is recommended that a separate circuit, serving only your appliance be provided. Use receptacles
that cannot be turned off by a switch or pull chain.
5. Never clean appliance parts with flammable fluids. Do not store or use gasoline or other flammable
vapors and liquids in the vicinity of this or any other appliance. The fumes can create a fire hazard
or explosion.
6. Failure to unplug the appliance during cleaning could result in electrical shock or personal injury.
7. Do not connect or disconnect the plug when your hands are wet.
8. Do not operate any appliance with a damaged cord or plug or after the appliance malfunctions or
has been damaged in any manner. Return appliance for examination, repair or replacement of any
part of the freezer. See the section.WARRANTY
9. To ensure proper ventilation for your appliance, follow the instructions in the INSTALLATION
section for proper clearances. Choose a well-ventilated area with temperatures above 55°F (13°C)
and below 90°F (32°C).
10. Do not use outdoors.
11. The appliance should not be located next to ovens, grills or other sources of high heat.
12. It is important for the appliance to be leveled to work properly.
13. Never allow children to operate, play with or crawl inside the unit.
14. Do not use this appliance for other than its intended use.
DANGER - Risk of child entrapment
Before disposing of your appliance, ensure that the door(s) are removed. Shelves should also be left
in place to help avoid children climbing inside. Never allow a child to operate, play with or climb inside
the appliance.
DANGER - REFRIGERANT GAS WARNINGS - Risk of fire or explosion - Flammable refrigerant used.
- DO NOT use mechanical devices to defrost freezer.
- DO NOT puncture refrigerant tubing.
- To be repaired only by trained service personnel.
- Dispose of property in accordance with federal or local regulations.
GROUNDED PLUG
To reduce the risk of electric shock this appliance has a grounded plug (2 blades and 1 pin). If the
plug does not fit fully into the electrical outlet contact a qualified electrician. Do not modify the plug
in any way or use an adaptor.
Use an exclusive wall outlet. Do not connect your freezer to extension cords or together with any other
appliance in the same wall outlet. If the power cord is too short, have a qualified electrician or service
technician install an outlet near the appliance.
IMPORTANT SAFEGUARDS
adjustable
temperature
control
back of freezer
reversible door
adjustable feet
fixed grid shelf
PARTS
32
INSTALLATION
1. Remove all packaging, including the foam between the condenser and cabinet on the outside of the
unit. : Two or more people should move the freezer. Failure to do so can result in back orWARNING
other injuries.
2. Remove all packaging and labels. If there is any glue residue rub a small amount of liquid dish soap
with your fingers then wipe with warm water and dry.
: Do not use any sharp instruments, rubbing alcohol, flammable fluids or abrasive cleaners toNOTE
remove tape or glue.
3. IMPORTANT: Let the freezer stand upright for approximately 2 hours before plugging into the power
source. This will reduce the possibility of a malfunction in the cooling system from handling during
transportation.
4. This freezer is designed to be free standing. It was not designed for recessed or enclosed area
installation.
5. Place your freezer on a floor that is strong enough to support the freezer when it is fully loaded.
6. Locate the freezer away from direct sunlight and sources of heat (stove, heater, radiator, etc).
Direct sunlight may affect the acrylic coating and heat sources may decrease cooling efficiency.
7. Ensure there is a minimum 10 cm (4") clearance on all sides of the unit for proper air circulation.
: If you are installing your freezer next to a fixed wall, leave sufficient space on the hinge side NOTE
to allow for the door to swing open.
8. Level the freezer by adjusting the legs. Turn the leg clockwise to raise that side of the freezer or
turn counterclockwise to lower that side. While adjusting the legs, have someone push against
the top of the freezer to take some weight off the front leveling legs.
: To help with door closure, position legs with a 1/8" (3 mm) tilt to the back. NOTE
9. Do not use in any location not properly insulated or heated, e.g. garage etc. Your freezer was not
designed to operate in temperatures below 12.8°C (55°F). In extreme cold ambient temperatures
the freezer will not perform properly. Avoid locating the freezer in damp or moist areas. Excessive
moisture may cause frost to form quickly on the evaporator. This would require more frequent
defrosting of the freezer.
10. Make sure all parts listed in the description of are in place.PARTS
11. Once the freezer has been plugged in (after 2 hours in the upright position), allow the freezer's
interior to cool for 2-3 hours before adding the food.

BEFORE FIRST USE
REVERSING THE DOOR
OPERATING INSTRUCTIONS
OPERATING INSTRUCTIONS (cont.)
CARE AND CLEANING
4
1. Wipe the inside of the freezer and the Door Gasket with a cloth or sponge dampened in a warm
water and baking soda solution, 30 ml (2 tbsp) baking soda to 1L (1 quart) of water.
2. Wash the shelf with mild detergent.
3. The exterior should be cleaned with a soft cloth dampened in mild detergent and warm water.
4. Wring excess water out of the cloth before cleaning any areas that have the controls or electrical
parts.
Your freezer has been built to open from the right; however, it has been designed to open from
either side and can easily be changed by following the procedure below. You will need a screwdriver
and putty knife or other thin flat device to remove the hinge covers. Use care to prevent scratching
the surfaces.
1. Unplug the freezer from the wall outlet and empty, including the shelves.
2. Remove the 2 top hinge covers and the screw-hole cover on the door
and set aside.
3. Place protective padding behind the freezer and tilt the freezer
backwards against the protective padding.
4. Remove the screws from the current hinges underneath the appliance.
5. Transfer the hinges into the receptacle on the other side of the door,
and thread and secure the screws in their new location.
Replace the door. Replace the hinge covers appropriately.
door hinge cap
TEMPERATURE CONTROL
1. The is located at the back of the unit.Temperature Control Dial
2. The first time you turn the unit on, set the temperature control to the maximum position.
: The temperature range is from "1" the warmest, to "6" the coldest. NOTE
3. After 24 - 48 hours, adjust the temperature to suit your needs. The setting of "4" should be
appropriate for most needs.
4. To turn the freezer off, turn the Temperature Control Dial to the "OFF" position.
: This only turns off the cooling cycle - not the power. NOTE
5. If the freezer is unplugged, turned off, or without power for any reason, do not re-connect for at
least five minutes to allow the circuits to reset. Damage may occur if it is re-connected too soon.
6. The inside temperature of the freezer will vary depending on the frequency of the door opening and
the amount of food.
ICE CUBE TRAY
1. Recommended thermostat setting for ice making is position “6”.
2. Fill the ice cube tray 2/3 full, with cold water or with any liquid suitable for freezing and place the
tray on the bottom of the freezer to freeze properly.
3. Dry the bottom of the tray, to avoid it sticking to the bottom of the freezer.
4. The best method to get ice cubes out of the tray is to hold the tray under cold tap water for a second.
5. To eject the ice cubes from the tray, place over the ice bucket and twist slightly.
5
FREEZING FRESH FOODS
1. The quality of frozen food can be compromised by improper use of the freezer, poorly packed food,
incorrect temperatures and unhygienic preparation of foods.
2. This freezer has been designed for long-term storage of frozen food.
3. The storage life of frozen foods varies and the recommended storage time should not be exceeded.
4. Pre-packed commercially frozen food should be stored in accordance with the frozen foods
manufacturer's instructions for a “three star” frozen food.
5. Place frozen food into the freezer as quickly as possible after purchase. If there are instructions on
the packet, carefully follow these instructions regarding storage times.
6. Carefully select food you intend to freeze; it should be of adequate quality and suitable for freezing.
7. Use correct packaging and wrap it tight.
8. The packaging should be airtight and shouldn't leak since this could cause substantial vitamin loss
and dehydration of foods.
9. Foils and bags should be soft enough to tightly wrap around the foods.
10. When preparing foods to be frozen, consider sanitary precautions.
11. Mark packages with following data: kind and amount of foods and the date of loading.
12. It is most important that the food is frozen as quickly as possible.
13. If the loading amount is too large, the quality of freezing is reduced which affects the quality of
frozen foods.
CLEANING THE FREEZER
1. Unplug the freezer and remove the food and shelves/drawers.
2. Wipe the inside of the freezer and the door gasket with a cloth or sponge dampened in a warm water
and baking soda solution, 30 ml (2 tbsp) baking soda to 1L (1 quart) of water.
3. Wash the shelf with mild detergent.
4. The exterior should be cleaned with a soft cloth dampened in mild detergent and warm water.
5. Wring excess water out of the cloth before cleaning any areas that have the controls or electrical
parts.
6. Do not use abrasive cleansers, which can damage or scratch the finish.
7. Clean door gaskets every three months. They must be kept clean and pliable to assure a proper seal.
DEFROSTING THE FREEZER
1) Defrost when the freezer frost exceeds 1 cm (0.4”) thick.
2) CAUTION
• Do not use boiling water; this could damage the plastic parts.
• Do not use sharp or metallic instruments to remove frost as it could damage the cooling coils
and may void the warranty. Use only the plastic scraper included with this freezer.
3) Remove frozen food from freezer and and place it in a cooler to protect the food.
4) Turn thermostat dial to "OFF" and unplug the freezer. The defrosting process may take several hours.
5) After defrosting discard the melted water, dry the interior of the freezer and return the thermostat
dial to the previous temperature.
Produktspezifikationen
Marke: | Koolatron |
Kategorie: | Gefrierschrank |
Modell: | KTUF34 |
Brauchst du Hilfe?
Wenn Sie Hilfe mit Koolatron KTUF34 benötigen, stellen Sie unten eine Frage und andere Benutzer werden Ihnen antworten
Bedienungsanleitung Gefrierschrank Koolatron
23 August 2025
10 Juli 2025
10 Juli 2025
10 Juli 2025
6 Juli 2025
9 Juni 2025
Bedienungsanleitung Gefrierschrank
- Ignis
- Zanker
- Honeywell
- Ridgid
- Asko
- Mitsubishi
- Scancool
- Smart Brand
- Hendi
- Premium Levella
- Concept
- Severin
- Bomann
- Hisense
- New Pol
Neueste Bedienungsanleitung für -Kategorien-
22 August 2025
22 August 2025
22 August 2025
22 August 2025
21 August 2025
21 August 2025
21 August 2025
21 August 2025
21 August 2025
21 August 2025