SoundTube STNet Switch II Bedienungsanleitung
Lies die bedienungsanleitung für SoundTube STNet Switch II (2 Seiten) kostenlos online; sie gehört zur Kategorie Empfänger. Dieses Handbuch wurde von 51 Personen als hilfreich bewertet und erhielt im Schnitt 4.5 Sterne aus 5 Bewertungen. Hast du eine Frage zu SoundTube STNet Switch II oder möchtest du andere Nutzer dieses Produkts befragen? Stelle eine Frage
Seite 1/2
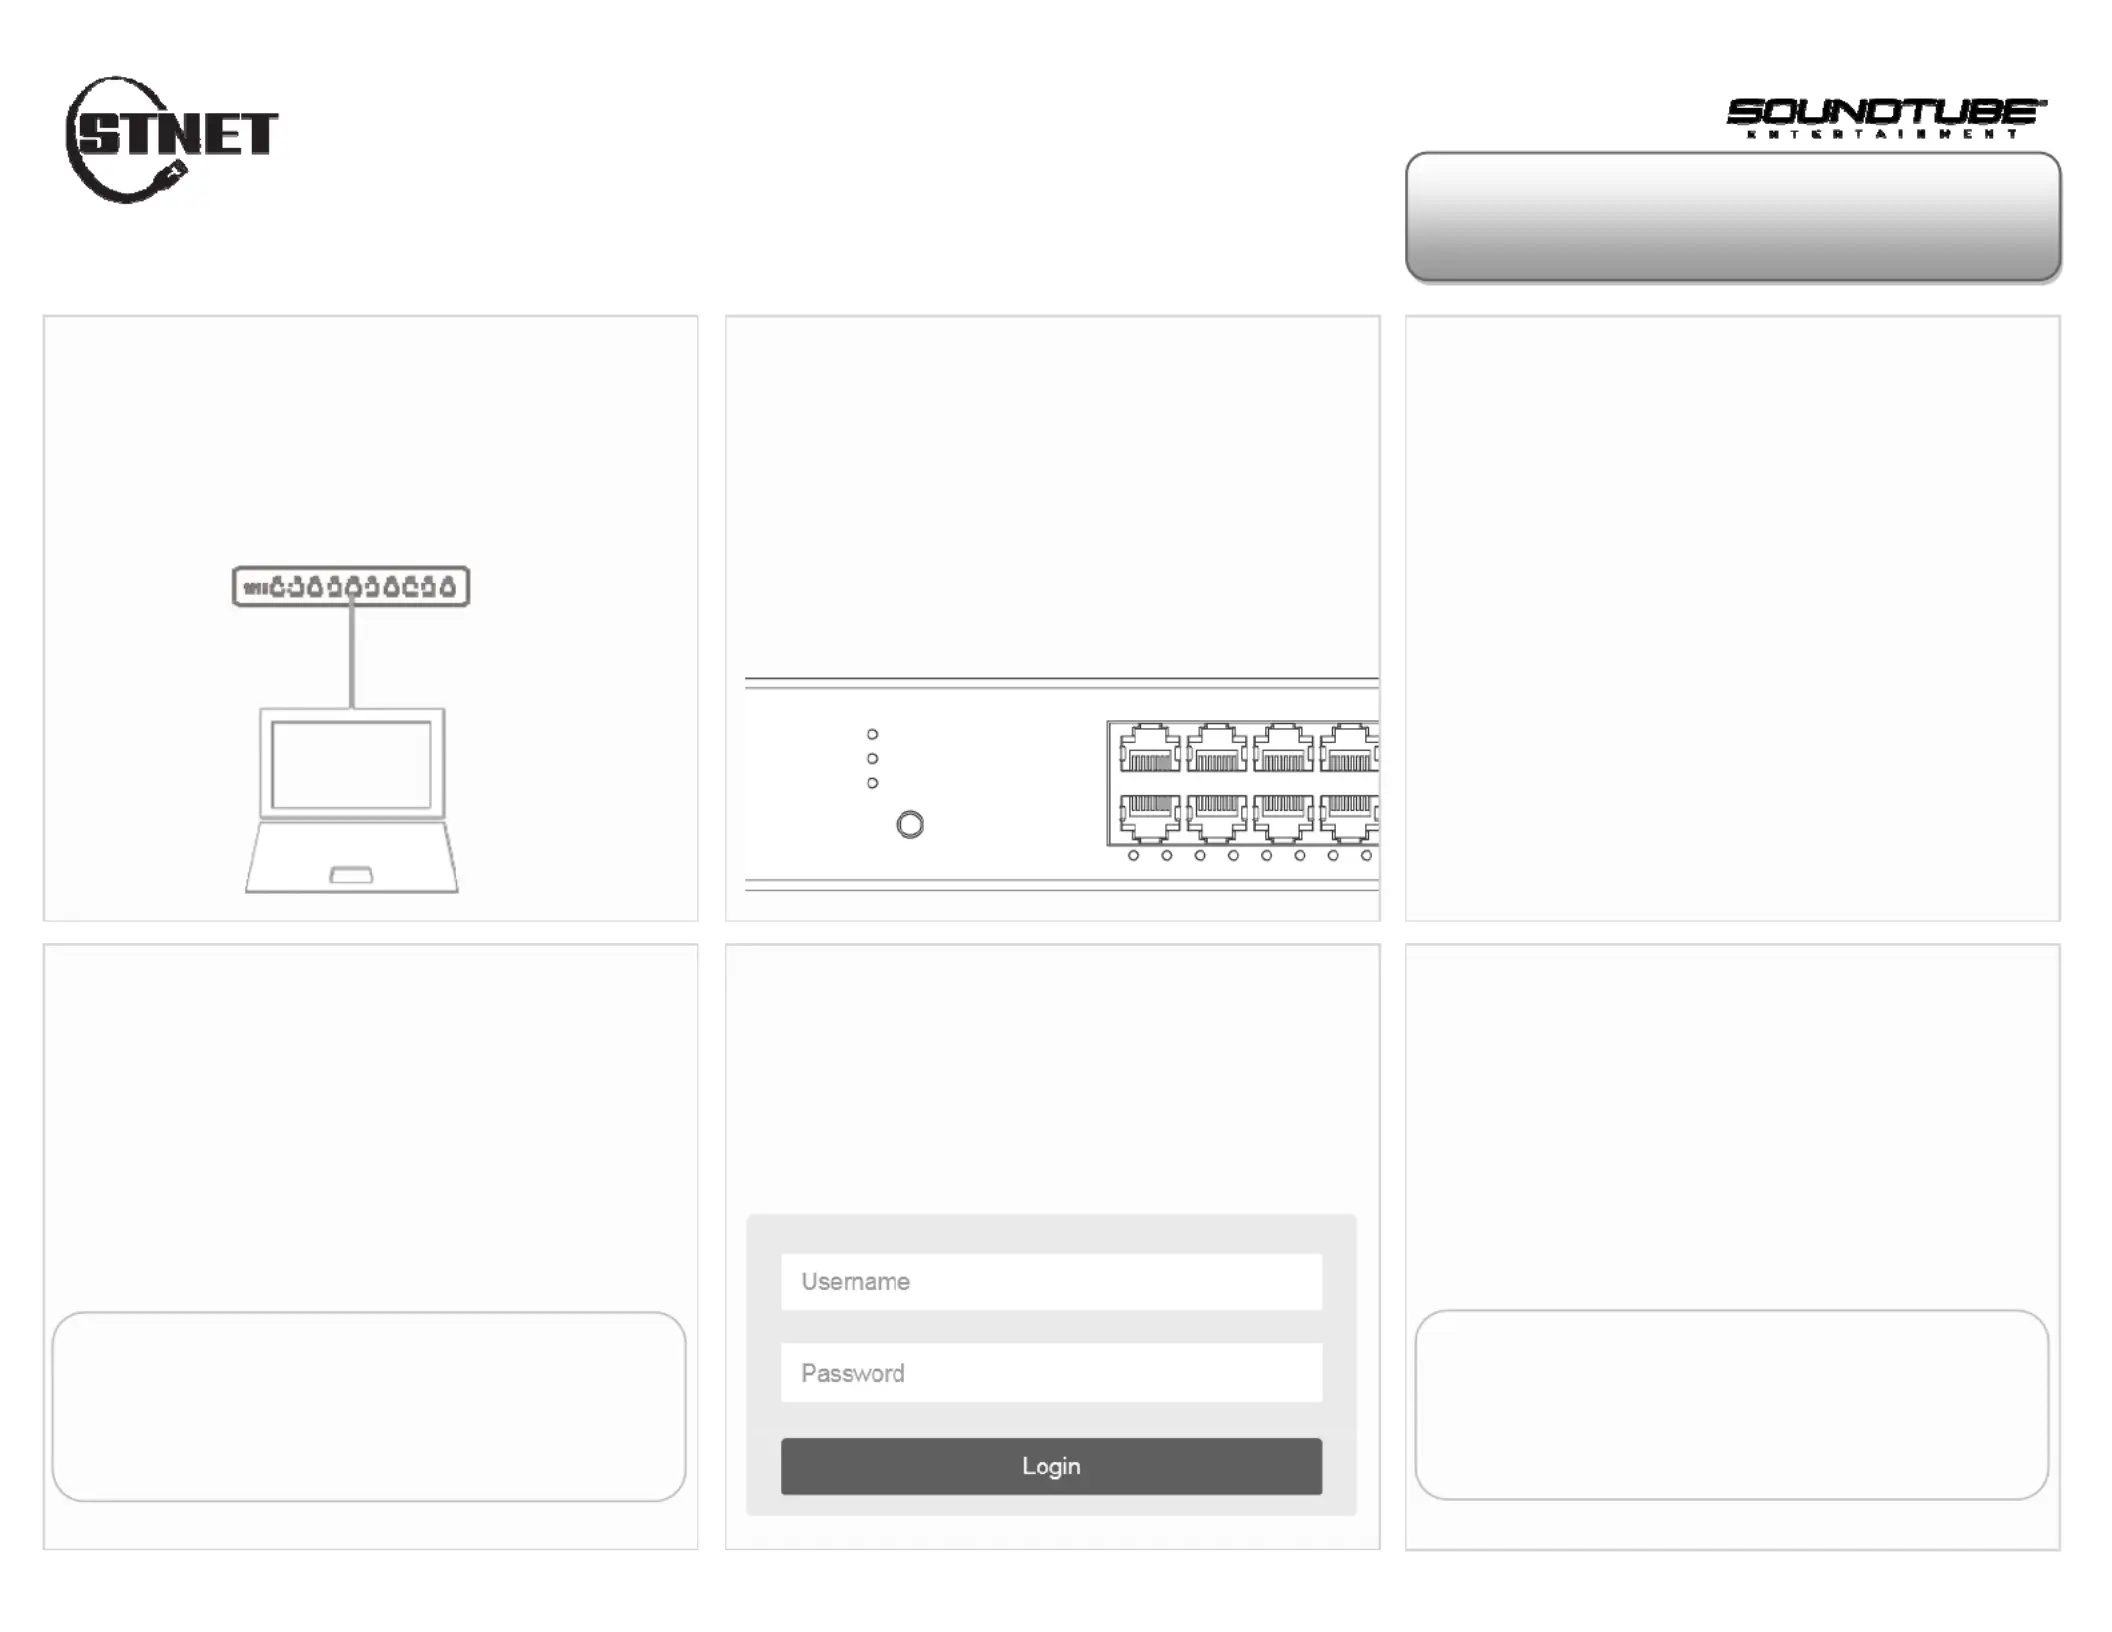
Quick Start Guide
Login from Web Browser
orseethereverseofthispagetologinwithInstallWizard
Connect Switch to PC
Power up the switch and connect it via Ethernet LAN
cable to the Ethernet RJ45 connector on PC.
Check the LED Status
Step 1: Power up the switch and connect it to the
PC using an Ethernet cable.
Step 2: If the port LED is blinking, the switch is
ready.
Set Up IP Address of PC
Step 1: Press WinKey+R and type ”ncpa.cpl”command.
Step 2: Right-click on your local adapter and select Properties
Step 3: In the Local Area Connection Properties window
highlight Internet Protocol Version 4 (TCP/IPv4) then
click the Properties button.
Step 4:Select the radio button Use the following IP
address and enter in the IP for the PC (in between
192.168.1.2 and 192.168.1.254), Subnet Mask (e.g.
255.255.255.0), and Default Gateway that corresponds
with your network setup. Then enter your Preferred and
Alternate DNS server addresses.
Step5: Click OK to change the PC’s IP address.
Login Page
If your PC is configured correctly, you will see the
login page of the switch below.
Enter the Factory Default IP
Run your Web browser on the PC, enter the factory
default IP address, so as to access the switch’s Web
interface.
Default IP 192.168.1.1
Subnet Mask 255.255.255.0
Login to the Switch
Enter the factory default username and
password in login page. Click “Login” to log
into the switch.
Default Username admin
No Factory Default Password
Produktspezifikationen
| Marke: | SoundTube |
| Kategorie: | Empfänger |
| Modell: | STNet Switch II |
Brauchst du Hilfe?
Wenn Sie Hilfe mit SoundTube STNet Switch II benötigen, stellen Sie unten eine Frage und andere Benutzer werden Ihnen antworten
Bedienungsanleitung Empfänger SoundTube

27 Juli 2025
27 Juli 2025
27 Juli 2025
27 Juli 2025
27 Juli 2025
26 Juli 2025
26 Juli 2025
26 Juli 2025
26 Juli 2025
26 Juli 2025
Bedienungsanleitung Empfänger
Neueste Bedienungsanleitung für -Kategorien-
3 April 2026
2 April 2026
1 April 2026
31 März 2026
30 März 2026
30 März 2026
30 März 2026
30 März 2026
30 März 2026
29 März 2026