Zempire Millbrook Bedienungsanleitung
Lies die bedienungsanleitung für Zempire Millbrook (4 Seiten) kostenlos online; sie gehört zur Kategorie Zelt. Dieses Handbuch wurde von 43 Personen als hilfreich bewertet und erhielt im Schnitt 4.9 Sterne aus 4 Bewertungen. Hast du eine Frage zu Zempire Millbrook oder möchtest du andere Nutzer dieses Produkts befragen? Stelle eine Frage
Seite 1/4
PITCHING & CARE INSTRUCTIONS
Millbrook
polycottonseries
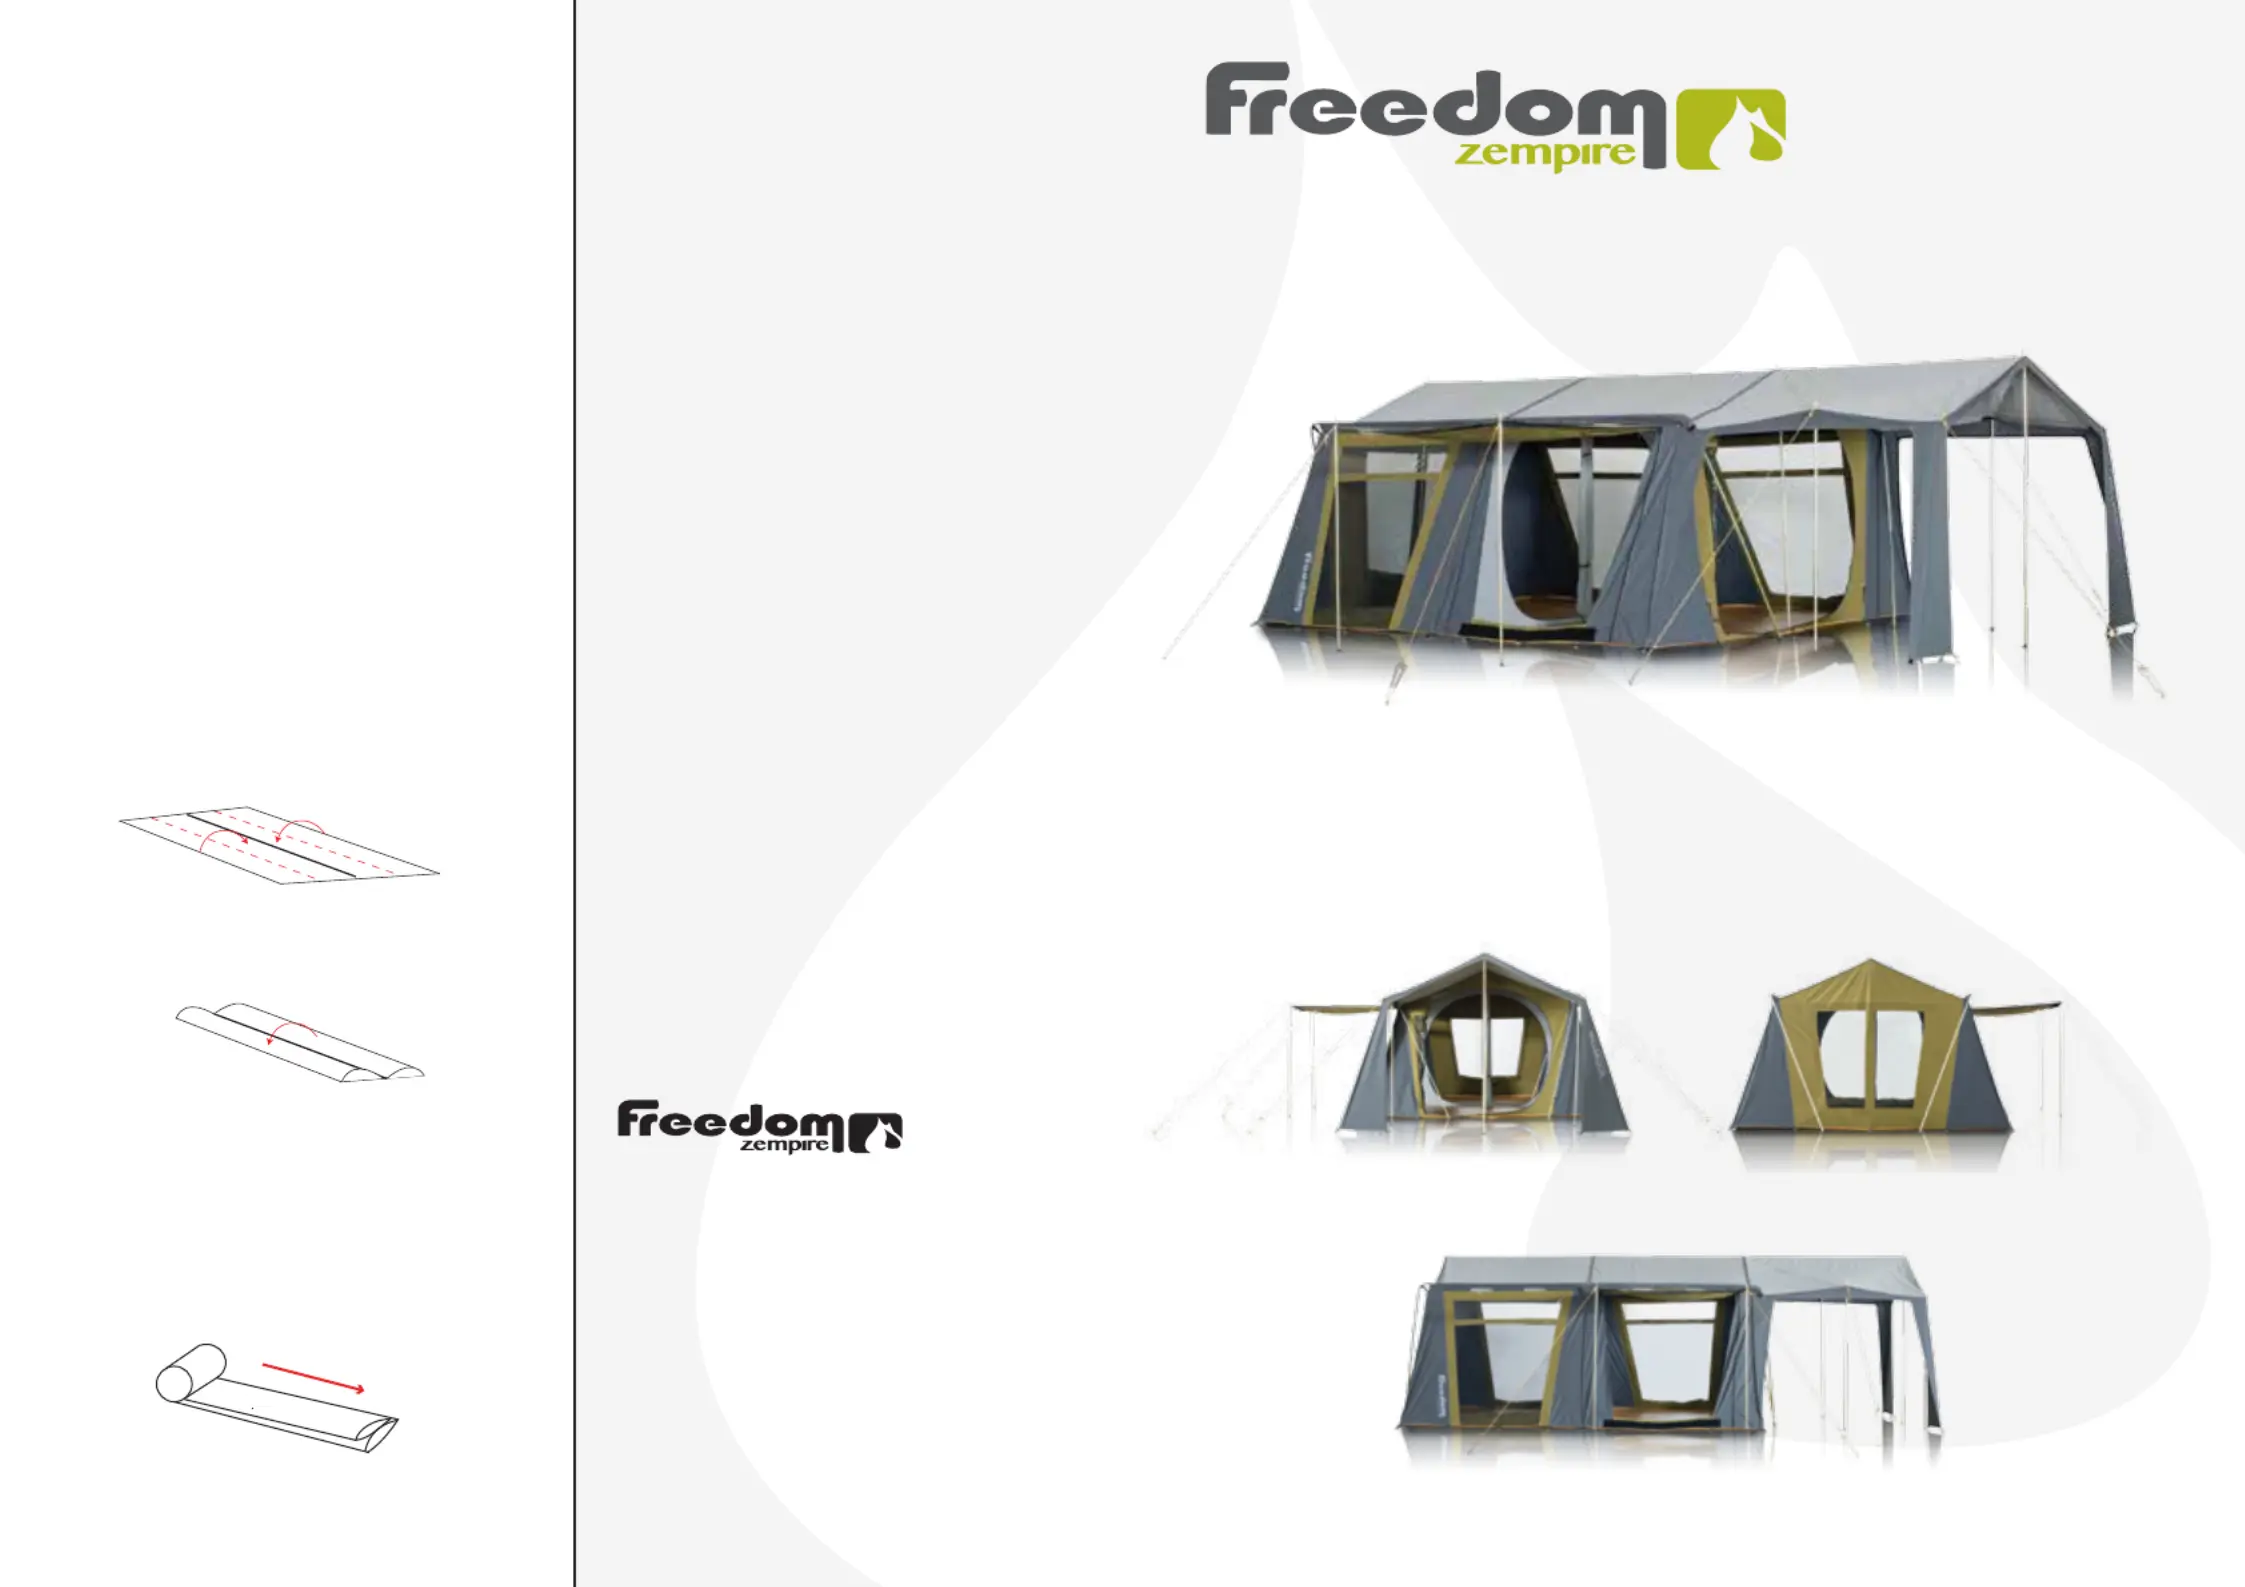
PACKING AWAY
YOUR TENT
1) Open up all windows and close
all doors.
2) Remove the awning poles RED
3) Remove the YELLOW Support
poles.
4) Remove the Ridge poles.BLACK
5) Remove the BLUE & GREEN
Eve poles.
6) Remove all pegs, clean and
place in peg bag.
7) Lay tent as flat as possible and
fold the awning over main body of
the tent.
8) Fold both sides into the centre
of the tent
9) Fold in half. Ensure the width is
the same as the length of your
carry bag. Adjust if necessary.
10) Expel as much air as possible
by walking down the tent towards
the door
11) Roll the tent from the rear
towards the door. Ensure that you
wipe off any condensation and dirt
as you roll.
DOOR
Freedom Zempire is proud to be a
100% owned and operated
business.
For more information about this
and other great products we offer
please visit our website.
WWW.FREEDOMCAMPING.COM
Produktspezifikationen
| Marke: | Zempire |
| Kategorie: | Zelt |
| Modell: | Millbrook |
Brauchst du Hilfe?
Wenn Sie Hilfe mit Zempire Millbrook benötigen, stellen Sie unten eine Frage und andere Benutzer werden Ihnen antworten
Bedienungsanleitung Zelt Zempire

22 Juli 2025
22 Juli 2025
22 Juli 2025
21 Juli 2025
22 August 2024
21 August 2024
21 August 2024
21 August 2024
21 August 2024
21 August 2024
Bedienungsanleitung Zelt
Neueste Bedienungsanleitung für -Kategorien-
2 April 2026
21 März 2026
21 März 2026
20 März 2026
20 März 2026
19 März 2026
18 März 2026
17 März 2026
8 März 2026
1 März 2026