JUNG 2177 SV R Bedienungsanleitung
JUNG Nicht kategorisiert 2177 SV R
Lies die bedienungsanleitung für JUNG 2177 SV R (4 Seiten) kostenlos online; sie gehört zur Kategorie Nicht kategorisiert. Dieses Handbuch wurde von 31 Personen als hilfreich bewertet und erhielt im Schnitt 4.1 Sterne aus 4 Bewertungen. Hast du eine Frage zu JUNG 2177 SV R oder möchtest du andere Nutzer dieses Produkts befragen? Stelle eine Frage
Seite 1/4
Valve drive (motor-operated) with controller
Valve drive (motor-operated) with controller
Art. No. : 2177SVR
Operating instructions
1 Safety instructions
Electrical devices may only be mounted and connected by electrically skilled
persons.
Serious injuries, fire or property damage possible. Please read and follow manual fully.
These instructions are an integral part of the product, and must remain with the end
customer.
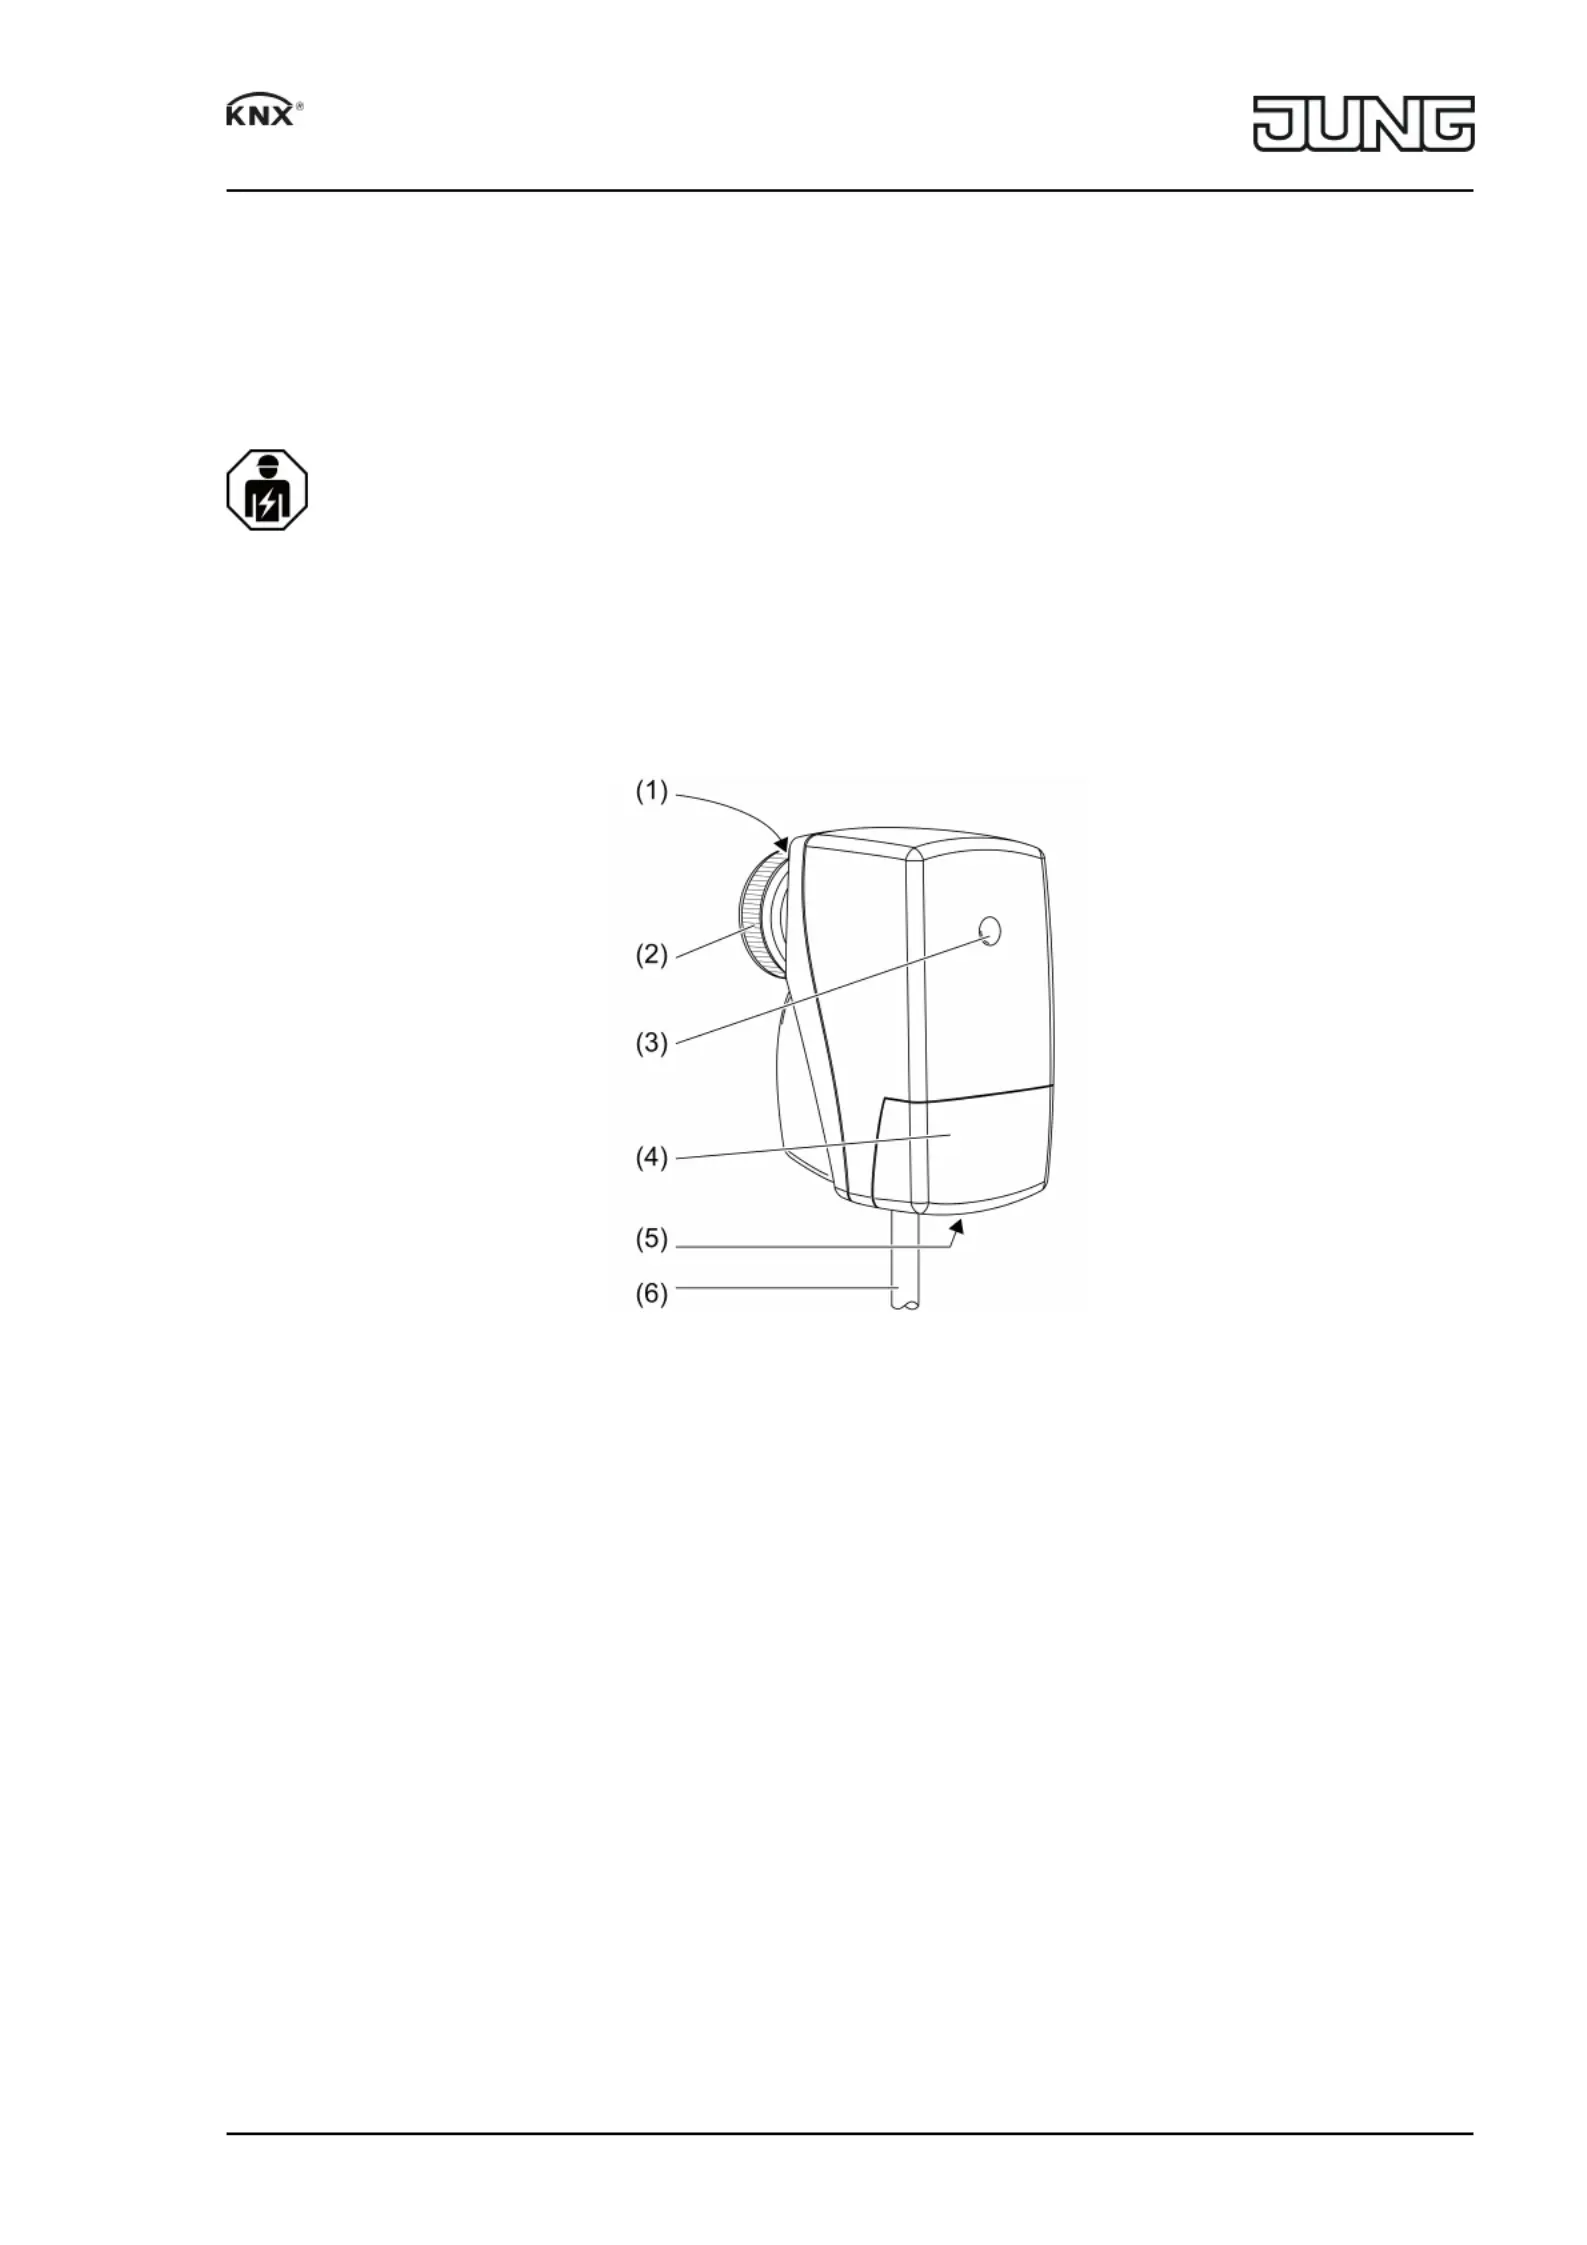
2 Device components
Figure 1
(1)Position display
(2)Knurled nut M30×1.5
(3)Status LED
(4)Cover
(5)Screw
(6)Connecting cable
3 Function
System information
This device is a product of the KNX system and complies with the KNX directives. Detailed
technical knowledge obtained in KNX training courses is a prerequisite to proper understanding.
The function of this device depends upon the software. Detailed information on loadable
software and attainable functionality as well as the software itself can be obtained from the
manufacturer´s product database.
Planning, installation and commissioning of the device are carried out with the aid of KNX-
certified software. Full functionality with KNX commissioning software version ETS4 and higher.
An updated version of the product database, technical descriptions and conversion programs
and other auxiliary programs are available on our Internet website.
1/4
82594813
05.07.2017
Produktspezifikationen
| Marke: | JUNG |
| Kategorie: | Nicht kategorisiert |
| Modell: | 2177 SV R |
Brauchst du Hilfe?
Wenn Sie Hilfe mit JUNG 2177 SV R benötigen, stellen Sie unten eine Frage und andere Benutzer werden Ihnen antworten
Bedienungsanleitung Nicht kategorisiert JUNG

11 August 2025
10 August 2025
1 August 2025
1 August 2025
1 August 2025
1 August 2025
1 August 2025
1 August 2025
26 Juli 2025
25 Juli 2025
Bedienungsanleitung Nicht kategorisiert
Neueste Bedienungsanleitung für -Kategorien-
14 Februar 2026
14 Februar 2026
14 Februar 2026
14 Februar 2026
14 Februar 2026
14 Februar 2026
14 Februar 2026
14 Februar 2026
14 Februar 2026
14 Februar 2026