V-TAC VT-44051 Bedienungsanleitung
V-TAC Beleuchtung VT-44051
Lies die bedienungsanleitung für V-TAC VT-44051 (6 Seiten) kostenlos online; sie gehört zur Kategorie Beleuchtung. Dieses Handbuch wurde von 10 Personen als hilfreich bewertet und erhielt im Schnitt 4.5 Sterne aus 5.5 Bewertungen. Hast du eine Frage zu V-TAC VT-44051 oder möchtest du andere Nutzer dieses Produkts befragen? Stelle eine Frage
Seite 1/6
N.W.
(KGS)
DIMENSION
OPERATION
TEMPERATURE
MAX
MOUNTING
HEIGHT
PROJECTED
AREA(MM²)
<5M0.4125168.5
31011.5
61473.75
0.56
1.1
<5M
<5M
96907.5
140673.75
WIRE
LENGTH
0.5 M
0.5 M
1 M
1 M
1 M
1.78
2.8
402.5x44x349.5mm
164.5x34x153mm
183.5x34x169mm
253.5x40x242.5mm
328.5x43x295mm
<5M
<5M
VT-44160
VT-44206
VT-44031
23692
23693
30W4800
Sphere
360°
Sphere
360°
Sphere
360°
Sphere
360°
Sphere
360°
8000
16000
24000
32000
50W
100W
23694
23699
23700
23701
23702
23703
23696
23704
VT-44051
VT-44106
150W
200W
SPHERE
360°
SUPER BRIGHT
LM/WATT EFFICIENCY
160
+
INPUT
VOLTAGE
CRIDF
LIFE
SPAN
BEAM
ANGLE
LUMENSWATTSMODELSKU
INTRODUCTION & WARRANTY
TECHNICAL DATA
Thank you for selecting and buying V-TAC product. V-TAC will serve you the best. Please read these instructions carefully
before starting the installing and keep this manual handy for future reference. If you have any another query, please
contact our dealer or local vendor from whom you have purchased the product. They are trained and ready to serve you
at the best. The warranty is valid for 5 years from the date of purchase. The warranty does not apply to damage caused by
incorrect installation or abnormal wear and tear. The company gives no warranty against damage to any surface due to
incorrect removal and installation of the product. The products are suitable for 10-12 Hours Daily operation. Usage of prod-
uct for 24 Hours a day would void the warranty. This product is warranted for manufacturing defects only.
*This product contains a light source of energy eciency class<C>,where <C> shall be replaced by the
energy class of the contained light source.
INSTRUCTION MANUAL
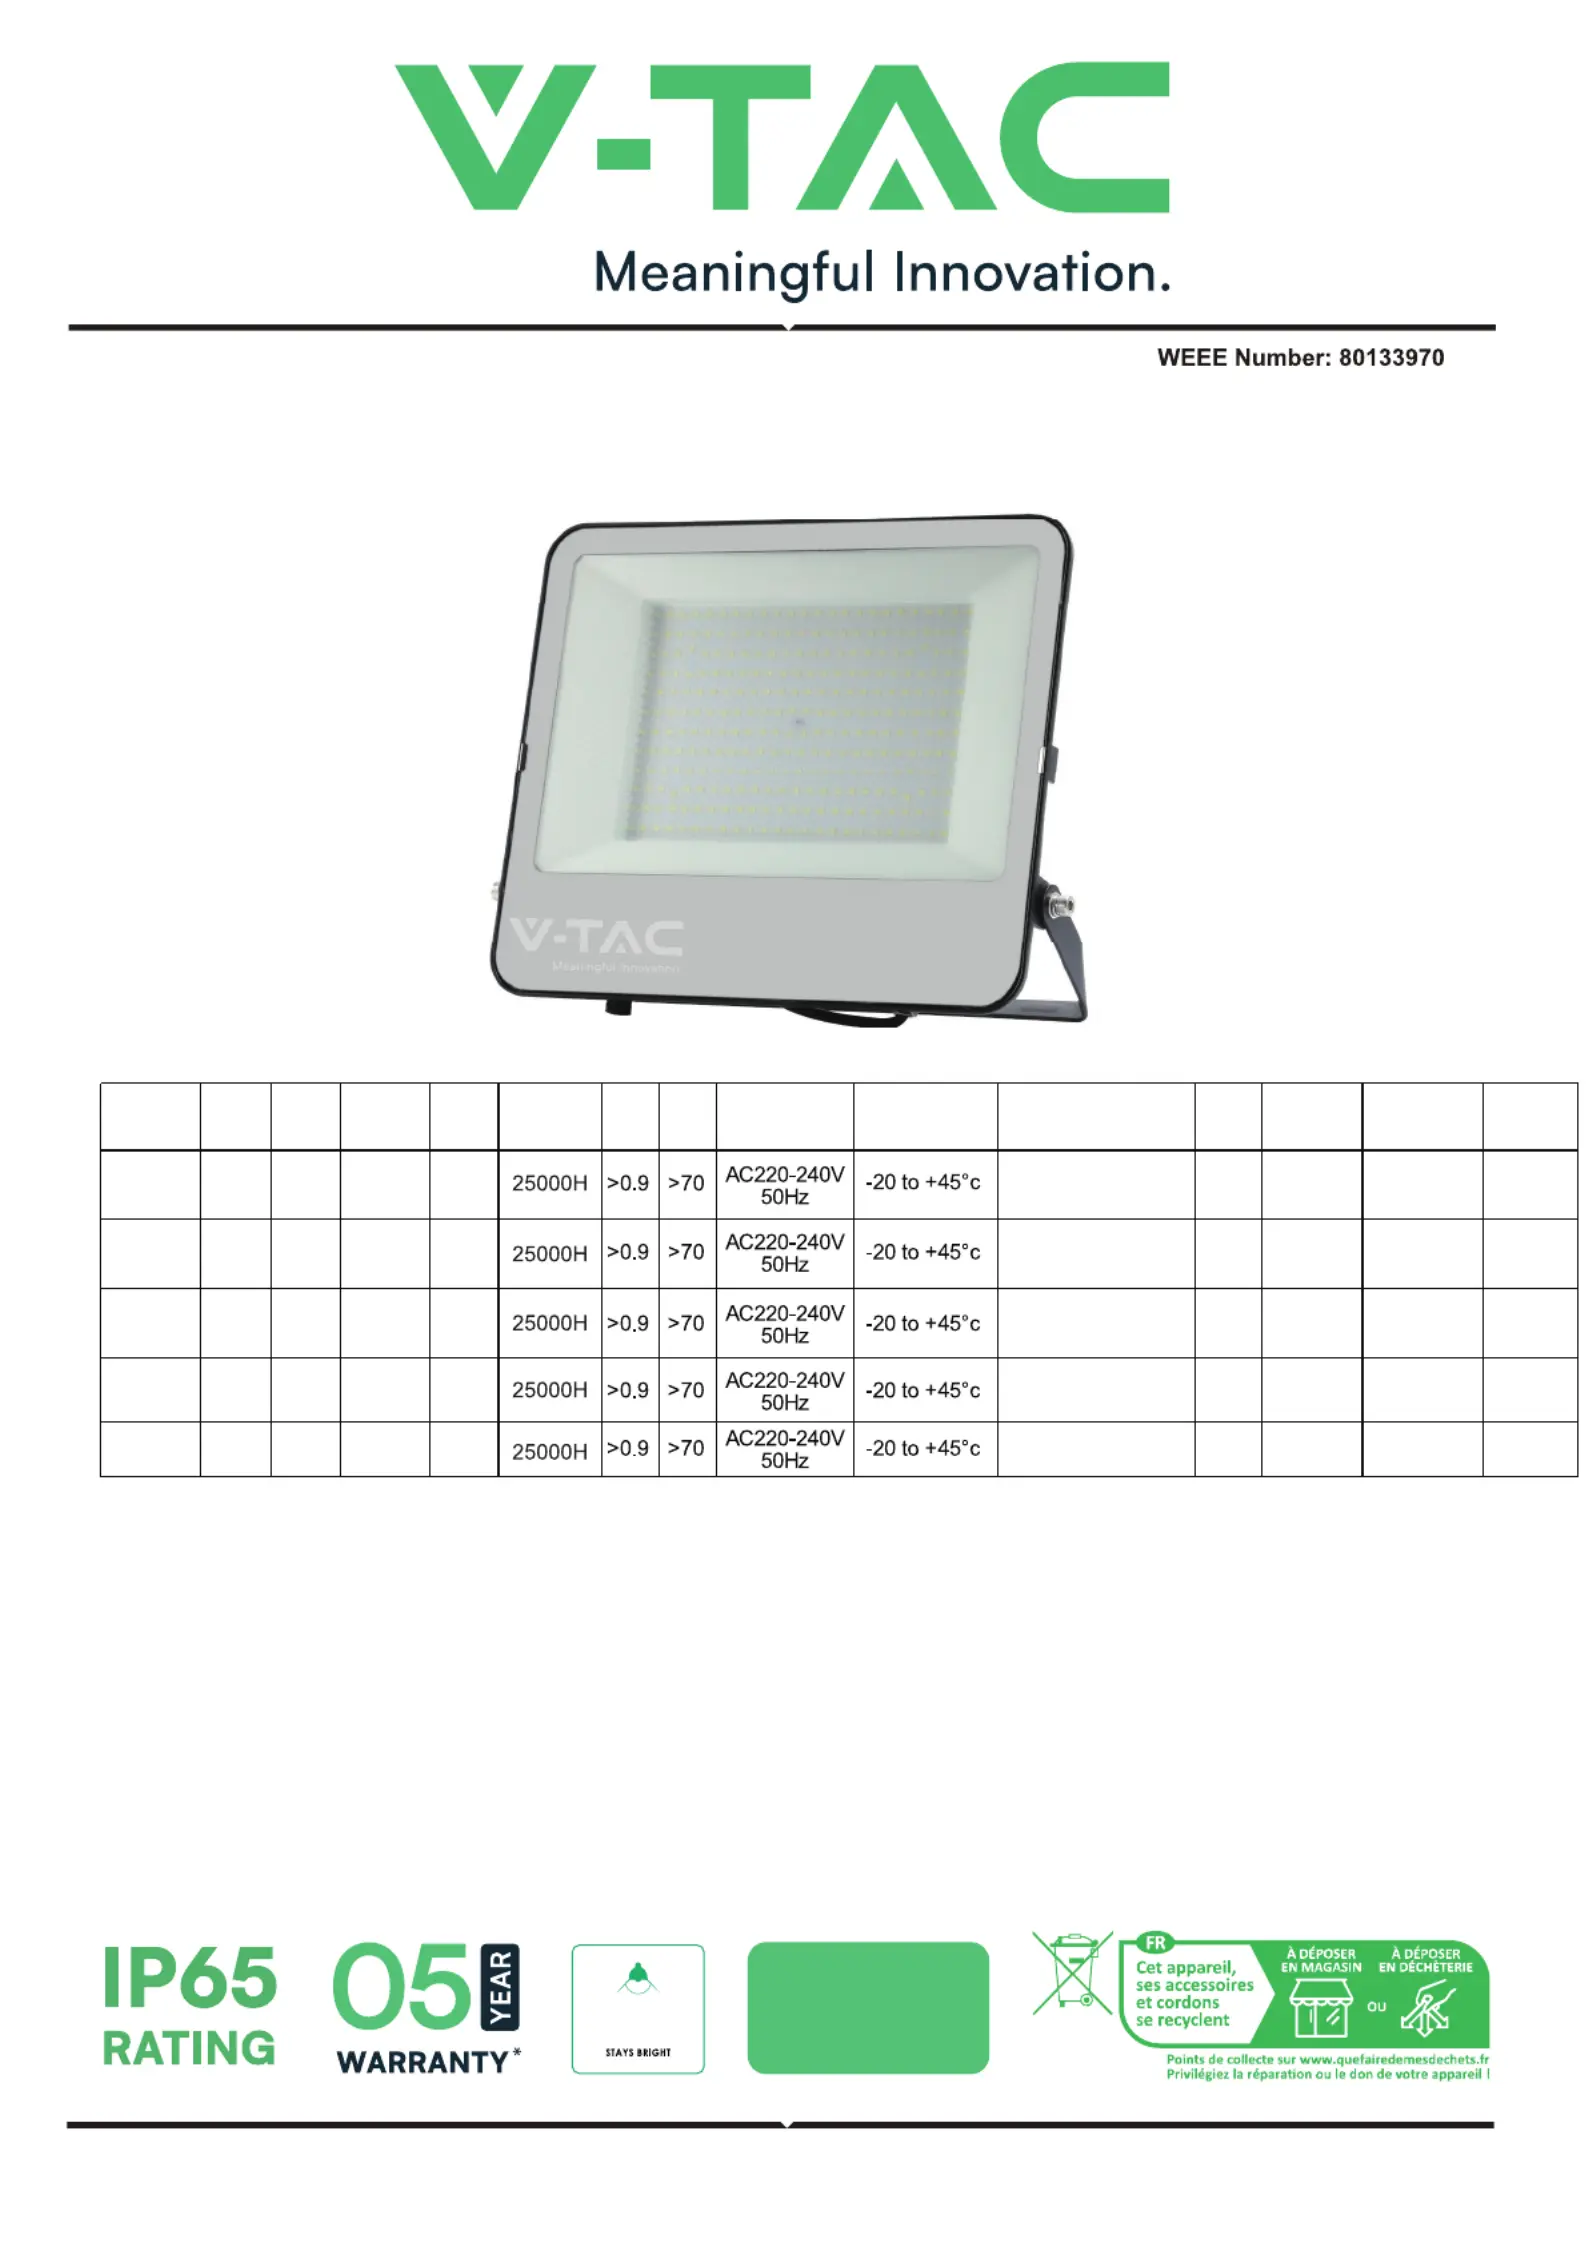
LED FLOOD LIGHT
Produktspezifikationen
| Marke: | V-TAC |
| Kategorie: | Beleuchtung |
| Modell: | VT-44051 |
Brauchst du Hilfe?
Wenn Sie Hilfe mit V-TAC VT-44051 benötigen, stellen Sie unten eine Frage und andere Benutzer werden Ihnen antworten
Bedienungsanleitung Beleuchtung V-TAC

23 Dezember 2025
7 Oktober 2025
7 Oktober 2025
7 Oktober 2025
13 September 2025
13 September 2025
14 August 2025
14 August 2025
13 August 2025
13 August 2025
Bedienungsanleitung Beleuchtung
Neueste Bedienungsanleitung für -Kategorien-
21 Januar 2026
21 Januar 2026
21 Januar 2026
21 Januar 2026
21 Januar 2026
21 Januar 2026
Philips Ultinon Drive 2001L LUMUD2001LX2 Bedienungsanleitung
21 Januar 2026 21 Januar 2026
21 Januar 2026
21 Januar 2026