ZZ-2 ZW-GM Bedienungsanleitung
ZZ-2 Nicht kategorisiert ZW-GM
Lies die bedienungsanleitung für ZZ-2 ZW-GM (4 Seiten) kostenlos online; sie gehört zur Kategorie Nicht kategorisiert. Dieses Handbuch wurde von 39 Personen als hilfreich bewertet und erhielt im Schnitt 4.6 Sterne aus 2 Bewertungen. Hast du eine Frage zu ZZ-2 ZW-GM oder möchtest du andere Nutzer dieses Produkts befragen? Stelle eine Frage
Seite 1/4
P
P
P
PPlug
lug
lug
lug lug & Play
& Play
& Play
& Play& Play, BC
, BC
, BC
, BC, BCM-Con
M-Con
M-Con
M-ConM-Control
trol
trol
troltrolled,
led,
led,
led, led, OE L
OE L
OE L
OE LOE Light F
ight F
ight F
ight Fight Flash
lash
lash
lash lash Mo
Mo
Mo
MoModule
dule
dule
duledule
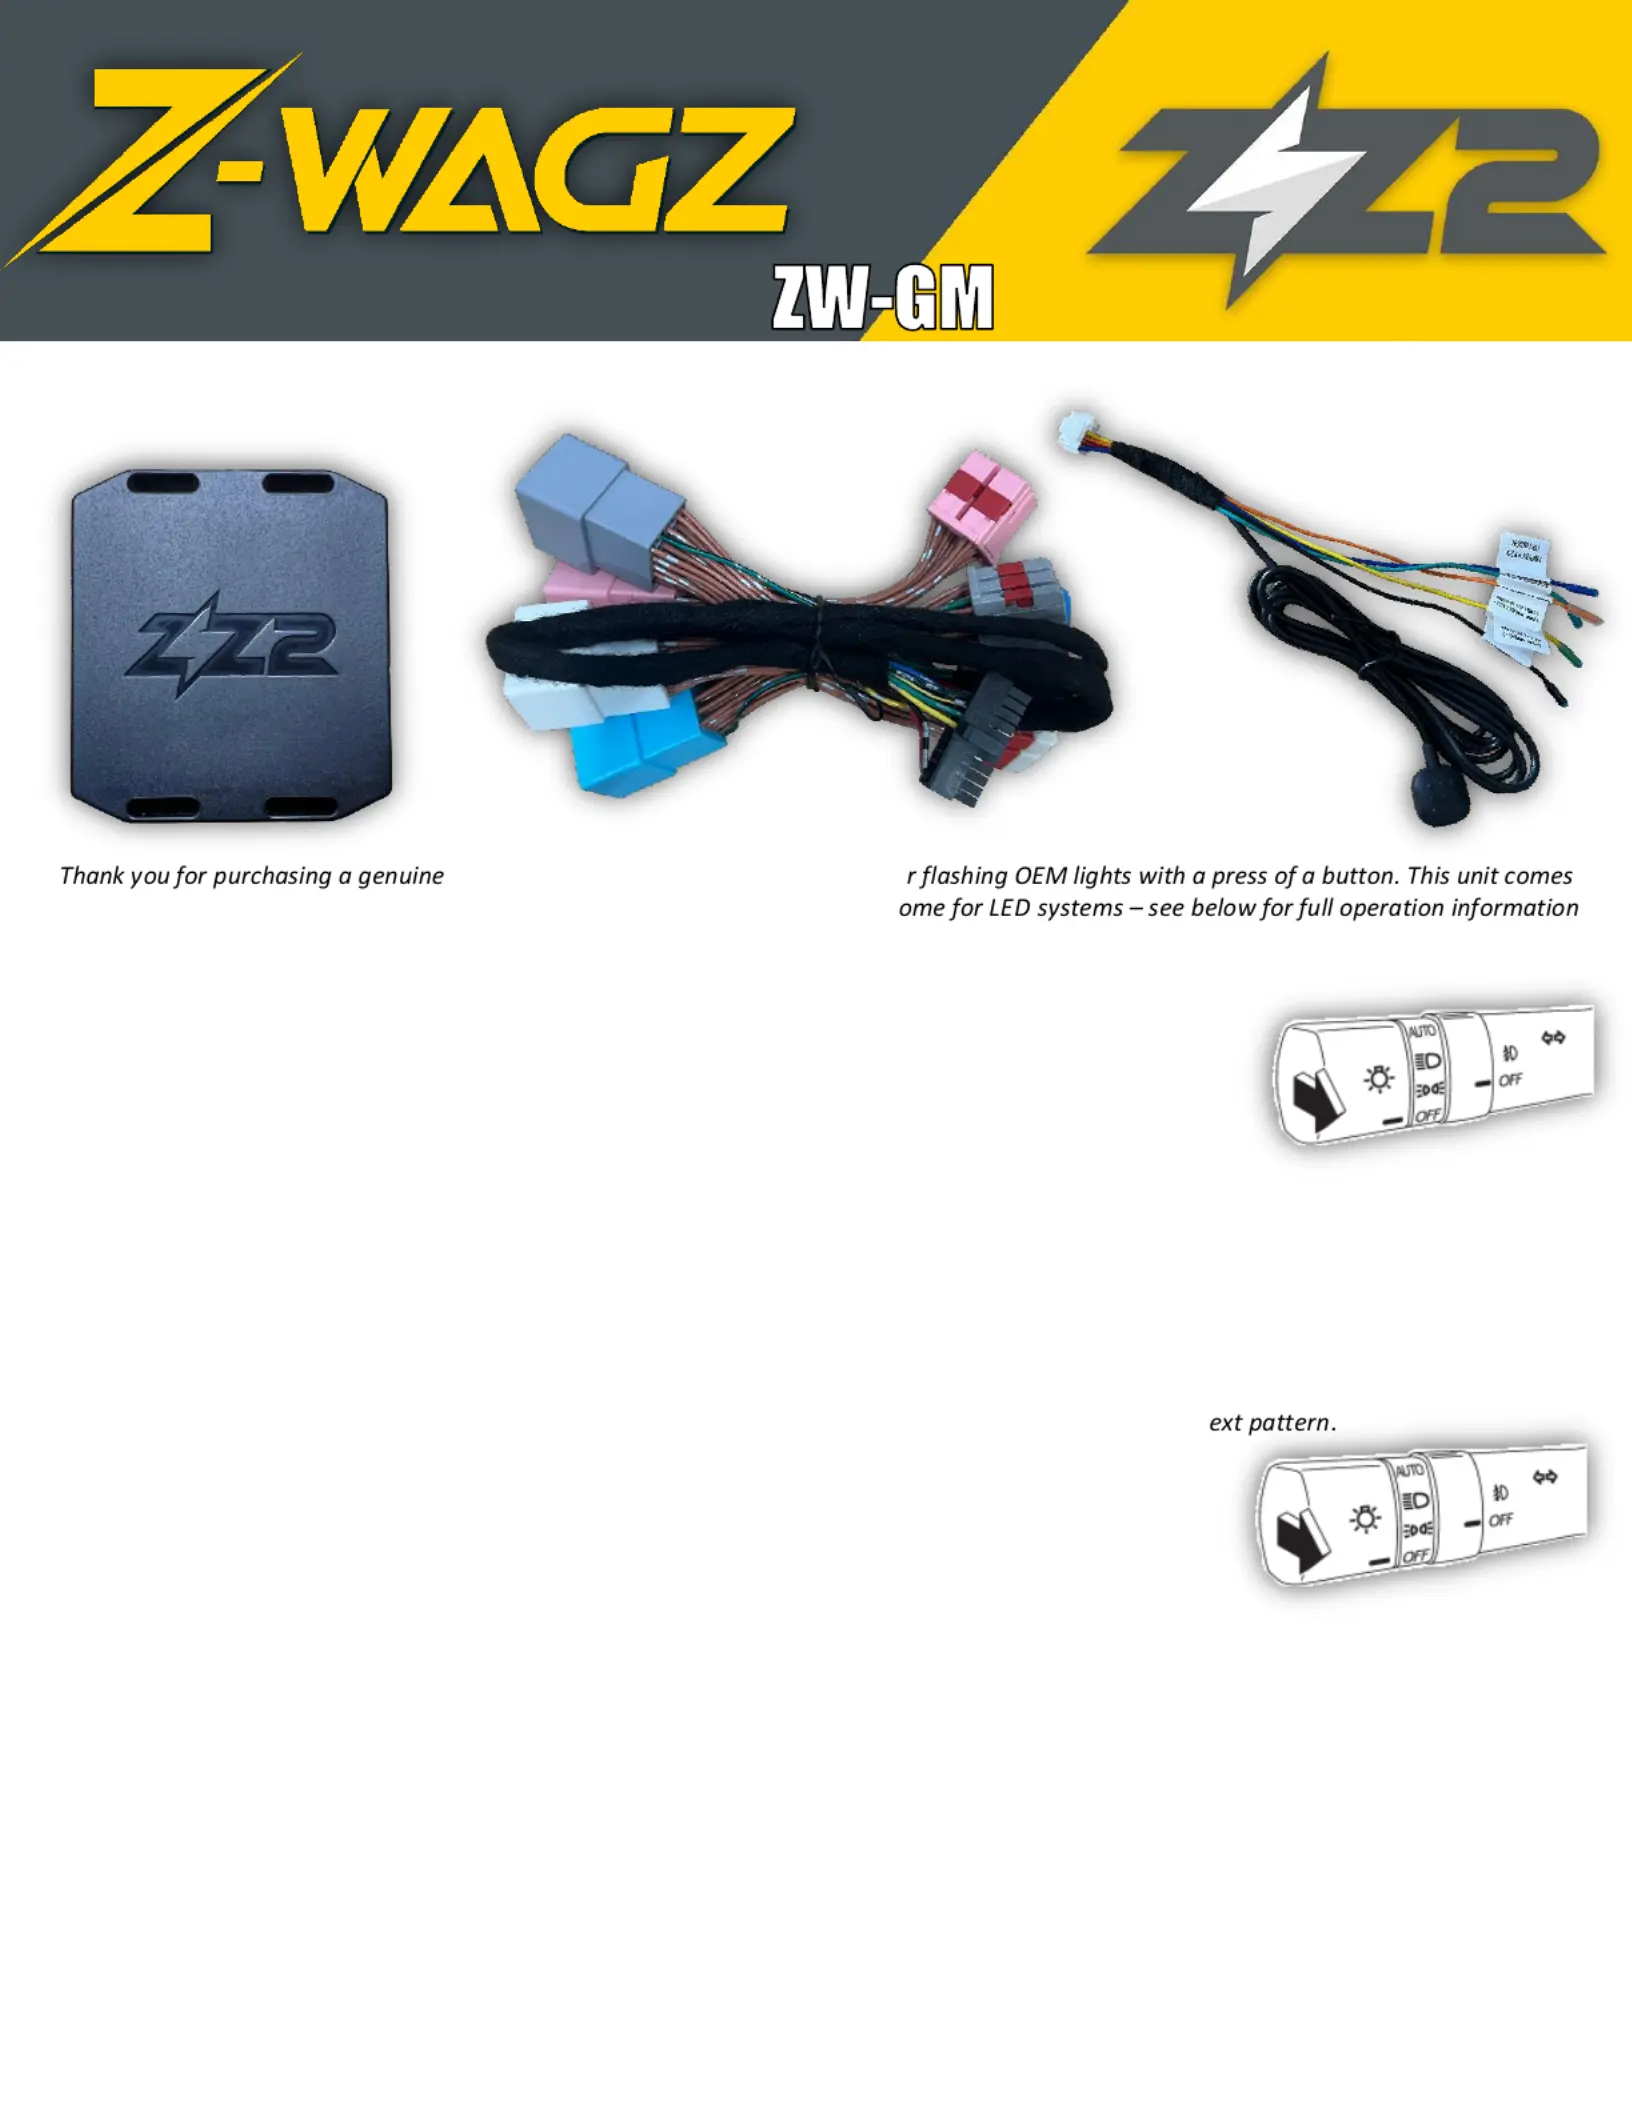
Z-WAGZ unit, the simplest BCM-module fo
pre-programmed with 8 different light patterns, some for halogen systems & s
including -board LED status. on
Operation for all GM vehicles is the same:
1.Install the Z-WAGZ unit to the OE BCM unit. Follow instructions on page 2 for all vehicles.
2.Turn Ignition ON (Ignition must be on for proper operation). Leave vehicle in Park.
3.To activate Z-WAGZ:
oPress and HOLD the lever (5 sec) high beamOR
oPress and HOLD the provided push button (3 sec) OR
oSend a latched 12v (+) signal to the (designed to be extended for OE -fitter switches) blue wireup
Pattern 1 will begin to flash. Once pattern 1 begins, the hazards in the gauge cluster will blink 1 time, indicating Pattern 1
has been selected and the LED on the unit will blink . BLUESee chart for remaining pattern color indication.
4.To switch to Pattern 2: (Pattern 1 must be currently active)
oEngage either turn signal, then press and HOLD the lever once more (5 sec)high beam. OR
oPress & release the provided push button
The hazards will blink twice indicating Pattern 2 has been selected. Repeat this process to switch to the n
5.To deactivate Z-WAGZ:
oPress and HOLD the lever high beamOR
oPress and HOLD the provided push button OR
oRelease (+) signal to the (if connected this way) 12vblue wire
NOTES:
•Vehicles equipped with LED lights should use LED patterns. Vehicles equipped with standard bulbs should use bulb patterns.
•Not all lights on the vehicle are necessarily used, some lights are not controllable via BCM CAN data.
•Z-WAGZ will retain the last used pattern, even after being disconnected from the BCM (if ever) .
•When flashing is active: turn signals, headlights & reverse lightswill override pattern flashing, until turned off again .
•When on some patterns, in some vehicles, the reverse camera image may show up/flash on the OE screen (if equipped). This
is a factory limitation and is normal. If you want to avoid this, keep DIP (3) OFF .
•‘Plow Mode’, when active (INPUT 2), disables High & Low beam flashing and slows the pattern down so that the relay box
(plow module) can keep up with the flashing (prevents overheating).
I/O Button Harness
(optional use)
ZW-GM
T-Harness
Produktspezifikationen
| Marke: | ZZ-2 |
| Kategorie: | Nicht kategorisiert |
| Modell: | ZW-GM |
Brauchst du Hilfe?
Wenn Sie Hilfe mit ZZ-2 ZW-GM benötigen, stellen Sie unten eine Frage und andere Benutzer werden Ihnen antworten
Bedienungsanleitung Nicht kategorisiert ZZ-2

28 August 2025
26 Juli 2025
25 Juli 2025
25 Juli 2025
Bedienungsanleitung Nicht kategorisiert
Neueste Bedienungsanleitung für -Kategorien-
3 April 2026
3 April 2026
3 April 2026
3 April 2026
3 April 2026
3 April 2026
3 April 2026
3 April 2026
3 April 2026
3 April 2026