Tripp Lite Protect It! SUPER6TEL Bedienungsanleitung
Tripp Lite
Nicht kategorisiert
Protect It! SUPER6TEL
Lies die bedienungsanleitung für Tripp Lite Protect It! SUPER6TEL (4 Seiten) kostenlos online; sie gehört zur Kategorie Nicht kategorisiert. Dieses Handbuch wurde von 5 Personen als hilfreich bewertet und erhielt im Schnitt 4.8 Sterne aus 3 Bewertungen. Hast du eine Frage zu Tripp Lite Protect It! SUPER6TEL oder möchtest du andere Nutzer dieses Produkts befragen? Stelle eine Frage
Seite 1/4
1
PRODUCT
REGISTRATION
Register your product today for a
chance to win an ISOBAR
®
surge
protector in our monthly drawing!
Tripplite.Eaton.com/warranty
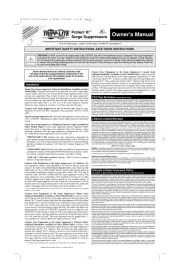
Important Safety Instructions 2
Installation 2
Warranty and Product Registration 3
Ultimate Lifetime Insurance Policy 4
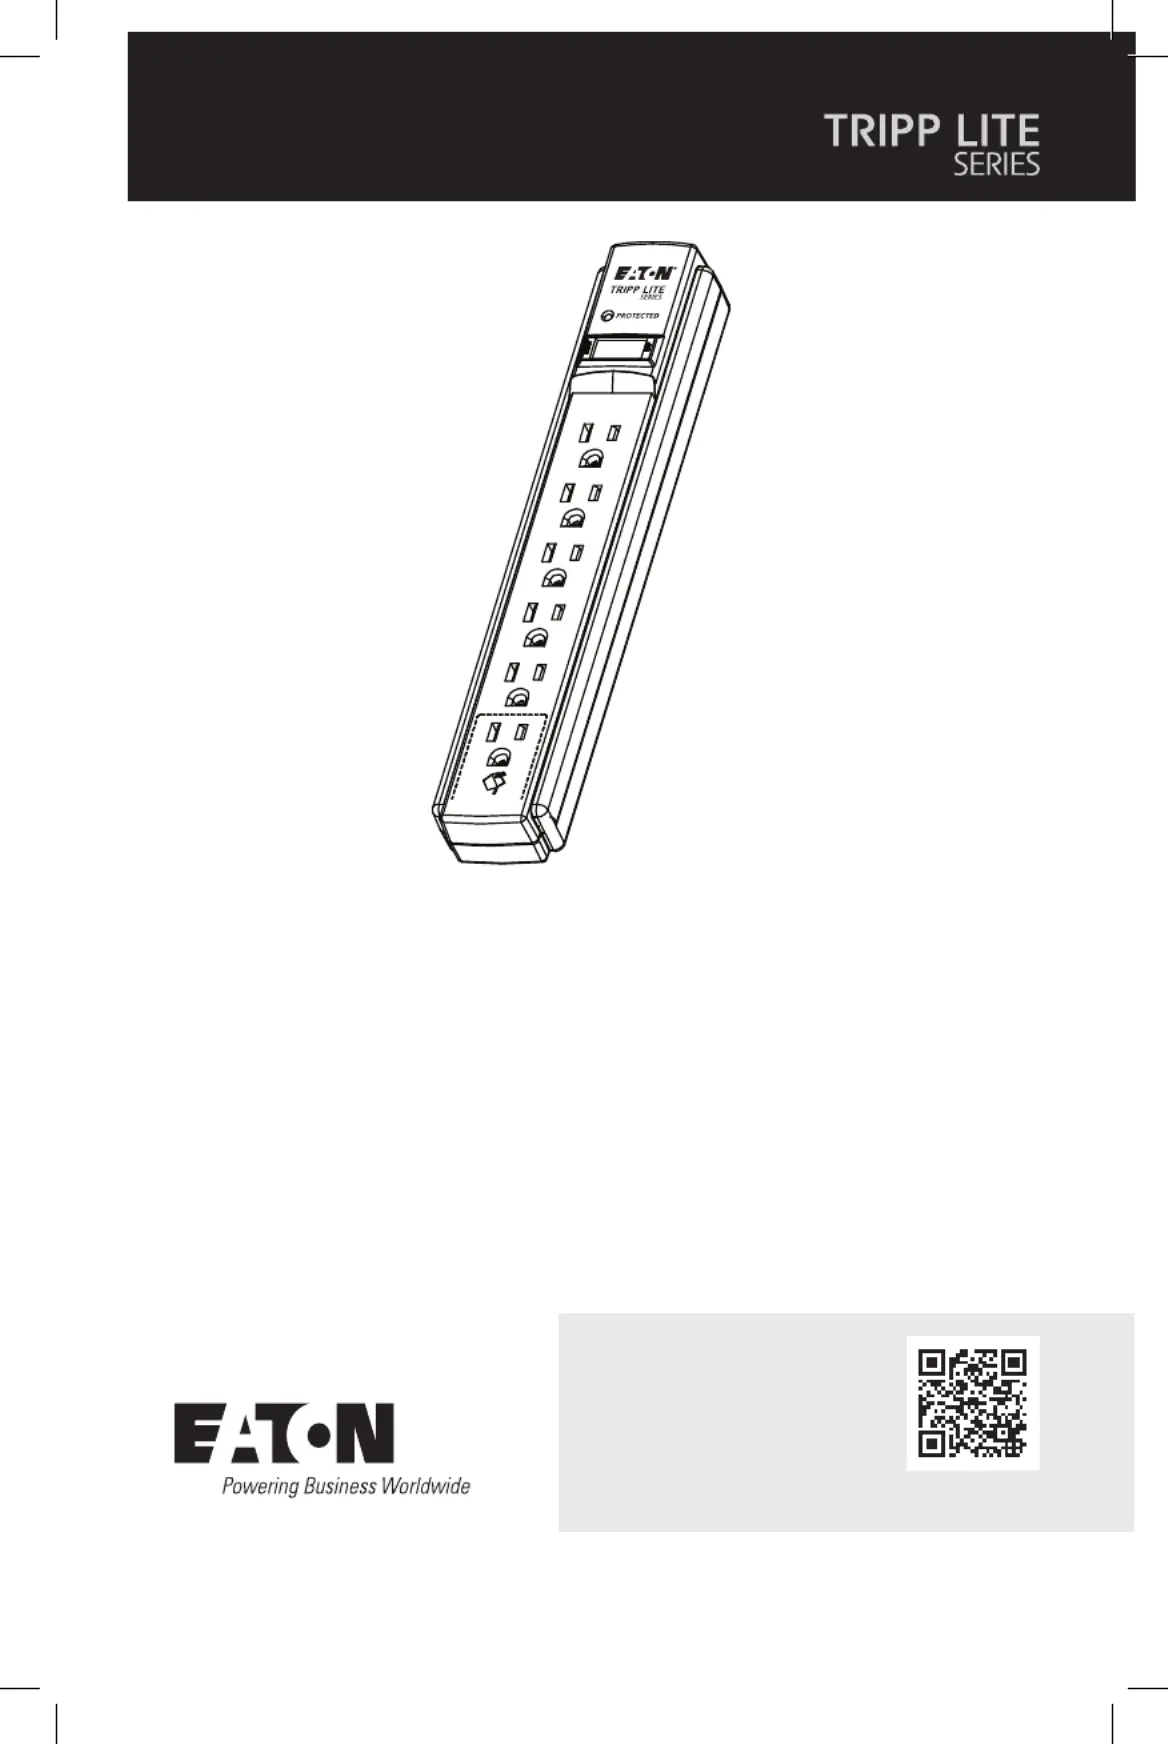
Protect It!
®
Surge Protectors
Este manual esta disponible en español en la página de Eaton:
Tripplite.Eaton.com/support
Ce manuel est disponible en français sur le site Web de Eaton :
Tripplite.Eaton.com/support
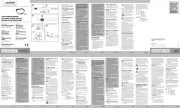
Purchased product
may differ from image.

2
SAVE THESE INSTRUCTIONS
CAUTION! DO NOT connect to an ungrounded outlet. DO NOT use with 2-wire
extension cords or adapters. This surge protector is designed for indoor use only.
Install the surge protector away from heat-emitting appliances such as radiators
or heat registers. Do not install where excessive moisture is present. Do not plug
extension cords into it. Never install electrical, telephone, network or coaxial
wiring during a lightning storm. Do not drill into any part of the housing or open
the housing for any reason. There are no user-serviceable parts inside.
Important Safety Instructions
Installation
• Use of this equipment in life support applications where failure of this equipment can
reasonably be expected to cause the failure of the life support equipment or to significantly
affect its safety or effectiveness is not recommended.
Mount Your Surge Protector (Optional Installation. Available on Select Models Only):
If desired, mount your surge protector on a wall or other sturdy, vertical surface. However, you
must mount the surge protector prior to connecting your equipment. Place a sheet of paper
over the surge protector’s mounting holes and mark their centers with a push pin. Next, place
this template over the desired area and mark with the push pins. Install screws (user supplied)
into the marks until ¼ in. (0.6 cm) of the screw heads are exposed. Mount the surge protector
over the screw heads and slide into place.
Connect Your Surge Protector to the AC Power Line: Plug the surge protector’s power
cord into a standard 3-wire grounded 120V AC outlet.
Turn Your Surge Protector ON: Press the surge protector’s power switch to “ON” or “RESET”
(depending on model). Select models feature an illuminated switch.
Check Your Surge Protector’s Diagnostic Indicator Lights (Available on Select Models
Only): If your surge protector features diagnostic LEDs, check them prior to connecting your
equipment. They will indicate various operating conditions when the surge protector is
plugged into a live 120V AC outlet and the surge protector’s power switch is on.
“PROTECTED” LED: Indicates the surge suppression components are intact and providing
complete protection against surges. If this LED does not illuminate, some of the surge
suppression components are not functioning, and the unit should be replaced.
Visit Tripplite.Eaton.com/support.
“GROUNDED” LED: Indicates wall outlet is grounded and surge protection can properly
function. If this light DOES NOT illuminate and power is present, consult a qualified
electrician to examine your outlet’s wiring.
“LINE OK” LED (select models): Indicates 120V AC power is present with no wiring faults
detected.
Connect Your Equipment to the Surge Protector’s AC Outlets: Plug your equipment’s
power cords (including 2-wire devices) into the surge protector’s AC outlets. Select models
feature integrated safety covers which cover the outlets when not in use. Other models
feature special widely-spaced outlets to accommodate transformers without covering other
outlets. DO NOT plug in extension cords. DO NOT OVERLOAD the surge protector’s outlets.
The surge protector can accommodate a total equipment load of up to 15 amps (whether
plugged into a single outlet or spread out over multiple outlets). If the load on the surge
protector exceeds 15 amps, the circuit breaker* will trip and the outlets will stop providing
power. If the circuit breaker trips, reduce the load by unplugging some devices. Depress the
circuit breaker to reset.
* Circuit breakers are integrated into the power switch on select models and offered as a separate feature
on other models.

3
Installation
USB Charging Ports: USB charging ports are capable of delivering ample power to even the
most demanding devices, including smartphones, tablets, MP3 players, etc. Total USB charging
output varies by model.
Connect Your Equipment to the Surge Protector’s Phone Jacks (Optional Installation.
Available on Select Models Only): Connect a phone cable from the wall jack directly to the
surge protector’s RJ-style phone jack labeled “IN.” Connect a phone cable from the surge
protector’s RJ-style phone jack labeled “OUT” directly to the device to be protected. Select
models feature two “OUT” jacks; either one or both of the jacks may be used, but protection is
for a device or devices sharing a single line only. All models with phone line surge protection,
except the TLP810NET, protect devices on a single line only. TLP810NET models feature a
single set of RJ-style phone jacks which protect devices on two lines. The surge protector must
always be the first item connected in line from the wall jack. The surge protector must be
plugged into a 3-wire grounded AC outlet for phone line surge protection to work.
Connect Your Equipment to the Surge Protector’s Network Jacks* (Optional
Installation. Available on Select Models Only): Connect a data cord from the wall jack or
cable/DSL modem directly to the surge protector’s network jack labeled “IN.” Connect a data
cord from the surge protector’s network jack labeled “OUT” directly to the device to be
protected (typically a computer’s network interface card).
The surge protector must always be the first item connected in line from the Ethernet source
(typically a wall jack). The surge protector must be plugged into a 3-wire grounded AC outlet
for network line surge protection to work.
Connect Your Equipment to the Surge Protector’s Coaxial Jacks (Optional Installation.
Available on Select Models Only): Connect a coaxial cable from the wall jack directly to the
surge protector’s “F” style coaxial jack labeled “IN.” Connect a coaxial cable from the surge
protector’s “F” style coaxial jack labeled “OUT” directly to the device to be protected. Select
models include a second set of coaxial jacks for simultaneous connection and protection of
devices on two separate lines (cable, antenna or satellite). The surge protector must always be
the first item connected in line from the coaxial wall jack. The surge protector must be plugged
into a 3-wire grounded AC outlet for coaxial line surge protection to work.
* 10/100 BaseT/TX, Token Ring. Not compatible with PoE (Power Over Ethernet) applications.
Warranty and Product Registration
Lifetime Limited Warranty
Eaton warrants this product, if used in accordance with all applicable instructions, to be free from original defects in material
and workmanship for life. If the product should prove defective in material or workmanship within that period, we will, subject
to the foregoing terms and limitations, replace the product, in its sole discretion, as your exclusive remedy for our breach of
the limited warranty. Service under this Warranty can only be obtained by your delivering or shipping the product (with all
shipping or delivery charges prepaid) to: Eaton, 10000 Woodward Avenue, Woodridge, IL 60517. Seller will pay return shipping
charges.
The warranties of all Eaton Tripp Lite series surge protectors are null and void if they have been connected to the output of
any UPS system. The warranties of all Eaton Tripp Lite series UPS Systems are null and void if a surge protector has been
connected to its output receptacles.
THIS LIMITED WARRANTY DOES NOT APPLY TO NORMAL WEAR OR TO DAMAGE RESULTING FROM ACCIDENT, MISUSE, ABUSE
OR NEGLECT. Eaton MAKES NO WARRANTIES OTHER THAN THE LIMITED WARRANTY EXPRESSLY SET FORTH HEREIN. EXCEPT
TO THE EXTENT PROHIBITED BY APPLICABLE LAW, ALL IMPLIED WARRANTIES, INCLUDING ALL WARRANTIES OF
MERCHANTABILITY OR FITNESS FOR A PARTICULAR PURPOSE, ARE HEREBY DISCLAIMED; AND THIS WARRANTY EXPRESSLY
EXCLUDES ALL INCIDENTAL AND CONSEQUENTIAL DAMAGES. (Some states do not allow limitations or exclusion of implied
warranties, and some states do not allow the exclusion or limitation of incidental or consequential damages, so the above
limitations or exclusions may not apply to you. This limited warranty gives you specific legal rights, and you may have other
rights which vary from jurisdiction to jurisdiction).
WARNING: The individual user should take care to determine prior to use whether this device is suitable, adequate, or safe for
the use intended. Because individual applications are subject to great variation, we make no representation or warranty as to
the suitability or fitness of these devices for any specific application.
Product Registration
Visit Tripplite.Eaton.com/warranty today to register your new product. You'll be entered into a drawing for a chance to win a
FREE Eaton Tripp Lite series product!*
* No purchase necessary. Void where prohibited. Some restrictions apply. See website for details.
Produktspezifikationen
| Marke: | Tripp Lite |
| Kategorie: | Nicht kategorisiert |
| Modell: | Protect It! SUPER6TEL |
Brauchst du Hilfe?
Wenn Sie Hilfe mit Tripp Lite Protect It! SUPER6TEL benötigen, stellen Sie unten eine Frage und andere Benutzer werden Ihnen antworten
Bedienungsanleitung Nicht kategorisiert Tripp Lite
1 September 2025
1 September 2025
1 September 2025

1 September 2025

1 September 2025

1 September 2025

31 August 2025
31 August 2025

31 August 2025

31 August 2025
Bedienungsanleitung Nicht kategorisiert
- Miele
- Grillmeister
- Playtive
- Pigtronix
- BLOW
- Tektronix
- Speck
- Flycam
- Sage
- Valueline
- AudioQuest
- Lavor
- Microchip
- Conceptronic
- Varad
Neueste Bedienungsanleitung für -Kategorien-

1 September 2025
1 September 2025

1 September 2025

1 September 2025
1 September 2025

1 September 2025
1 September 2025

1 September 2025
1 September 2025

1 September 2025