MeldaProduction MSpectralDynamics Bedienungsanleitung
MeldaProduction audio-software MSpectralDynamics
Lies die bedienungsanleitung für MeldaProduction MSpectralDynamics (124 Seiten) kostenlos online; sie gehört zur Kategorie audio-software. Dieses Handbuch wurde von 29 Personen als hilfreich bewertet und erhielt im Schnitt 5.0 Sterne aus 2 Bewertungen. Hast du eine Frage zu MeldaProduction MSpectralDynamics oder möchtest du andere Nutzer dieses Produkts befragen? Stelle eine Frage
Seite 1/124
MSpectralDynamics
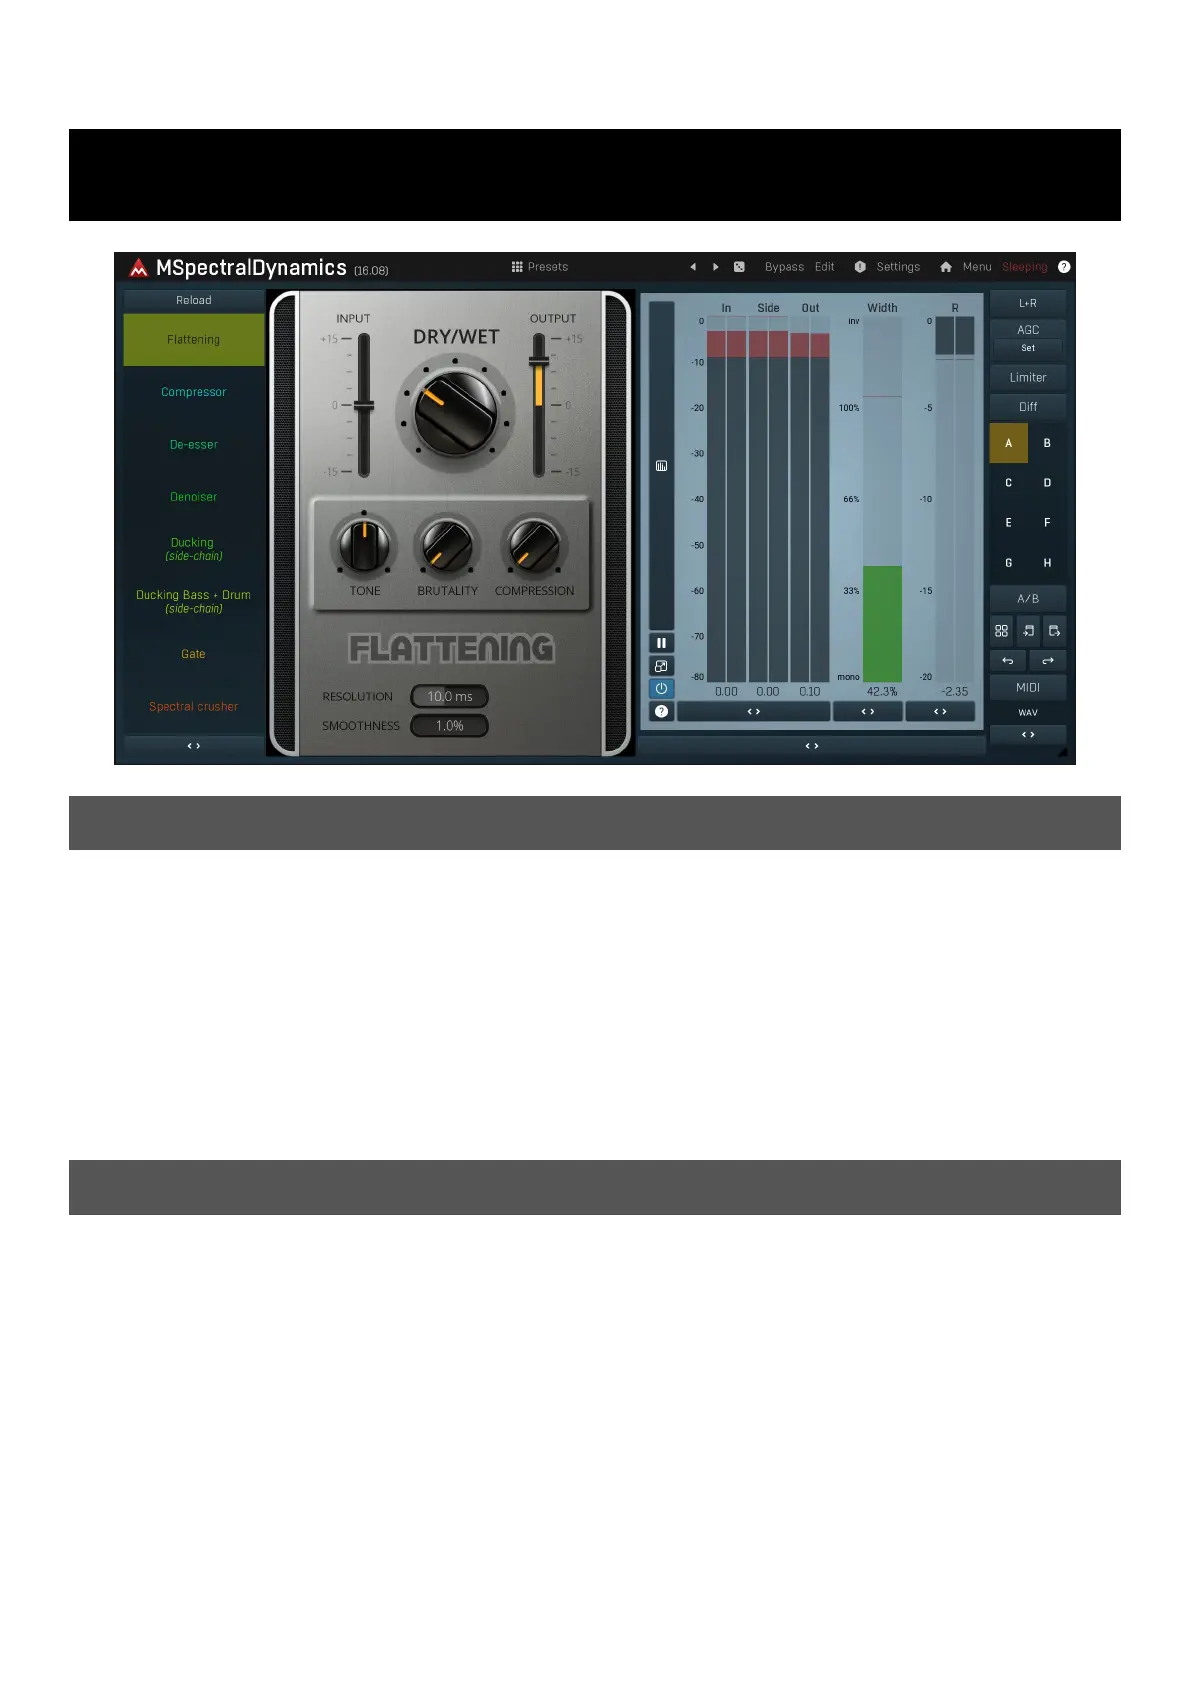
Overview
MSpectralDynamics represents a true audio processing revolution. It's capable of a very wide range of effects, and includes top class
features such as the 'custom processing shape'. It also contains a free-form linear-phase equalizer with a range from -80dB to 0dB, which
allows you to fix specific problems in a recording. However its true strength is as a modern high end replacement for multiband compressors
and loudness maximizers.
Multiband compressors have become a very popular tool for balancing the spectrum and maximizing loudness. However they are also very
clumsy, their effects often sound unnatural and it's all too easy to destroy your audio material completely with them.
MSpectralDynamics uses a different approach as it works with the entire audio spectrum instead of bands. It approximates the energy
located in each frequency and its surroundings and applies the dynamics to that frequency accordingly. This highly complex algorithm
provides state-of-the-art sound quality and features that are simply impossible to achieve by any other method.
With spectral compression you can balance the spectral energy and increase loudness with few artefacts. You can also apply spectral
expansion to excite frequencies and increase sound clarity. But this is just the beginning...
Introduction
Processor 1 (the panel on the left) is enabled by default and performs a little compression. On the Analyser view you can see the threshold
of the processor displayed using a horizontal red line. The power spectrum of your recording is displayed using a green line and area. The
threshold can be dragged with the mouse or adjusted in the Processor panel. When you move the threshold below the highest point of the
spectrum, the green area splits from the green line. The green line defines the input signal (before any Input gain is applied) and the
green area defines the output signal. This allows you to see the processor in action. A blue linenow also appears on top of the analyser
view and shows the gain reduction at each frequency across the spectrum.
As an example, let's say we want to maximize loudness, and balance frequencies in a recording. To do this we want to make the output
spectrum (green area) as flat or horizontal as possible (with the exception of the low-end which usually needs to be cut-off to avoid
problems with large monitors). Lower the threshold, increase the ration and the output gain. Using such a spectrum forces the recording to
play all frequencies with a similar amount of power which our brain translates as louder, and therefore "nicer" sounding.
The lower the threshold, the more the spectrum is balanced, but also the more artifacts it can cause. In this case traditional distortion will
rarely occur, however spectral artefacts may be the problem instead. These usually appear as "sounds from Mars", and are similar to those
caused by mp3 compression with an insufficient bitrate for example.
Other parameters related to 'processor 1' can be found in the Processor 1 panel. Besides threshold, ratio is also very important. It
generally defines how much of the power will be reduced (or increased) above the threshold. The goal is to find the optimum balance
between the threshold and ratio to increase loudness as much as possible without causing artifacts.
Produktspezifikationen
| Marke: | MeldaProduction |
| Kategorie: | audio-software |
| Modell: | MSpectralDynamics |
Brauchst du Hilfe?
Wenn Sie Hilfe mit MeldaProduction MSpectralDynamics benötigen, stellen Sie unten eine Frage und andere Benutzer werden Ihnen antworten
Bedienungsanleitung audio-software MeldaProduction

25 August 2025
24 August 2025
24 August 2025
24 August 2025
24 August 2025
24 August 2025
24 August 2025
24 August 2025
24 August 2025
24 August 2025
Bedienungsanleitung audio-software
Neueste Bedienungsanleitung für -Kategorien-
30 März 2026
29 März 2026
28 März 2026
28 März 2026
28 März 2026